Share

Gear

Buyer’s guide: front lights

Essential advice for buying bicycle lights

Autumn is now in full flow, the clocks have gone back, the evenings are now quickly plunged into darkness and it’s essential to have lights on your bike.

Good lights are vital not only to ensure you stay safe out on the road, but also to ensure you get out in the first place. If you have any ambition of riding regularly through winter then you don’t want your equipment to let you down.

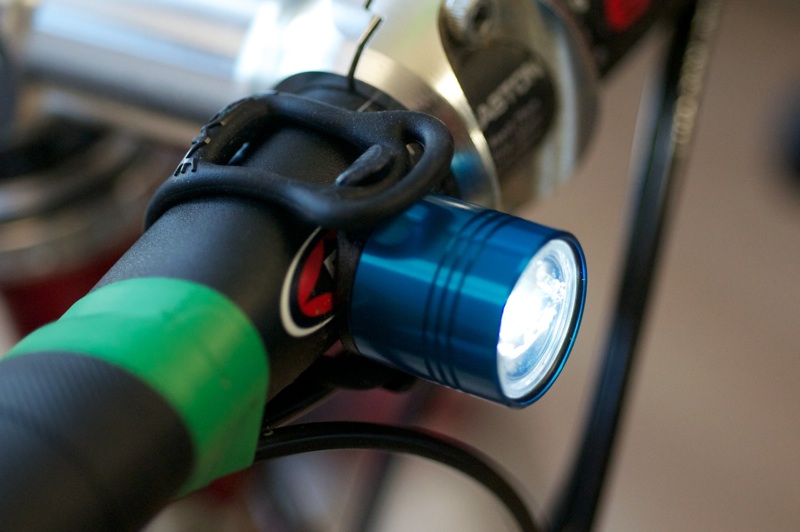
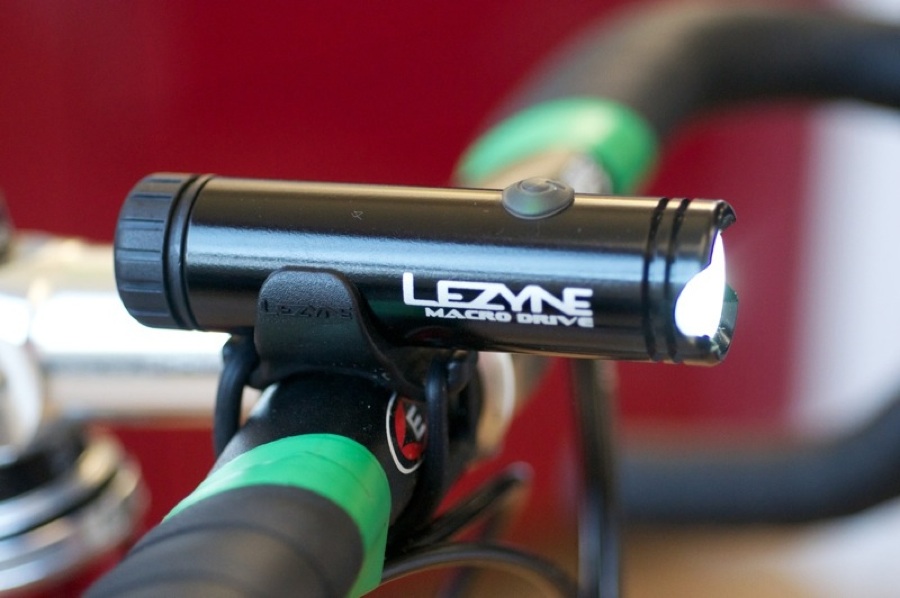
Loosely speaking, bike lights fall in two categories: those to be seen with, and those to see with. The former are for riding on well-lit roads, ideal for commuting, or even on rides which takes place during the day but in gloomy, overcast conditions.

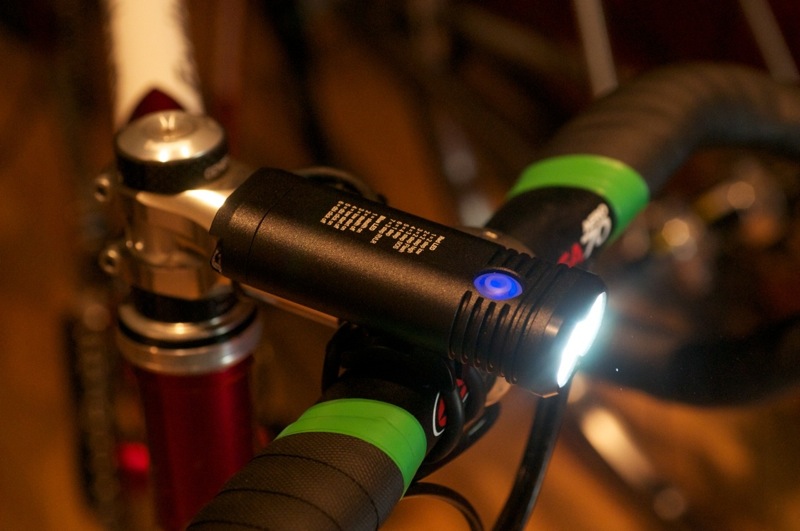
The latter are more powerful and will light up the road in front of you, essential for extended training rides which begin early in the morning, or run into the night, and which will see you venture onto unlit roads.

LEDs – or light emitting diodes – have become the bulb of choice for bicycle lights over the past few years. In times gone by you had to choose between inexpensive halogen bulbs, high intensity discharge (HID) lamps and early LED systems.

Fortunately LED technology has advanced at a rapid pace and the decision is simple. LEDs are inexpensive, quick to power up to full beam, run cool and, most importantly, are very bright.

Generally speaking, the more you spend the brighter the light will be, but the features on offer, the quality of its housing and its ability to keep out winter’s wild weather will also be improved.

Here we will run through what to look out for when buying lights before running through some of the options available. You can also see RoadCyclingUK’s full archive of light reviews here.

Battery and charging

USB charging offers a quick, easy and convenient way to keep your battery topped up

Batteries have improved dramatically in recent times, too. After all, what’s the point in having a super-bright light if its limited run time leaves you stranded on a dark road with a battery that has run dry?

Almost all bike lights use lithium-ion batteries, which are far more efficient than the old lead acid or NiMH batteries.

Battery run times vary dramatically. Never judge a book by its cover. Treat the manufacturer’s claimed run times with a little caution – they represent the best possible scenario (a brand new light, with a fully charged battery and an LED which is right on spec, for example). Lithium-ion batteries will also deteriorate with age.

Run time is, of course, extended when less power is used and most lights offer a range of settings, either reducing the output or turning the beam from steady to flashing.

Use your light intelligently (reduce the power output on well-lit roads) to ensure you have enough light for your whole ride and to maximise the run time between charges.

USB charging is all the rage and offers a quick, easy and convenient way to top up the battery’s juice. Just plug in your lights when you get to work to top them up before the ride home.

More powerful lights – for riding on unlit roads – will, naturally, require a bigger battery. This will either be integrated into the light’s housing, resulting in a bulky unit but one which is neatly packaged on your handlebar (like the Exposure Strada, for example), or it will come in a separate bag with a velcro strap, resulting in a small – in fact, often tiny – head unit, but with the bulky battery strapped to the toptube and a cable running between the two (the Hope R1, to name one example).

Casing and controls

Robust and waterproof housing is essential

The gloomy mornings and dark nights of winter coincide with wet weather and roads which are often caked in mud. As a result, your light needs to be reliable and enclosed in a casing which protects it from the elements. Robust and waterproof housing is essential.

Most lights are controlled using a single button which will allow you to turn it on/off and cycle through the various settings.

You’ll spend much of winter wearing thick gloves so look for a button which is easy to control with fat fingers. We prefer a button which scrolls through the settings with a single click, and then requires a long press to turn it off, thereby avoiding being plunged into momentary darkness.

The most sophisticated lights are programmable, either offering adjustment of the light level through a built-in system or via a computer.

A battery life indicator – which often comes in the form of a tiny LED where the colour represents the amount of charge left – is important if on a long training ride and always useful to check how much charge you have left.

Mounting

A great lamp is useless if the mount’s not up to scratch

It’s not all about the light. In fact, a great lamp is useless if the mount’s not up to scratch.

Look for a tool-free mount which is easy to install, particularly if you’ll be regularly switching the light between bikes.

Most manufacturers of commuter lights have got this sussed, and many opt for a silicone strap or o-ring to attach the light to your handlebar. Otherwise, many lights use a hinged cam-locking clamp.

A good mount will lock the light in place, ruling out any chance of it falling off when riding on rough roads, and, when riding on unlit roads, keeping the beam focussed on where it should be. Also check that the mount is wide enough to fit your handlebars.

Safety lights

Emergency lights are small and light enough to leave on your bike or in your bag

Emergency lights (sometimes called safety lights, or back-up lights) are small and light enough to leave on your bike, in your desk drawers or in your bag while commuting, ready to be called into action should your main lights fail.

Invariably lit by a single, low-powered LED, emergency lights will put out somewhere in the region of 15 to 25 Lumens; not a huge amount of light but enough to get you home. We’d also recommend having small blinker lights permanently attached to your bike to use on overcast winter rides when, even in the middle of the day, visibility can still be poor.

Emergency lights are normally attached to the bike using a silicone band, like the Knog Blinder 1Lezyne Femto and Revolution Flash lights. The Lezyne Zecto Drive Pro is perhaps the ultimate emergency light as it can be used as a front (white LEDs) or rear (red) light.

Commuting lights

Unless you commute on deserted country lanes, commuter lights are more than sufficient

Still in ‘be seen’ territory, commuter lights are designed for riding on well-lit roads – and unless you ride to and from work on deserted country lanes or are planning any night rides through winter, there’s not a great need for anything else.

With an increased lumen output, ranging anywhere from approximately 50 Lumens to 300 Lumens and above, good commuter lights will be waterproof and easy to attach to the bike. Many will be charged via a USB port. Commuter lights needn’t be only for riding to and from work; they’re also useful for training rides at dawn or dusk, or on overcast winter days.

Side-on illumination is important when riding on busy roads, so you can be seen by cars joining the road at a junction or roundabout. Some lamps, like the RSP RX480, have small windows on either side of the unit through which light is emitted to help attract a driver’s attention. The Lezyne Macro Drive and Knog Blinder 4 are other examples.

High-powered lights

We’d recommend 400 lumens as a starting point for riding on unlit roads

If you’re riding on unlit roads or country lanes – be it while commuting or on training rides – you’ll need a high-powered unit which will fill the road in front of you with light.

Lights at this end of the market are often powered by a removable, rechargeable battery (like the Gemini Xera Flashlight reviewed here) or a separate battery pack which is strapped to the toptube (such as the Hope R4), but an increasing number, including the 800-lumen Light and Motion Taz, can be charged via USB, which removes the charger (the easiest bit to lose or forget) from the equation.

We’d recommend around 400 lumens as a starting point for riding on unlit roads (the reviewed RSP RX480 has a claimed output of 480 lumens) and, above that, the world’s your oyster, with the output of some top-of-the-range mountain bike lights measured in the thousands. Prices vary but generally start at close to £100.

Beam patterns vary a lot – some, particularly those designed for off-road use, have a very wide spread, while others have a more focused beam. A beam pattern somewhere between the two is ideal if you do most of your riding on road as you want to avoid blinding drivers while ensuring there’s enough light to pick out any hazards across the road. Also, make an effort to point the beam on the road, rather than into the eyes of oncoming drivers. After all, you want them to be able to see you, and for you to be able to see where you’re going.

View RoadCyclingUK’s full archive of light reviews here.

Newsletter Terms & Conditions

Please enter your email so we can keep you updated with news, features and the latest offers. If you are not interested you can unsubscribe at any time. We will never sell your data and you'll only get messages from us and our partners whose products and services we think you'll enjoy.

Read our full Privacy Policy as well as Terms & Conditions.

production