Install the battery
-
Power meters have dropped significantly in price in recent years
-
You can install the battery after you've mounted the crank, but it's definitely easier to do it this way round the first time
-
Make sure the two 5mm allen bolts are suitably loose before you try and remove the star preload bolt, otherwise you'll find that it requires an inordinate amount of force
-
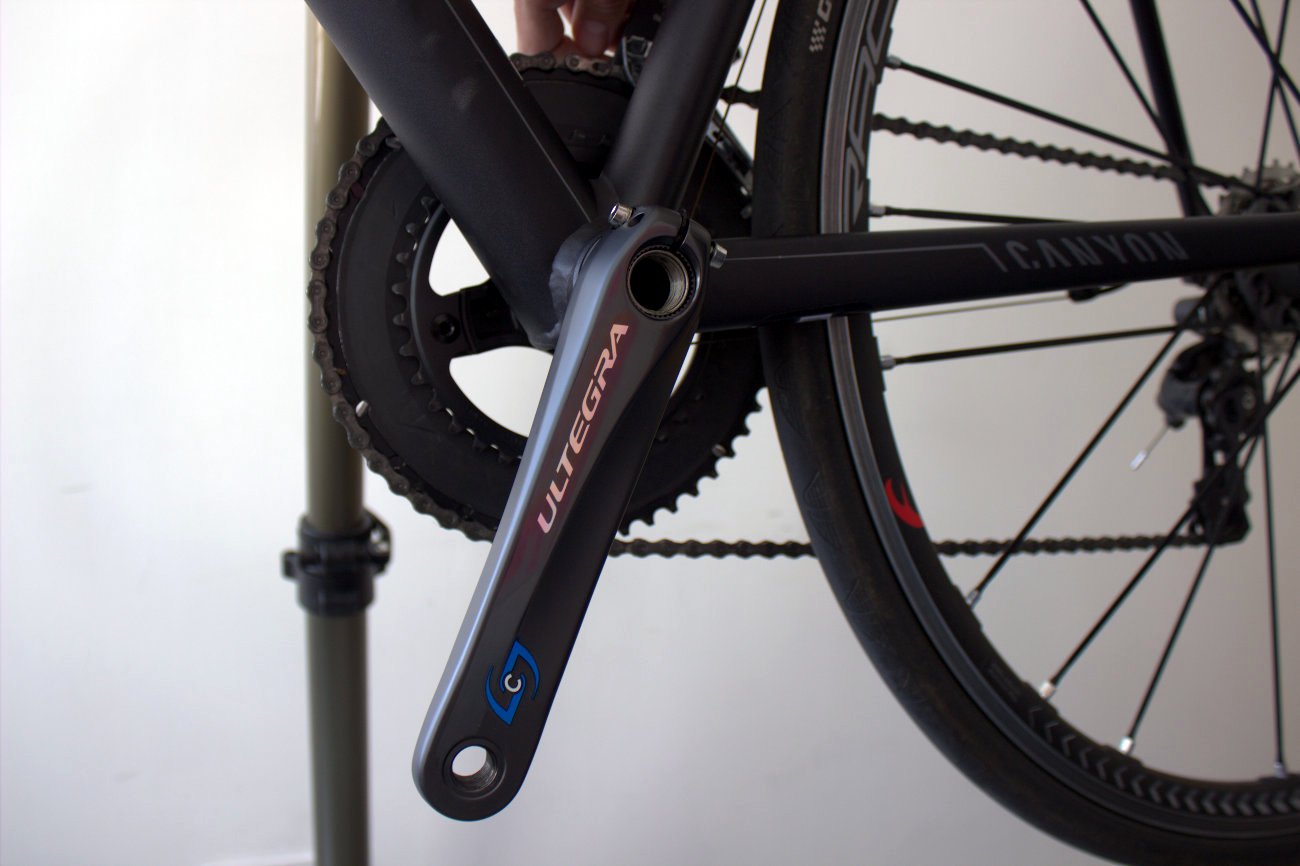
When you've removed the existing non-driveside crank arm, slide the Stages crank onto the axle, being careful to make sure that it's at exactly 180 degrees to the opposite arm
-
The process of pairing with a head unit will vary depending on which brand you have. We used Garmin's Edge 1000 for the purposes of this feature
Install the battery
On the rear of the Stages crank arms you’ll find the little box where all the magic happens. This tiny device is how Stages can claim that their power meter only weighs 20g, and part of that is the weight of the CR2032 battery that powers it.
You’ll see a small disc-shaped cover with a tab at the top. To remove it, simply push the tab anti-clockwise (or to the left, depending on your opinion when it comes to orientation) and it’ll pop out. Place the battery in the uncovered slot, and put the cover back on, being careful to make sure that the three tabs on the underside of the cover go into the correct slots. Then push the tab back clockwise (or right), and you’ve installed the battery.
The system is very easy to use, and the beauty is that it’s pretty much as easy to install a new battery when the unit’s installed on the bike, without having to take it off or send it back to the manufacturer.