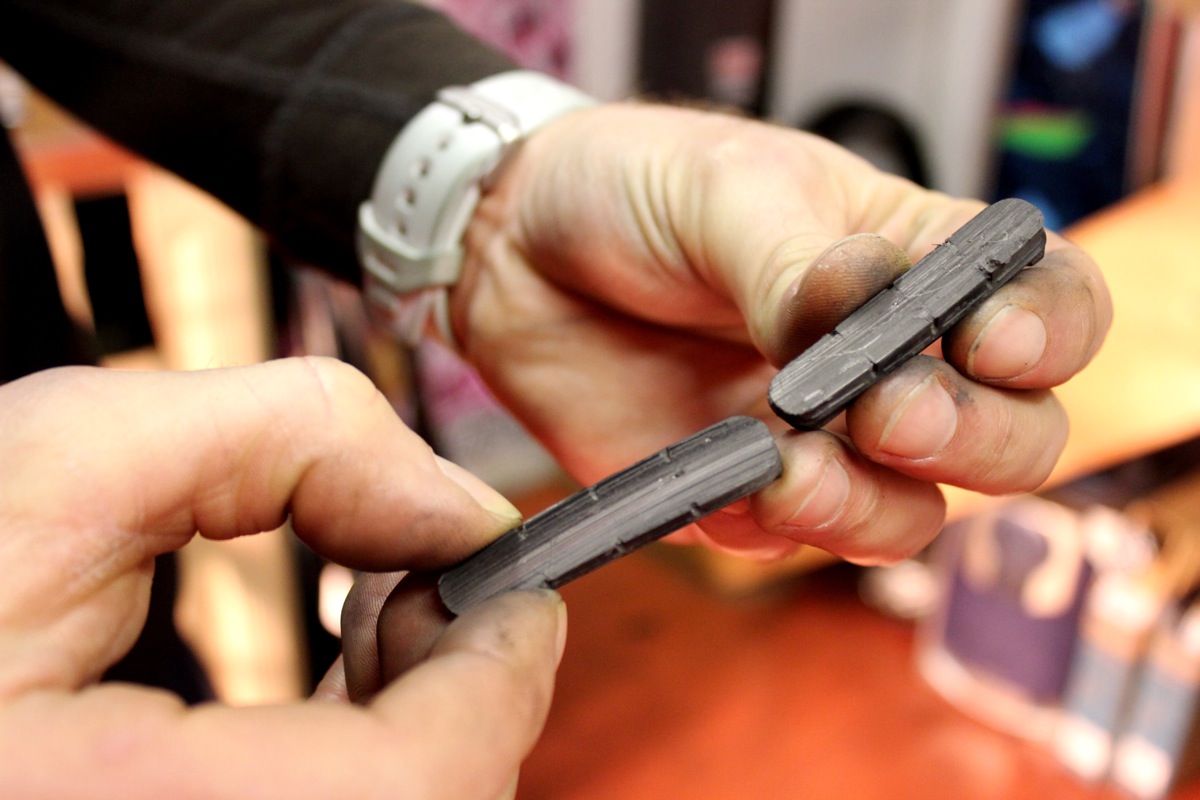
The nature of brake pads mean they will naturally wear with age, brought on by the regular friction of pad on wheel.
No more sophisticated than small blocks of rubber, the pads are placed under even more strain on wet or dirty roads.
They are, however, mercifully easy to replace and – given their importance – should be regularly checked for wear anyway.
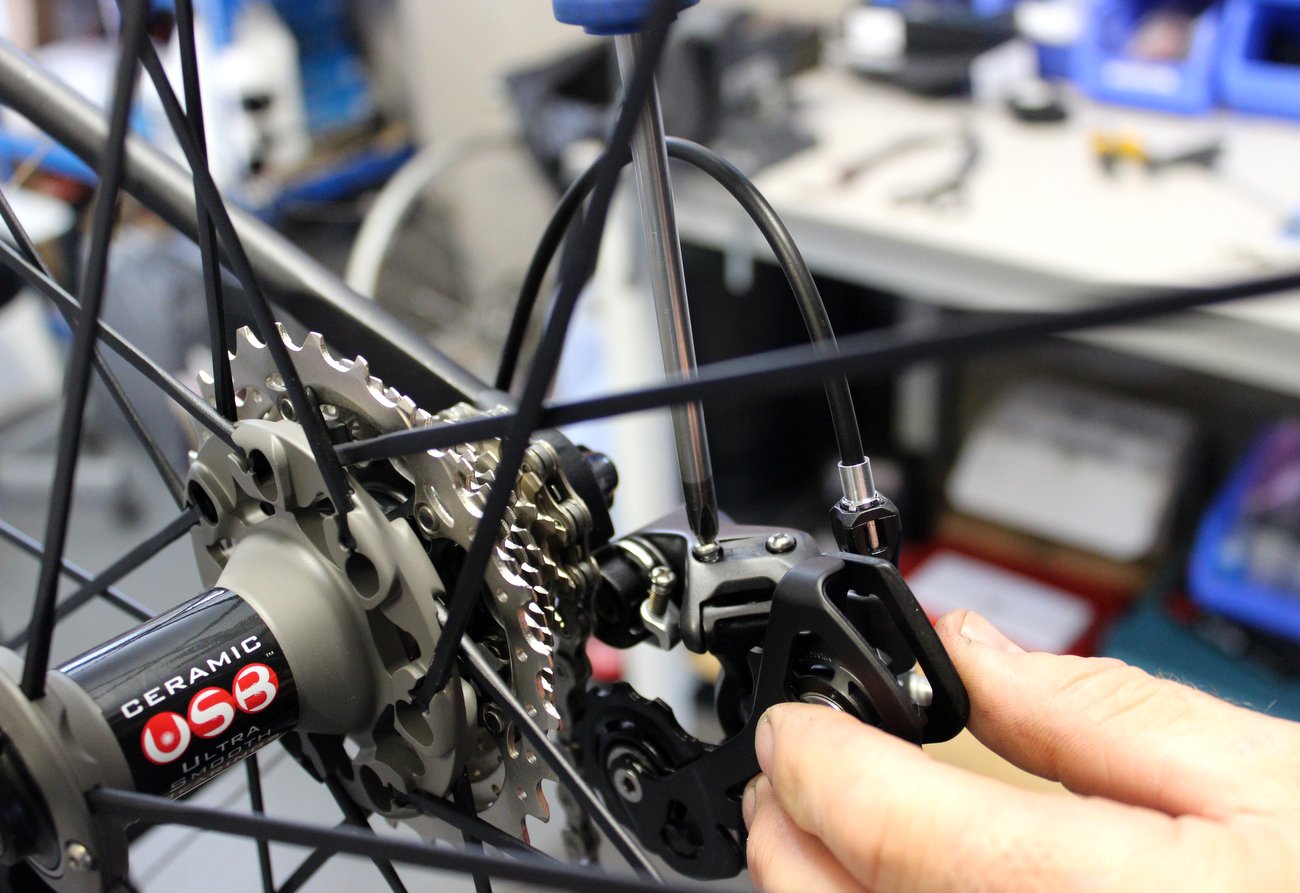
With the wheel removed to make life easier, unscrew the pad from the brake shoe it is housed in – if the replacement pads come with a new grub screw, use it rather than just re-using the old one.
Removing the pad is straight-forward, though a flat-bladed screwdriver may be required in some cases to offer some gentle persuasion.
Paying attention to orientation – the open end should face the rear of the bike, and the pads will be typically marked L or R according to which side of the caliper they should be installed in – replace the pads and screw them back in.
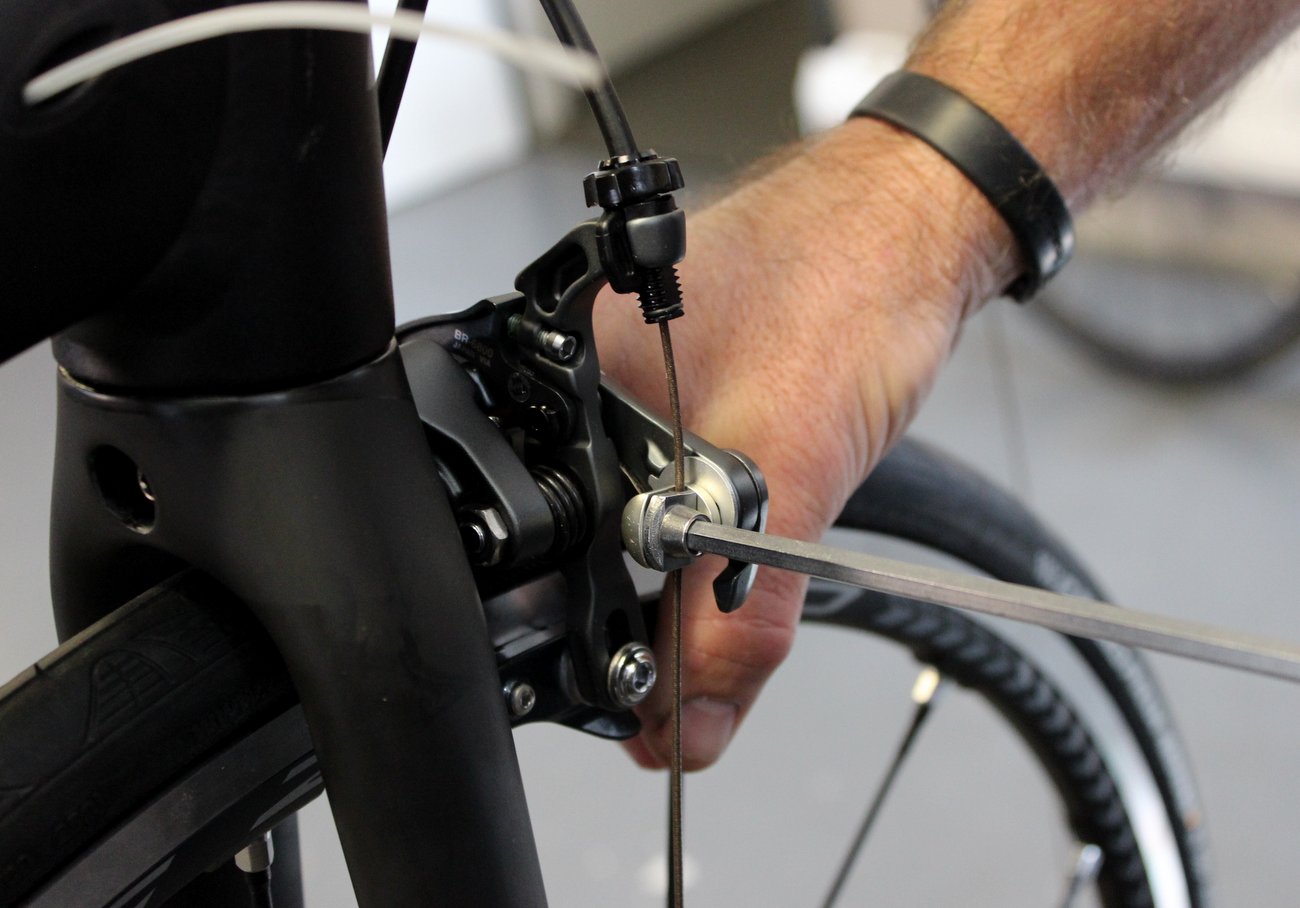
The likelihood is you will need to reduce the cable tension – turn the caliper’s barrel adjuster clockwise – for the new pads, but otherwise, after a simple check of the alignment and function, you’re good to go.
Some points to note – carbon rims require specific pads, as do some brands (e.g. Mavic rims with Exalith coating); SRAM and Shimano pads are interchangeable but Campagnolo’s are specific to the caliper. It’s also worth noting that Campag calipers don’t use a small screw to hold the pads in place, instead using a metal spring clip.
Watch our video guide to replacing a worn pad here, or check out our more detailed step-by-step guide here.