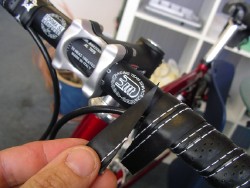
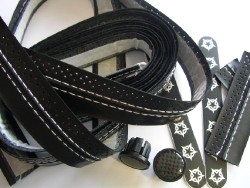
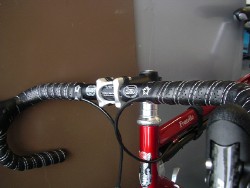
Bar Tape Just as there are many ways to skin a rabbit there are as many ways to apply handlebar tape. Pro riders can be absolutely obsessed with clean smooth tape and some track riders have been known to have their tape re-done moments before the start of a big race, if there is a patch that’s not up to standard. Here’s one way of doing it and, at the same time, a test of Stella Azzura’s luxurious Eleganza tape.
Tools:
1 – First strip off all the old tape and any tape underneath. Clean the surface of the bars as the sweat penetrates the tape and can make the bars greasy and unpleasant. Use an alcholol based cleaner or citrus degreaser. Clean off any residue and dry off completely. Then tape the control cables with insulating tape (make sure that the controls are correctly aligned first). Some mechanics tape the whole top section of bar so that the cables don’t drift under the tape. If there is a separate channel for gear and brake cables and you are using Shimano levers (or non-Ergo as in this case) – add a filling section (use a cut strip of the old tape) into the rear channel so that the tape will be smooth on the back when wrapped up. |
||||
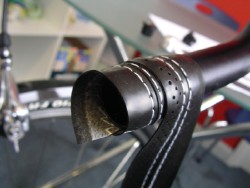
2 – Decent cork tape is sticky backed so it stays in place, peel a little of the backing off (not all of it at once as you may stick it to itself, a bike part, the cat, etc.) Start at the open end of the bar with the end of the tape at the underside of the bar and work from the inside-out. Then leave 3/4s of the width of the tape to overlap the hole, angle the tape so that the overlap wil cover the next wrap of tape. Complete one wrap and overlap for the second checking that the hole has sufficient coverage for the end plug to tidy up (see steps 11 & 12) |
||||
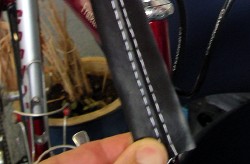
3 – Judging the ‘pull’ on the end of the tape comes down to experience – and the tension should be increased a little if the glue is no good – however pull too hard and risk ripping the fabric. Getting the tape smooth is the priority however you want to make sure there are no bits uncovered. Overlap the tape by 1/2 to 1/3 each wrap, this will vary according to where you are on the bend or flat section but always check that the bit you are covering up hasn’t got creased underneath, there is nothing more distracting than a lump under the bar tape. |
||||
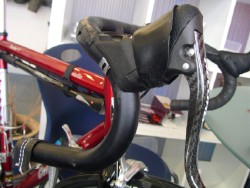
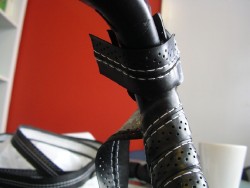
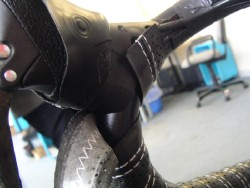
4 – Usually tape comes with a short section to be curled around the back of the brake lever clasp. Cut this so that it can cover the back of the bar around the brake lever. On Campagnolo Ergo levers this may need to be angled slightly as the lever is a little bigger than Shimano. Continue to wrap around the bend until you get two turns from the lever, you can judge how many turns it will take to reach the lever and cover the bar without a gap, so adjust the overlap at this point. |
||||
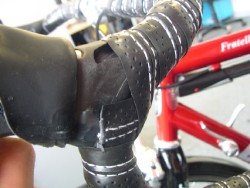
5 – If you approach the lever at the right angle you can take the tape over the top of the lever once. This should cover the section and both sides of the lever in one turn. However this may mean you have to give it a couple of goes to get it right… Try repositioning the short bit underneath so that it helps cover the bits the tape misses… |
||||
6 – The rubber hood will cover up the mess under the lever, however over-long covering pieces underneath will make the hood lumpy so trim them down to the bare minimum, tape them into place with some electrical (insulating) tape. |
||||
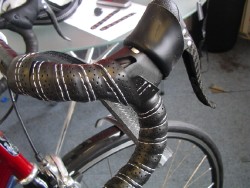
7 – The section on the tops of the bar, just behind the brake lever is the section that gets the most wear so pay careful attention to getting the overlap here consistent. Any gaps or ‘under-lapped’ bits or creases or runkles under the tape here will cause you all sorts of bother later. Take your time to check underneath the bar too as this can be the start of your troubles. |
||||
8 – The back of the brake levers should be double checked too as this is you last chance to get this right before starting the finishing touches. If there are gaps undo the section and re-do, just be carefuls to unwrap the tape slowly as you can rip it easily in frustration… |
||||
9 – The final run of tape goes almost all the way to the centre of the bar, where the centre section starts there is usually a rise in the diameter. Wrap the final turn around and behind the brake cable where it will tuck in smoothly. Then unravel the last wrap and cut a straight edge from half width to the front side of the bar as shown here. This will then finish the end off straight. |
||||
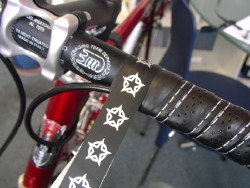
10 – Wrap this up with a single thickness of insulating tape and then (in this case) add the star logo finishing tape on top. Nice huh? |
||||
11 – Fold the ends of the tape into the open end of the bar. Crease the tape so that it holds it’s position before inserting the end plug. |
||||
12 – Then force the end plug into the bar end. These ones push fit fairly easily, if they are very tight trim a little of the excess off and try again |
||||
Stella Azzura Eleganza bar tape
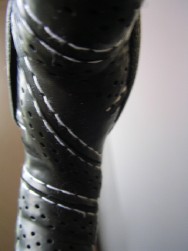
The contrast-stitched dual-striation synthetic material is a closely guarded secret, Stella say it also removes moisture from the surface of your bars, whether it be perspiration or precipitation. It has a very sticky backing which is good for appying as you don’t have to hold onto it constantly as you wrap – It also keeps it secure. The end plugs are carbon finished which is a neat touch. OK it costs a fair bit more than usual cork stuff but it looks the part and is available in loads of colours. For £12 quid it’ll make your bike look and feel like new. And as they say on their website it’s ‘Somewhat retro, somewhat techno’
RCUK Verdict?: Thin enough to look ‘pro’ yet comfy and grippy with it.
|
• Price: £12.00
• From: Otagocyclesport Tel: 0161 273 2100

