There’s something profoundly therapeutic about cleaning a bike. Time spent fettling your pride and joy to a state of showroom cleanliness, ready for the next ride, is time well spent.

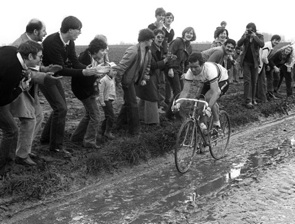
- Crowds roared cleaning advice to Hinault as he sped to Roubaix
Like anything else, of course, there’s a right and a wrong way to approach the task, if the desired aim is to be achieved(producing a machine of laboratory cleanliness that glints in the sun with every appearance of having been recently plucked by a breathless mechanic from the roof of a trailing support car). Here’s how.
Two buckets
Fill one bucket with hot, soapy water, the other with cold, clear water. Plunge a different sponge into each. The hot suds will, of course, aid the removal of accumulated road grime, while its cooler accompaniment will rinse off the soap, leaving your steed free of streaks and smears.
Degrease the chain
Chain baths are a wonderful invention, if not the eighth wonder of the world, then at least a technological break through to rival, say, the iPad. Hook the little beauty on to your chain, fill the bath with degreaser, and whirl away at the drive side pedal, allowing the bath’s bristled innards to remove the grease and grime from your chain. Better still, if you have the time, remove the chain entirely, and leave it to soak in a tray of degreasant. With either approach, complete the process by hosing the chain, blasting off the reside loosened by the soaking/scrubbing.
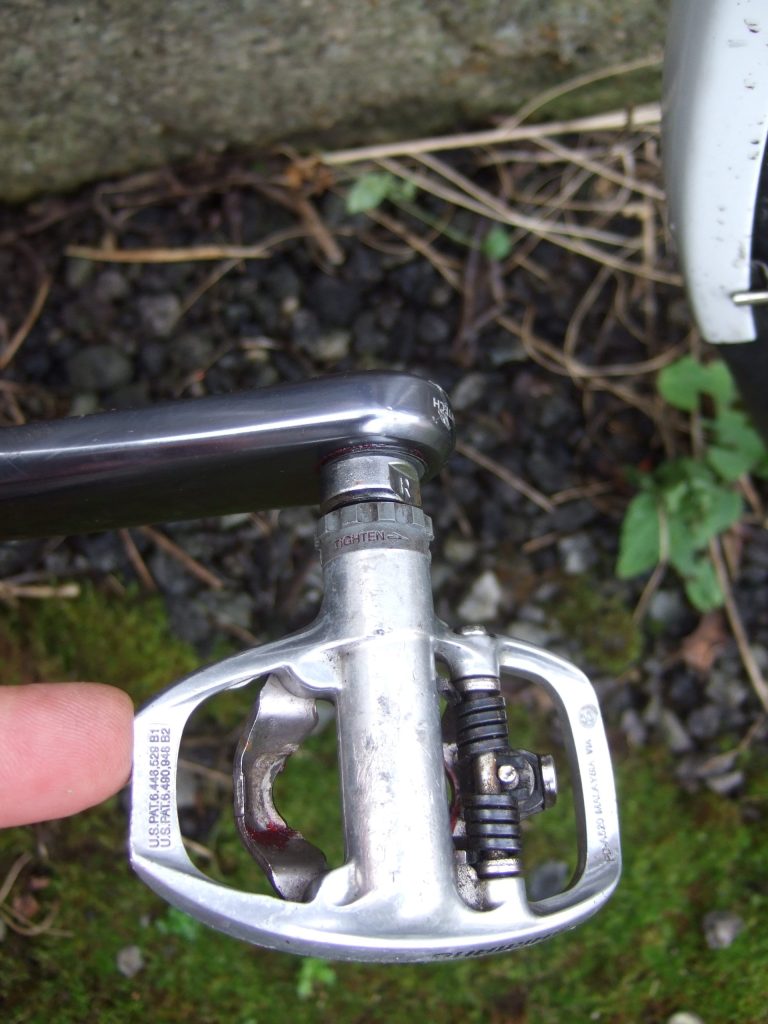
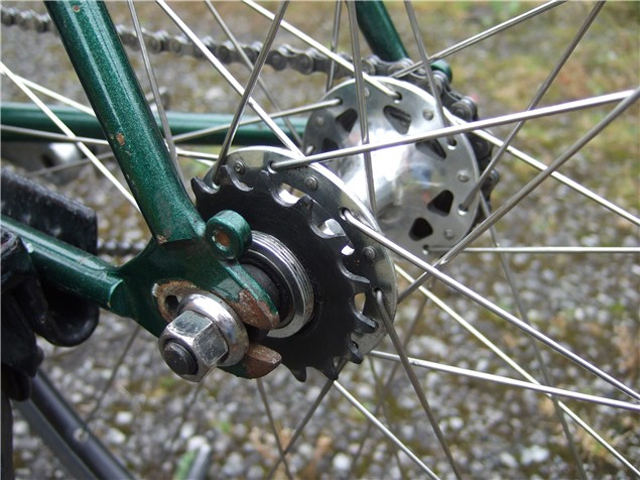
Wheels out
Removing the wheels allows greater access to those hard-to-reach places on the frame (all areas of the bottom bracket shell, the forward-most part of the drive-side chainstay) but also allows, you guessed it, easier cleaning of the wheels. Start by degreasing the cassette (apply with stiff brush before hosing the cogs and drying with a rag). Don’t forget to wash the tyres as well as the hubs, rims, and spokes, and, while you’re at it, check the covers for stones and flints. Place the wheels to one side while you wash the rest of the bike.
Stand and deliver
A workstand will increase the pleasure of cleaning your bike by approximately 1,000 per cent. Banish the damage to lever hoods, bar tape and saddle that comes from turning your steed upside down, or, even worse, the scraping of chainwheel teeth, bottom bracket shell and rear mech that results from balancing a bike without wheels right-side up. Secured in a work stand, you can look your machine in the eye, so to speak, saving damage to your bike and chronic back/knee/neck injury.
Wash the frame
Plunging your hand into the warming waters of bucket A, apply the sponge vigorously to the frame. Pay particular attention to the underside of the forks, the frame dropouts, and the underside of the bottom bracket shell, where a clogged cable guide can ruin shifting. Now swap buckets, and rinse off the suds with the cold water, leaving your machine clean and soap-free.
Dry the frame
Take a clean rag, something like an old beach towel, and dry the frame thoroughly. Steel frames will corrode, and even aluminum and carbon machines are likely to be dressed with a few steel components (seat clamp bolts, perhaps) that will turn an unsightly shade of orange if left to dry naturally. Those lucky enough to have access to a compressed air supply may wish to blow dry their steed (it’s what the pro teams do, after all). For the rest of us, the beach towel/rag solution is almost as effective.
Silicone spray
Apply to all exposed areas of cable, brake and gear. Manufacturers are increasingly producing frames with concealed cables, and if you have one, your task is reduced. You may also have invested in a sealed cable set, in which case, congratulate yourself on your foresight. For everyone else, a coating of silicone spray will provide an added layer of protection to those essentials for shifting and braking.
Check the brake pads
While the wheels are out, take the opportunity to develop a more intimate acquaintance with your brake pads. It won’t take long (their conversation is limited). Unexpectedly early signs of wear may be an indication of poor alignment, a situation you can rectify when the wheels have been replaced. Which leads us to:
Replace the wheels
Your hoops are clean, the cassette glinting in the sunlight like some polished gem stone, and the shining spokes radiating from a polished hub like fresh faced members of a Busby Berkeley dance troupe. You’ve checked the tyres for flints and stones, and examined the sidewalls for signs of wear and tear, and found none. Good. Now simply replace the wheels, spin them to ensure they’re free of interference from the brake pads, and run through the gears.
Lubricate the chain
Apply an adequate layer of lubricant to your chain. The choice is many and varied, depending on conditions, and sufficient for a separate article. It’s enough to stay at this stage that having degreased, hosed, and dried your chain, you’ll need to lubricate it.
Polish
An optional extra, but for those seeking to restore that showroom shine, washing and drying won’t be enough. Silicone polishes are safe to use on aluminum, carbon, and steel frames.