The chain suffers perhaps the greatest load of any bicycle component.
Inspecting the chain regularly and replacing it when necessary could save the cost of replacing a prematurely worn drivetrain.
So what signs of wear should you be looking for? And how should you approach the task of replacing your chain?
We’ll kick off the first of a series of articles on the drivetrain by inspecting and replacing a SRAM chain. We’ll deal with cleaning, and methods of replacing chains from other manufacturers, in later articles. Our guide is Jon Hayes, mechanic at independent bike shop, Ride.
Why check the chain?
The chain is subject to huge force from the tension applied by pedalling. A stretched chain will deform and wear chainrings and cassettes. The smallest sprockets will suffer the greatest wear as a result of having fewer teeth to engage with the chain and spread the load.
“With a 50 tooth chainring, perhaps two-thirds of the teeth are engaged at any one time,” says Jon. “With an eleven-tooth sprocket, perhaps only five or six teeth are engaged, so the load is spread over fewer teeth.” When applying force to a very worn drivetrain, such as riding out of the saddle on a climb, the chain is more likely to slip on the smaller sprockets.
When pedaling, the chain is under tension and many of its components – links, bushings etc. – are stretched. “The shape of the chainrings and sprockets mirrors the shape of the chain over time. As the chain stretches, so the gaps between the teeth of the chainrings and sprockets becomes greater,” says Jon.
Dirt will accelerate wear to the drivetrain. We’ll take a detailed look at chain cleaning in a further installment, but suffice to say here that a system that places metal against metal and operates under tension is already highly stressed, even when lubricated.
How to check your chain: one – with a chain checker tool
The most accurate way to inspect for wear is to use a ‘chain checker’ tool. Jon is using one from Park Tools, but many brands make them.
Locate the pins on the underside of the checker tool in the chain. The dial on its upper side swings through an arc and stops before the tool indicates excessive wear. A worn chain will allow the device to swing fully through its arc.
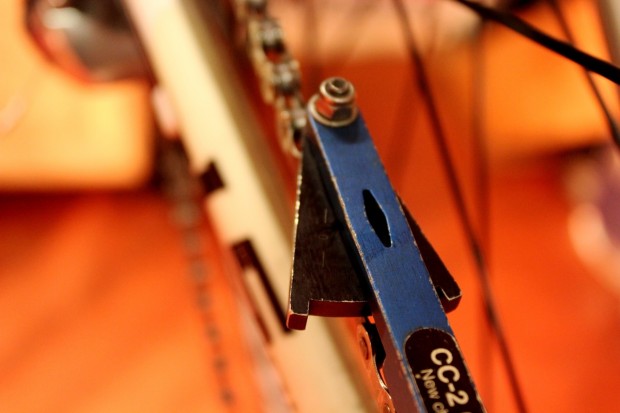
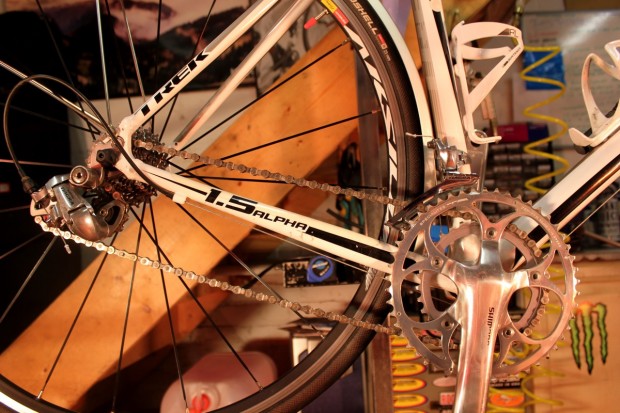
The reading displayed through the small ‘window’ to the face of the dial provides a reading that correlates with a series of measurements on a sticker on the tool’s upper surface, indicating the values for a worn or unworn chain (other tools may use a different method of indicating wear: red and green stickers, for example). The chain photographed here, a nine-speed SRAM unit fitted to Jon’s winter bike, still has a few hundred miles left in it, he estimates.
A chain checker is an inexpensive tool, simple to use, and one Jon says will save you money in the long-run. “If you measure the chain regularly with a chain checker, and replace it before the tool shows excessive wear, a cassette could outlast as many as four replacement chains,” he says.
How to check your chain: two – manually
It’s possible to check chain wear without buying a ‘chain checker’ tool. One method is to lift the chain from a section of the chainring. Lifting a worn chain will expose more teeth than an unworn chain. But what number of teeth represents a worn chain?
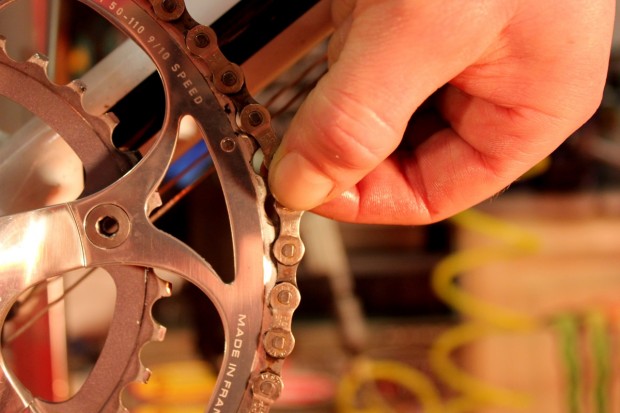
“If you can see daylight over three or four teeth, you’d say, ‘That’s pretty worn,’” says Jon. Lifting the chain photographed here on Jon’s winter bike only exposes barely two teeth, demonstrating that it is not excessively worn.
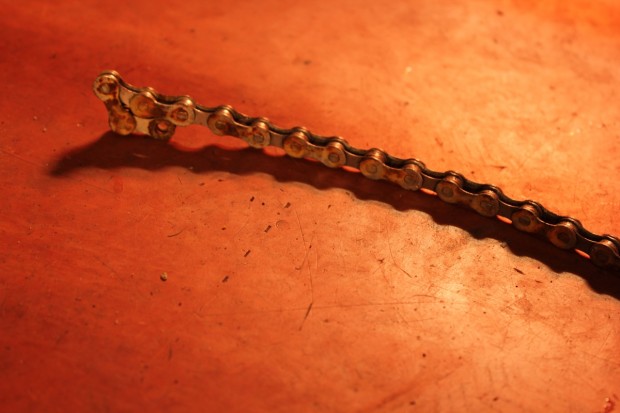
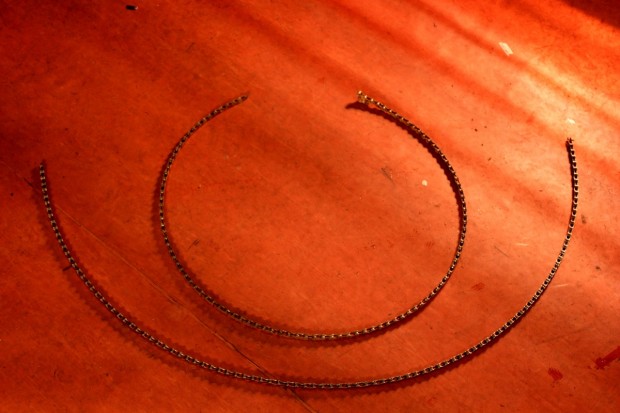
Another method of checking chain wear without using a tool involves removing the chain from the bike, laying it on the ground, and attempting to unite the two ends. While all chains have some lateral movement, allowing them to work in a derailleur system, an excessively worn chain will exhibit a great deal of sideways flex. The wear in the links of the worn chain photographed here is so great that Jon is almost able to join the two ends. The new chain, by contrast, offers no more than a gentle arc.
Replacing a SRAM chain
While the chain fitted to Jon’s winter bike still has some life left, for the purpose of the exercise, we asked Jon to replace it. The chain shown is from SRAM and is joined by their proprietary Powerlink system, one that obviates the need for tools. SRAM use colour codes to indicate the appropriate Powerlink. Jon runs a nine-speed system on his winter bike, and so is using a gold Powerlink. While Powerlinks for both eight and 10-speed systems are black, they are labeled. The latter should not be reused, and the chain should be broken at another point to remove.
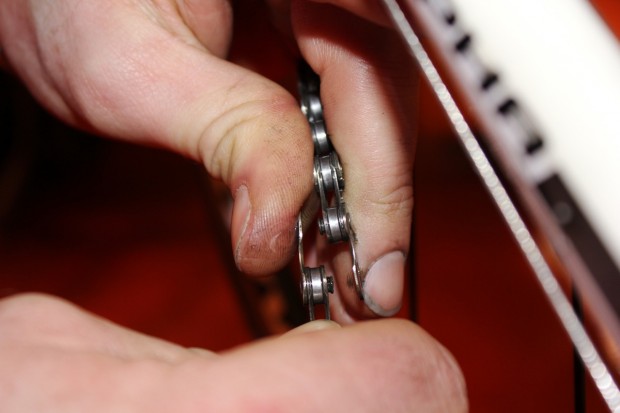
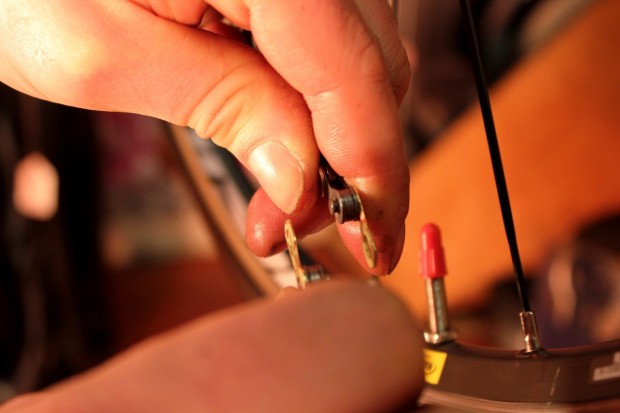
Shift to the smallest sprocket and to the inner chain ring to create the greatest amount of slack in the chain. Locate the Powerlink. Press the two outer plates together at the same time as squeezing the two ends of the link to the centre.
Chain length
If you’re confident that the worn chain was the correct length, use it as a guide to measure the replacement. If you’re unsure, place the chain on the inner chainring and the smallest sprocket. “If the chain’s the correct length, the derailleur arm should just be coming into tension,” says Jon. “Any longer, and the chain will droop; any shorter, and it will pull the derailleur forward.”
A new chain will typically be too long: a new Shimano chain is around 116 links, for example. There is no set length for a chain. The required number of links will depend on the gear ratios used: bigger chainrings or sprockets will of course necessitate the use of a longer chain.
A chain of incorrect length is undesirable. Too long, and you’re likely to suffer ‘chain slap’ which will damage the chainstay. A chain that is too short can have still worse consequences: a phenomenon Jon describes as “running out of chain”. The derailleur will respond to input from the shifter, but without sufficient links to cover the size of the larger chainwheel when used on some of the larger sprockets, the drivetrain could jam.
Fitting a new chain
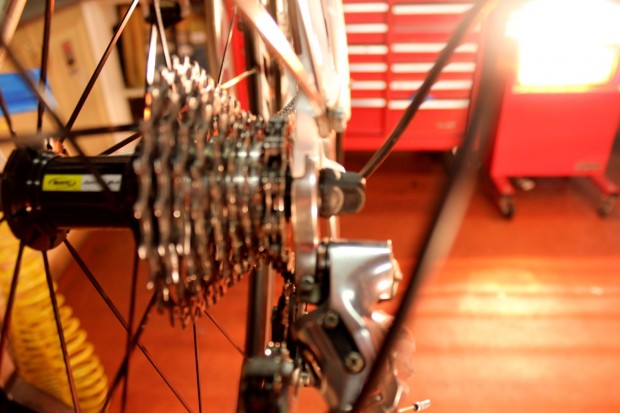
Make sure the derailleurs are shifted to the smallest sprocket and the smaller chainring. Thread the chain around the smallest sprocket, and through the front mech, allowing it to hang from the chainwheel.
Thread the chain through the rear mech. Ensure it passes around the jockey wheels, but under the small metal tab. “It’s really easy to thread the chain over the tab,” says Jon, “and we get people coming in to tell us they have noisy drivetrains all the time.”

The chain pictured here is a brand new, stock chain, and is clearly too long. It is slack and needs to be trimmed. Gently pull both ends of the chain towards each other until the rear derailleur comes into tension to gauge the required length.
Having assessed the overlap, reduce it by removing links with the chain splitter tool. Do not push the pin all the way out of the link. While we’re using a Powerlink here, it’s possible to rejoin the chain with a pin.
A Powerlink has an inner and outer plate, both with pins. Insert the pins into the ends of the split chain. Pull the chain either side of the link in opposite directions to lock the link together.
Check the function of the chain
Shift through the gears, checking that when running “big and big” (the outer chainring and the largest sprocket) the chain is sufficiently long. Start with the chain on the big chainring and the smallest sprocket and carefully change up the cassette to the largest sprocket.
Shift to “little and little” (the inner chainring and smallest sprocket”), checking that the chain is not too slack.