Step five - install new pads
-
The wear sustained by this pad is obvious from its thinness
-
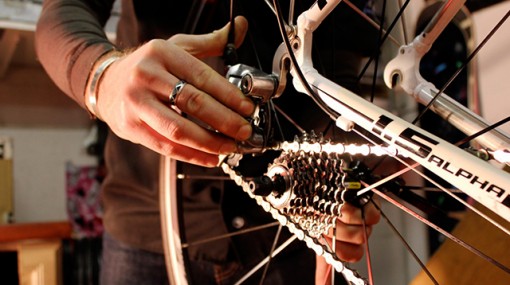
It's easier to replace brake pads when the wheel has been removed
-
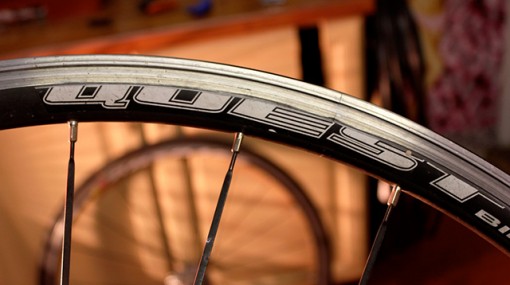
The poor condition of this graphic is evidence of wear suffered by the rim
-
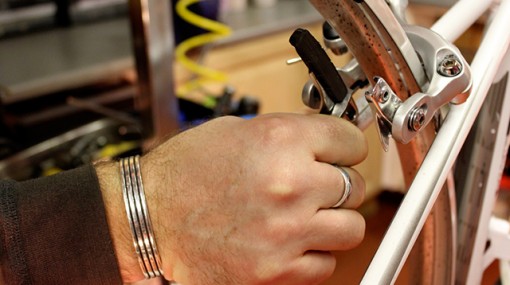
Pads can be persuaded to leave the shoe with use of a screwdriver
-
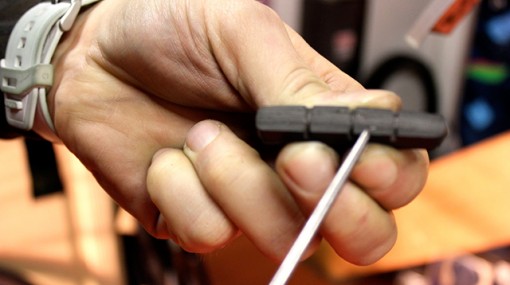
Silver particles on the pad are likely to be pieces of aluminium from the rim. Remove with a pick if the shoe has sufficiently good to be used again
-
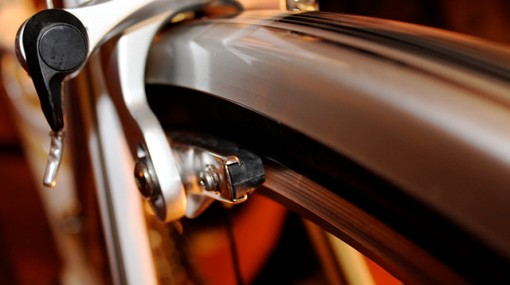
Grub screws can wear and easily become rounded. If your replacement pads are supplied with new grub screws, use them
-
New pads and regularly inspected rims - a safe combination
Step five - install new pads
The orientation of the pad is critical. Fitting the shoe with the open end facing forwards is a recipe for disaster, says Jon: the rotation of the wheel will pull the pad from the shoe.
Pads are also oriented for the left and right side of the caliper and typically marked ‘L’ and ‘R’. If the new set comes with a replacement grub screw, fit this too: they’re easily rounded with use.
If you’ve replaced worn pads, it’s likely the cable tension will be too great for their new, unworn replacements, placing them against the rim. Reduce the cable tension by turning the caliper’s barrel adjuster clockwise.
Make a final check of pad alignment and check the brake function. You’re ready to go.
Types of pad
Certain wheel rims demand specific pads: Mavic rims with the proprietary Exalith coating, for example, require use of the French manufacturer’s own pad. Similarly, carbon rims, an unlikely choice for winter, require specific pads.
Standard pads can be used with aluminium rims. Pads vary in quality, however. Jon recommends Shimano and SwissStop. Shimano and SRAM pads are interchangeable, he adds, but warns that Campagnolo’s pads are specific to the brake caliper.