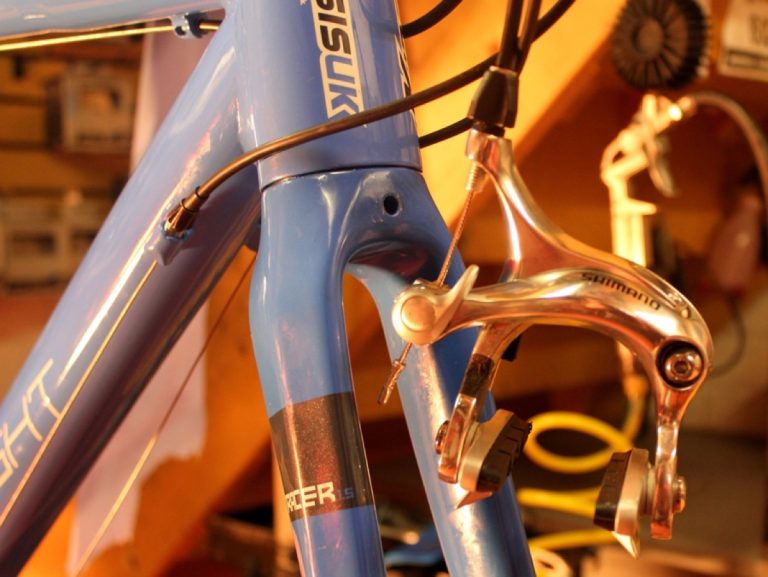
Maintenance issues abound in the winter when worsening weather conditions place additional demands on components.
Road salt, rain water, and dirt washed onto the road are all contaminants that wear the drivetrain and cables.
We caught up with mechanic Jon Hayes of independent bike shop, Ride, to learn some of a range of checks and adjustments to ensure clean, precise shifting.
Checking the chain
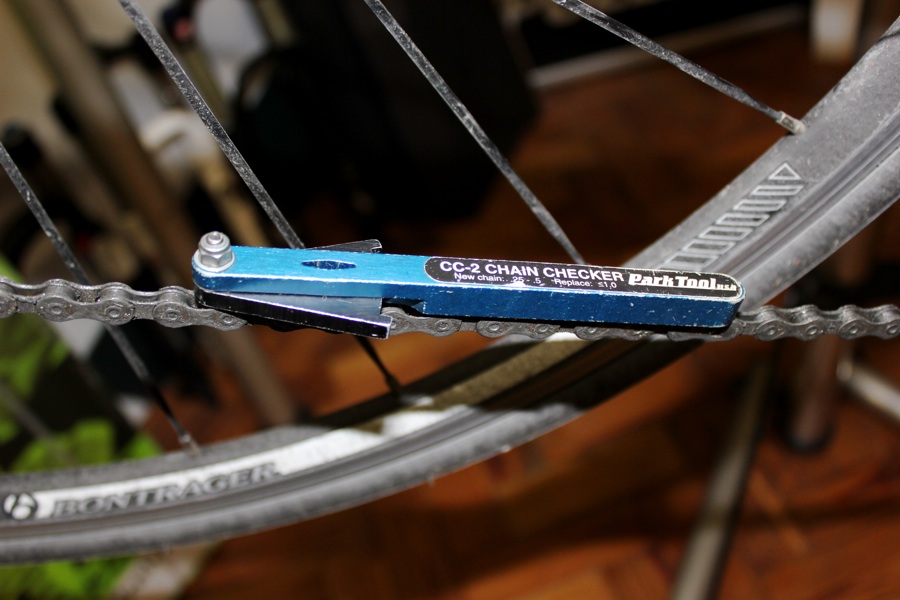
The chain checker is an inexpensive and invaluable tool that can save you money in the long term (a worn chain can place extra wear on the cassette).
“The chain checker will measure how much ‘stretch’ – or wear – there is in the chain,” says Jon. “Pedaling places tension in the chain, stretching it all the time as it pulls the back wheel around. Grit and muck will cause abrasion, and the friction will exaggerate and accelerate the wear.”
While a dirty chain is not always an indication of wear – even unloved bikes are unlikely to need a new chain if they haven’t racked up many miles – cleanliness, and lubrication will slow it.
Checking the mech hanger
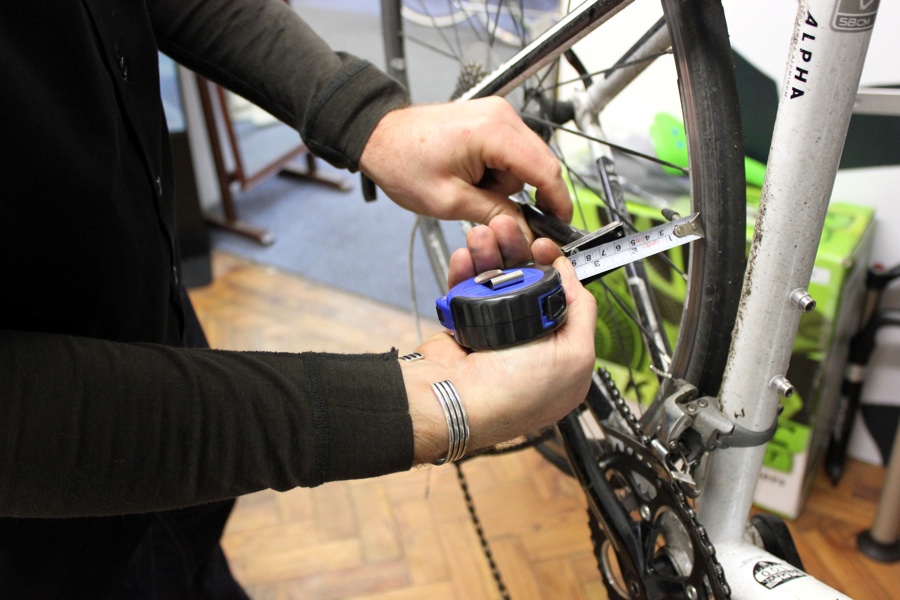
The straightness of a derailleur hanger (aka mech hanger) is unlikely to be affected by weather conditions, but checking its condition could help eliminate any shifting issues. It should hang squarely, angled neither inwards towards the wheel, or outwards.
Our photographs show Jon using a straightening tool, but this is not one he says is essential for the home mechanic for reasons of cost and infrequency of use. If the hanger is sufficiently damaged to effect the shifting, a replacement is a wiser investment, he says. “It will do a better job in the long term than using the straightening tool. By straightening a piece of metal that’s already been bent, you only weaken it further by bending it back into shape.”
When straightening a mech hanger, shop mechanics will begin by unscrewing the derailleur, ‘screwing in’ the straightening tool, and checking the hanger’s alignment by measuring the distance between the handle of the tool and the wheel, before making subtle ‘tweaks’ with a very light action.
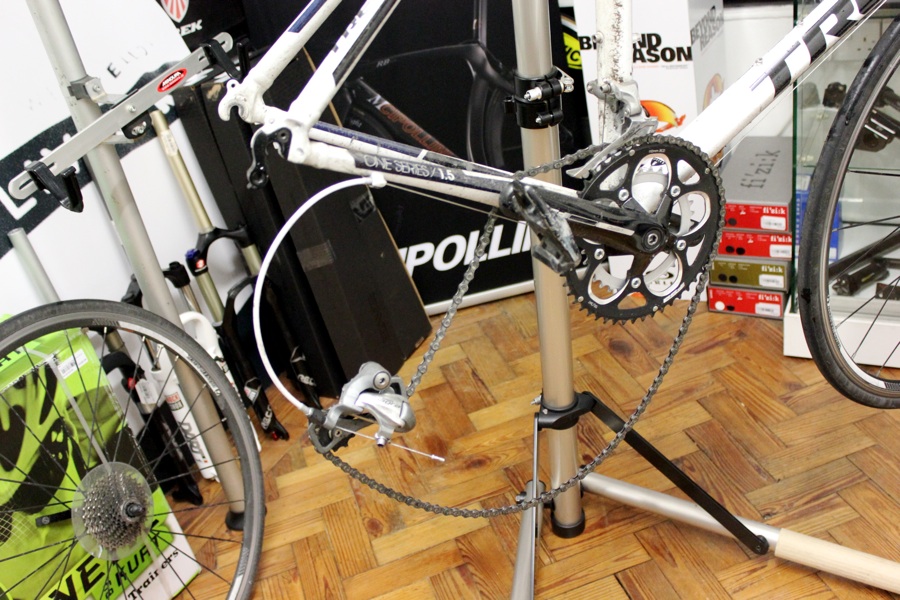
Replacing the mech hanger is a simple process for the home mechanic, one that begins with removing the wheel, then unscrewing the derailleur from the hanger, and finally detaching the hanger from the frame, typically with a 5mm allen key. Once the new hanger is in place, the steps are reversed: the derailleur is screwed back into place (again, with a 5mm Allen key) and the rear wheel is replaced.
How to tell if a bent mech hanger is the cause of shifting woes? The derailleur may not travel far enough to reach the smallest cogs, or shift too far and push the chain past the largest into the spokes. “That’s normally the orientation of the bend,” Johnny explains. “Typically, the derailleur is hit from the outside, pushing the hanger towards the wheel. It’s very unusual to find a hanger bent outwards”. If the hanger is bent, no amount of adjustment to the derailleur’s ‘stop’ screws will cure the problem.
Lubricating the cables
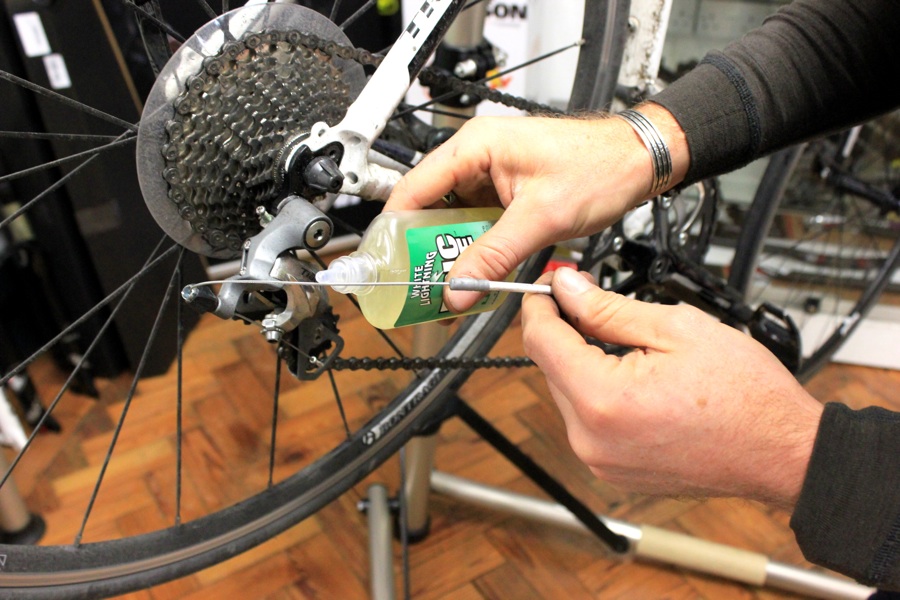
Winter weather can contaminate cables. If you’re uncertain if it’s necessary to replace the gear cables, you might want to start the diagnosis by lubricating the existing set. It’s possible to do so with the cable ‘in situ’, but Jon warns that “it’s not a great solution”.
“It can be a quick fix if you don’t have a cable at home and are about to go riding,” he says.
Shift the chain to the largest sprocket (the chainring is not a factor here), stop the crank from turning, and ‘shift’ down the block, clicking the shift lever but not turning the pedals so the chain remains on the largest sprocket. This will induce slack in the section of gear cable beneath the chainstay, allowing you to pull the outer from the cable stop, slide back the outer, and apply lubricant to the inner. Once lubed, slide the cable outer back into the ‘stop’ and check the gear function. Note: not all frames have a cable stop at the upper end of the cable (near the headtube) but the lower section, near the chain stay, is the one that tends to suffer more from road dirt.
Replacing the rear mech cable
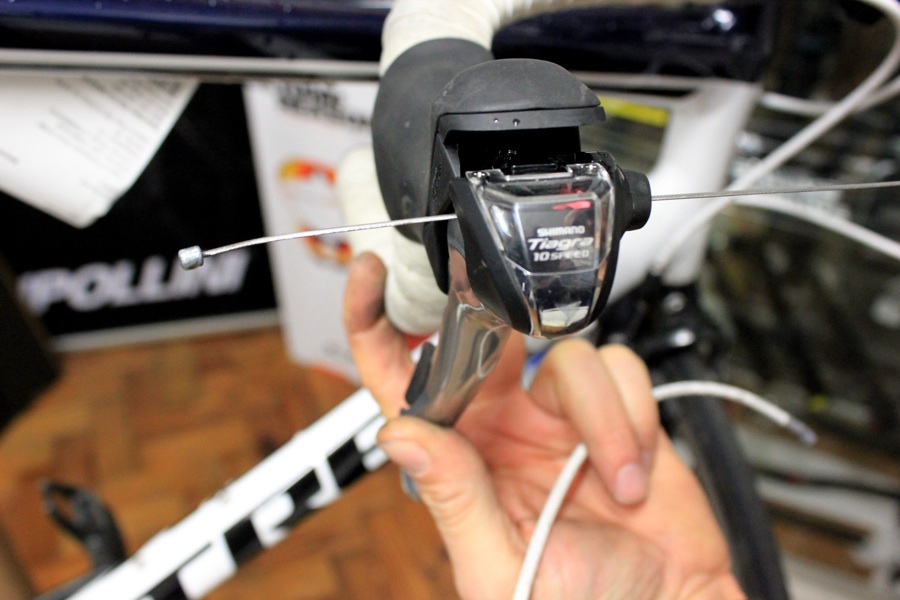
If the problem persists after the cable has been replaced, it is likely that the cable will need replacing. Jon’s advice in such circumstances is to replace the inner and the outer. “It’s not worth, in my experience, just replacing the inner cable,” he says. “If you’re going to do it, you might as well replace the inner and the outer. They will have corroded at the same rate. There’s not point putting a nice, shiny inner cable into a corroded outer.” Cables can be bought as sets, or ‘off the reel’ at local bike shops.
Shimano and SRAM cables are largely interchangeable, but Campagnolo use a differently shaped nipple, that prevents others from sitting securely in the lever. The shifter’s cable locator varies between brands and models. For the purposes of illustration, we’ve used a 10-speed, Shimano Tiagra shifter, and demonstrated replacement of the cable for the rear mech.
Shift to the smallest sprocket, stop all movement of the chainset and the wheels, and cut the nipple from the end of the cable beneath the rear mech with sharp cable cutters (“a necessity,” says Jon, to prevent frayed cables).
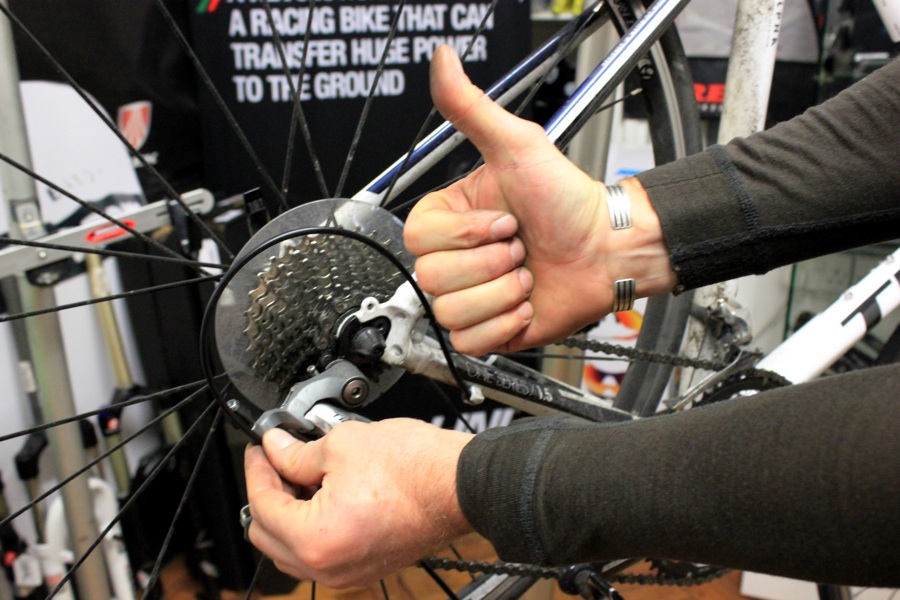
He warns against using the old cables and outers as a template for the length of the replacements. “If they were too long or too short in the first place, that could have been part of the gear issues,” he says. He recommends a ‘gentle arc’ between the two points, avoiding sharp angles. Ensure a ‘clean’ cut to avoid frayed cables that will prevent you from fitting cable end caps.
Good quality cable outers, Shimano’s for example, will be pre-greased. Before fitting the new outers to the frame, set the frame’s barrel adjusters. “Wind them all the way ‘in’, and then back ‘out’ a turn and a half,” says Jon. This will leave room for adjustment once the new cable has been fitted. Do the same with the barrel adjuster on the rear derailleur. Pull the cable tight, feed it through the channel beneath the pinch bolt, and check the function of the gears.
Typically, the first two shifts will not move the chain, but simply take up the slack in the cable, leaving the mech ‘out of synch’ by one click. Make one shift, continue to pedal, and turn the barrel adjuster of the rear mech one revolution in a anti-clockwise direction. This should induce sufficient tension into the cable to eliminate the ‘missing’ shift. Equally, the cable may have too much tension. Turn the adjustment barrel of the rear derailleur one revolution in an clockwise direction.
Trim off the excess cable with the cable cutter, leaving about an inch and a half of excess, and crimp the end cap into place.


