Fresh handlebar tape is a small fix that can make a big change to your ride, refreshing the way your bike both looks and feels.
And while it is a relatively simple procedure, there is a right way and a wrong way to do it – which if you’ve splashed out on some top end tape could mean a costly error if you’re in the latter camp.
Though some bars – for example the 3T Ergonova, as featured in the RCUK100 – boast internal cable routing, in most cases the first step should be to secure the brake and gear cables to the bar with electrical tape, ensuring they do not cross.
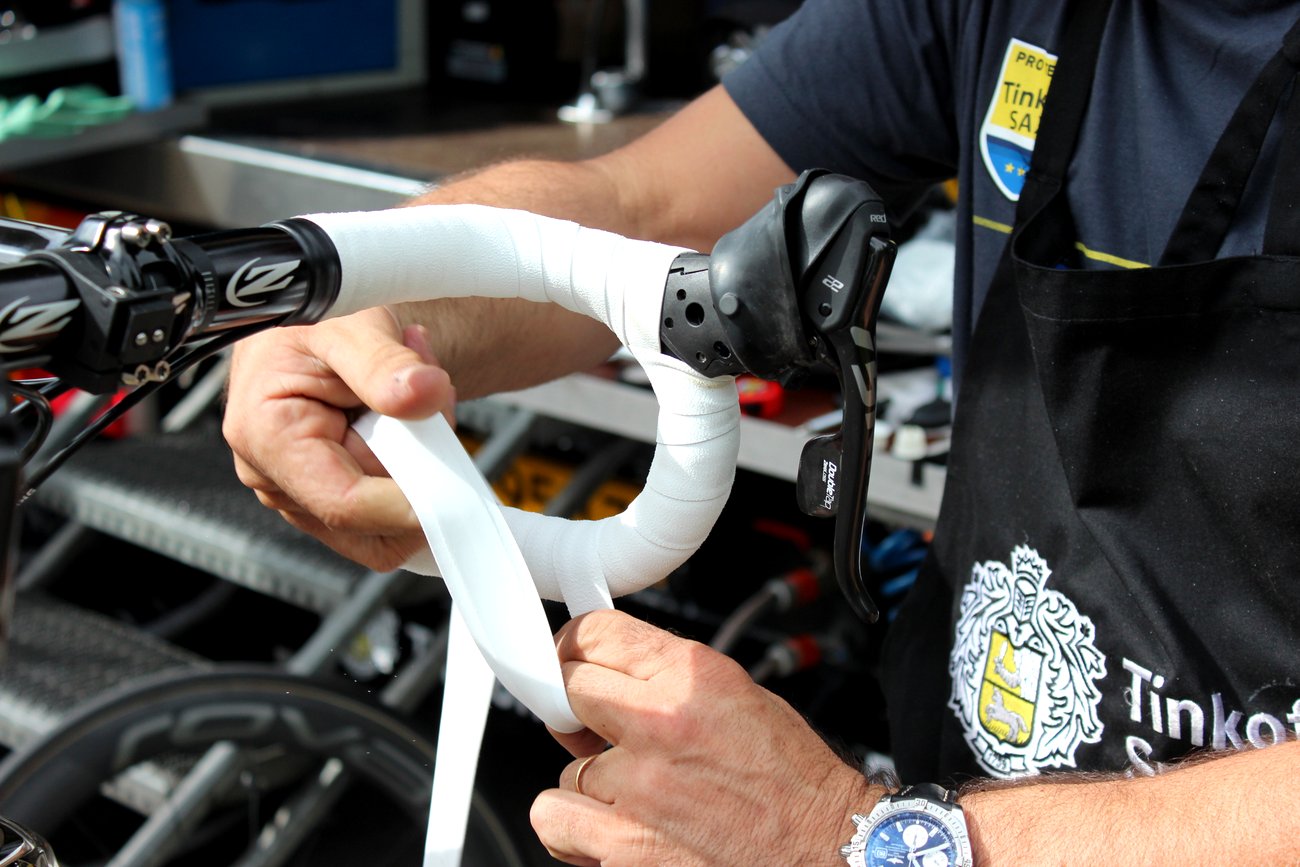
To start, you have several options – one is to insert an inch or two into the bar, before winding around the bar, while other people prefer to start with a centimetre or two of tape overlapping the end.
As for the wrapping, uniformity is key – you can wrap ‘inwards’ towards the frame or ‘outwards’ away from it, but make sure it is the same on both sides. Keeping the overlap – approximately half the width of the tape according to Ride’s Jon Hayes – consistent is also vital.
Just before finishing, standing in front of the bike and pulling towards you, cut the tape in half (on the side closest to the stem), to ensure the width is narrow enough to be concealed by finishing tape.
Finishing tape or, if you prefer, electrical tape should be used to finish the wrap – just a couple of revolutions will do, again in the same direction – before the bar end plug is applied.
Check out our detailed step-by-step guide for more of Jon’s top tips and pointers.