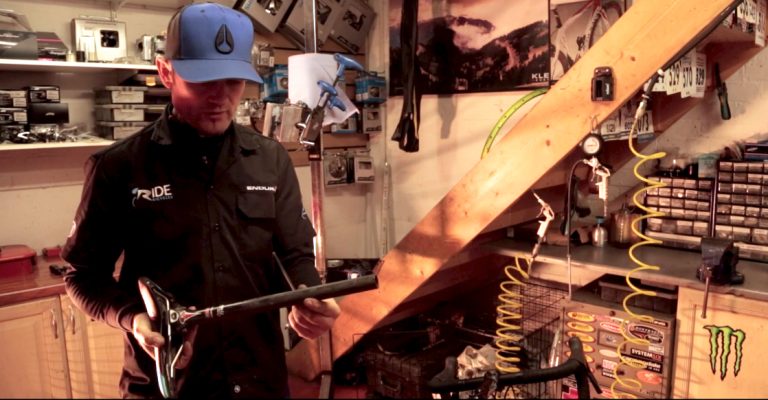
The set-stop screws are the next area of adjustment. Jon begins by adjusting the inner screw, which controls the derailleur’s range of travel ‘inwards’, towards the seattube, and which controls shifting from the outer chainring to the inner.
Having detected that the chain is rubbing against the front mech when the lowest gear is selected (the inner chainring and the largest sprocket), Jon uses a Phillips screwdriver to turn the inner set-stop screw in an anti-clockwise direction to create a slight gap between the chain and the inside plate of the front derailleur’s cage.
“Too big a gap and you could find that when you shift the chain across, it could throw it right off of the chainring,” Jon warns. “Too small a gap and you’ll get a noise.”
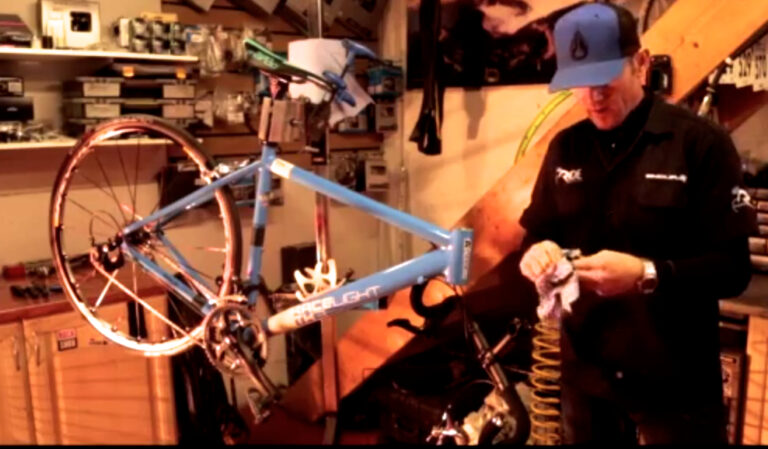
Before adjusting the outer set stop screw, Jon reconnects the cable to avoid having to pull the front derailleur into place by hand. He shifts the chain to the outer chainring and to the middle of the cassette, to create a straight chain line.
When he shifts into the smaller sprockets, however, Jon identifies that the chain is rubbing on the front derailleur. He pulls a section of the front derailleur cable below the downtube, but even using this extreme method to apply tension, the derailleur does not move far enough ‘outwards’, away from the frame, to prevent the chain from rubbing on the outer plate of the derailleur cage.
“That tells me that the set stop screw is too far in,” Jon says. There’s not enough room for the derailleur to travel ‘outwards’, away from the frame.
To resolve the issue, Jon adjusts the outer set-stop screw – the one furthest from the frame. Despite turning the screw in a clockwise direction to move the derailleur’s chain plate ‘outwards’ and away from the chain, further adjustment is required: more tension must be introduced to the cable.
Jon turns to the barrel adjuster mounted on the non-driveside of the frame, at the top of the downtube (bicycles without these mounts will use cables with barrel adjusters mounted in-line).
“We can introduce some tension by winding that barrel adjuster outwards, in an anti-clockwise direction, and that will allow the derailleur to travel out further,” he explains.
Having removed ‘chain rub’ from the system when the chain is on the outer chainring and the smallest of the sprockets, Jon shifts the chain to the middle of the cassette to create a straight chain line and a true indication of the front derailleur’s adjustment.
Satisfied that the derailleur is correctly adjusted for the outer chainring, he shifts to the inner, and to the largest sprockets on the rear. Again, he is satisfied that there is no ‘chain rub’. Finally, he shifts to the outer chainring and the largest of the sprockets. Here, he detects noise from ‘chain rub’.
“On these systems, you have a ‘micro adjust’,” Jon says. He presses the inner shift lever once and lightly to gain just enough clearance to allow the system to be run “big to big” – the outer chainring and the largest sprocket.
This ratio, however, places the chain at an extreme angle likely to create premature wear, and is not recommended.
Finally, Jon checks the function of the rear derailleur with some ‘rough shifts’ – pressing the buttons on the STI lever that control the front mech in rapid succession – to simulate ‘real world’ conditions.
Satisfied that the derailleur does not ‘over shift’ in either direction, he resolves to place a cap on the end of the cable to prevent it from splitting.