Brake pads suffer more than their fair share of attrition in the winter months.
The natural wear brought on by the friction of pad on wheel is often exacerbated by the grime that transfers itself from the road to the pad surface and the wheel rim’s brake track.
We checked in with Jon Hayes, mechanic at independent bike shop, Ride, to learn the few simple steps required to replace brake pads.
Jon’s demonstration is centred around the front bake. Unusually for a bicycle maintenance procedure, greater complexity is demanded from the front than the rear: in this case, removing the front wheel to allow access to the rear of the brake shoe.
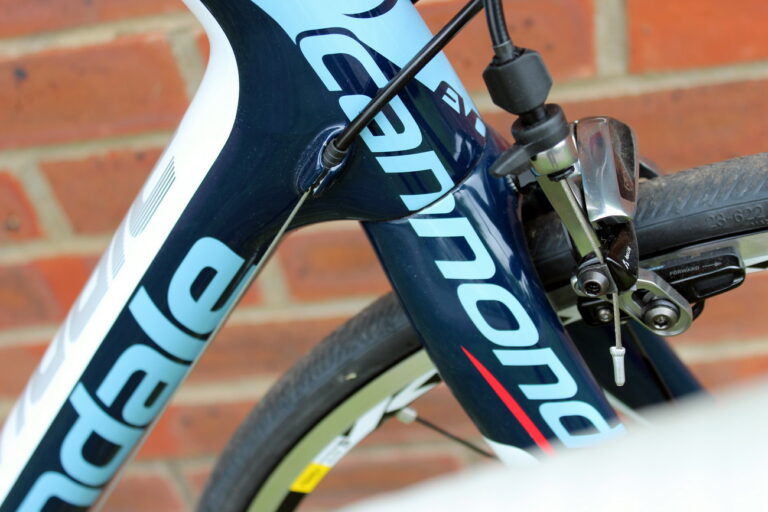
The brake shown is a non-series, long-drop caliper from Shimano, but the procedure followed will be the same for almost any. Jon begins by raising the caliper’s cam lever, which creates sufficient space between pad and tyre to remove the wheel.
With the wheel removed, Jon turns his attention to removing the pads, and begins by loosening the tiny ‘grub’ screw in the rear of the brake shoe. With the screw removed, he’s able to push out the pad with his thumb.
Jon highlights the importance of correct orientation of the shoe, and the ease with which he’s able to push the pad free underlines his advice. Be sure to position the shoe so the opening is facing ‘backwards’, towards the rear wheel. If it faces in the direction of travel, the momentum of the wheel will pull it free when the brake is applied.
Having removed the old, worn pads, Jon turns his attention to the replacements. The replacement pads he chooses are from Shimano and are supplied with grub screws; he warns that this essential hardware is sometimes missing from cheaper alternatives.
“It’s only a tiny Allen key, so do be careful with these,” Jon warns as he tightens the grub screw. “It’s easy to round them out if you’re heavy handed.”
Replacing the pads does not represent the end of the job, however. The new pads will have more material, and reintroducing the wheel can sometimes be difficult. Ensure the brake caliper’s cam lever is fully extended.
Additionally, the extra pad material is likely to have effected lever travel: less will be required to bring the pad into contact with the rim. If the travel is too ‘short’ for your liking (and lever travel is a matter of personal preference), Jon recommends turning the barrel adjuster in an anti-clockwise direction.
Jon concludes the process by checking the alignment of the pad with the wheel rim ensuring that it’s positioned against the rim’s brake track without excessive ‘toe-ing’, so that the pad is flush with the wheel rim.
To achieve this, Jon squeezes the brake lever, bringing the pads into contact with the rim, and loosens the 4mm Allen bolt on the side of the pad. Once it’s correctly positioned and tightened sufficiently to hold it in place, Jon holds the pad with one hand and makes a final tighten with the allen key.


