Share

Technique

Beginner’s guide: how to use clipless road cycling pedals

If you're thinking of making the move to clipless pedals, or are worrying about it, here's a guide to getting started

For beginners, the idea of locking your feet into the pedals of a bike seems like madness, but it has a number of advantages, and it’s for good reason that almost all road cyclists use clipless pedals.

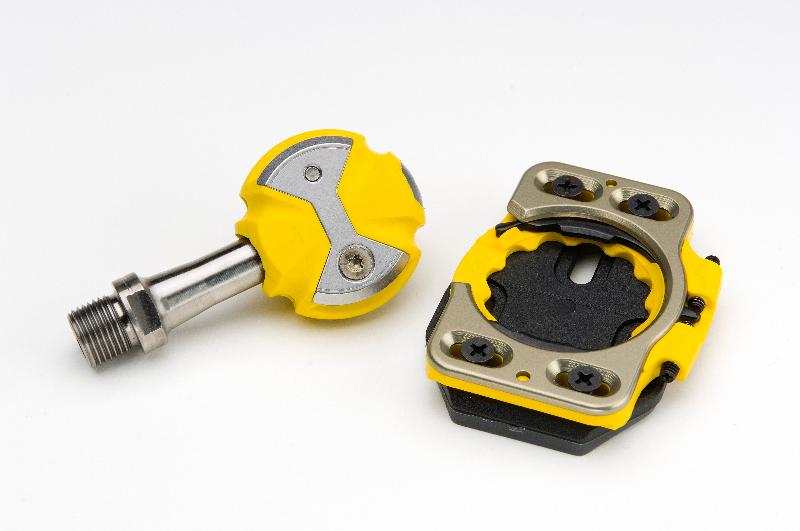
The term ‘clipless’ confuses a lot of people who aren’t indoctrinated into the way of the bicycle, especially when seasoned riders talk about ‘clipping in’. The name clipless comes from the fact that you can do away with the toe clips (or straps) employed by Coppi, Merckx, Anquetil et al in favour of a cleat binding system that locks the bottom of the shoe to the pedal, inspired by the way skis boots bind to skis (LOOK, who invented clipless pedals, were already making ski boots when the idea of taking that system to cycling was dreamt up).

Using clipless pedals for the first time can be a daunting experience, but it will change the way you ride

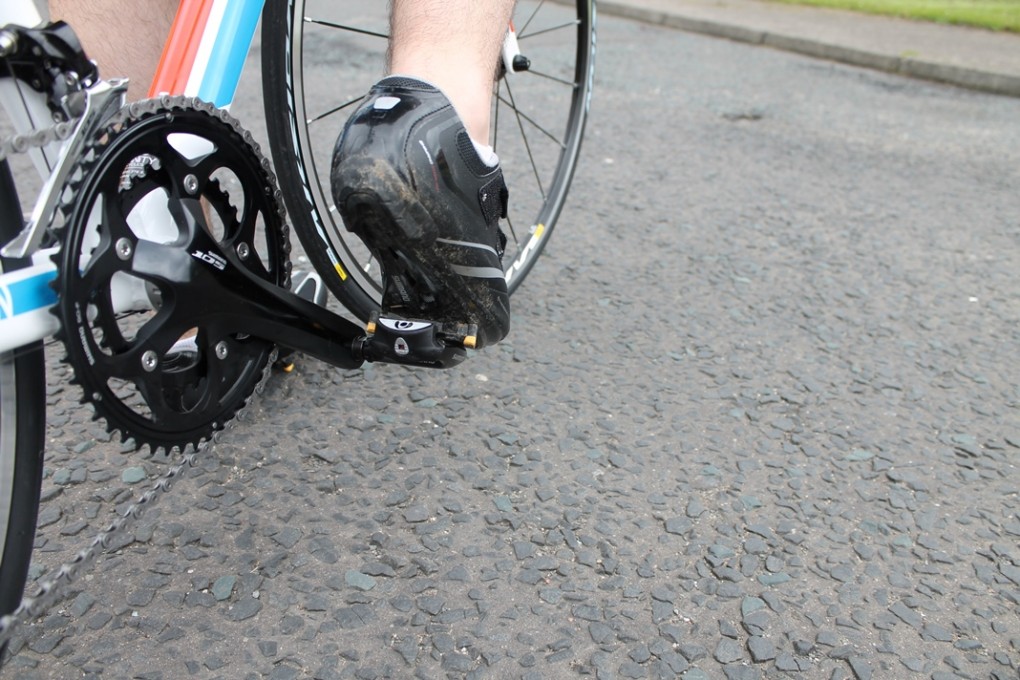
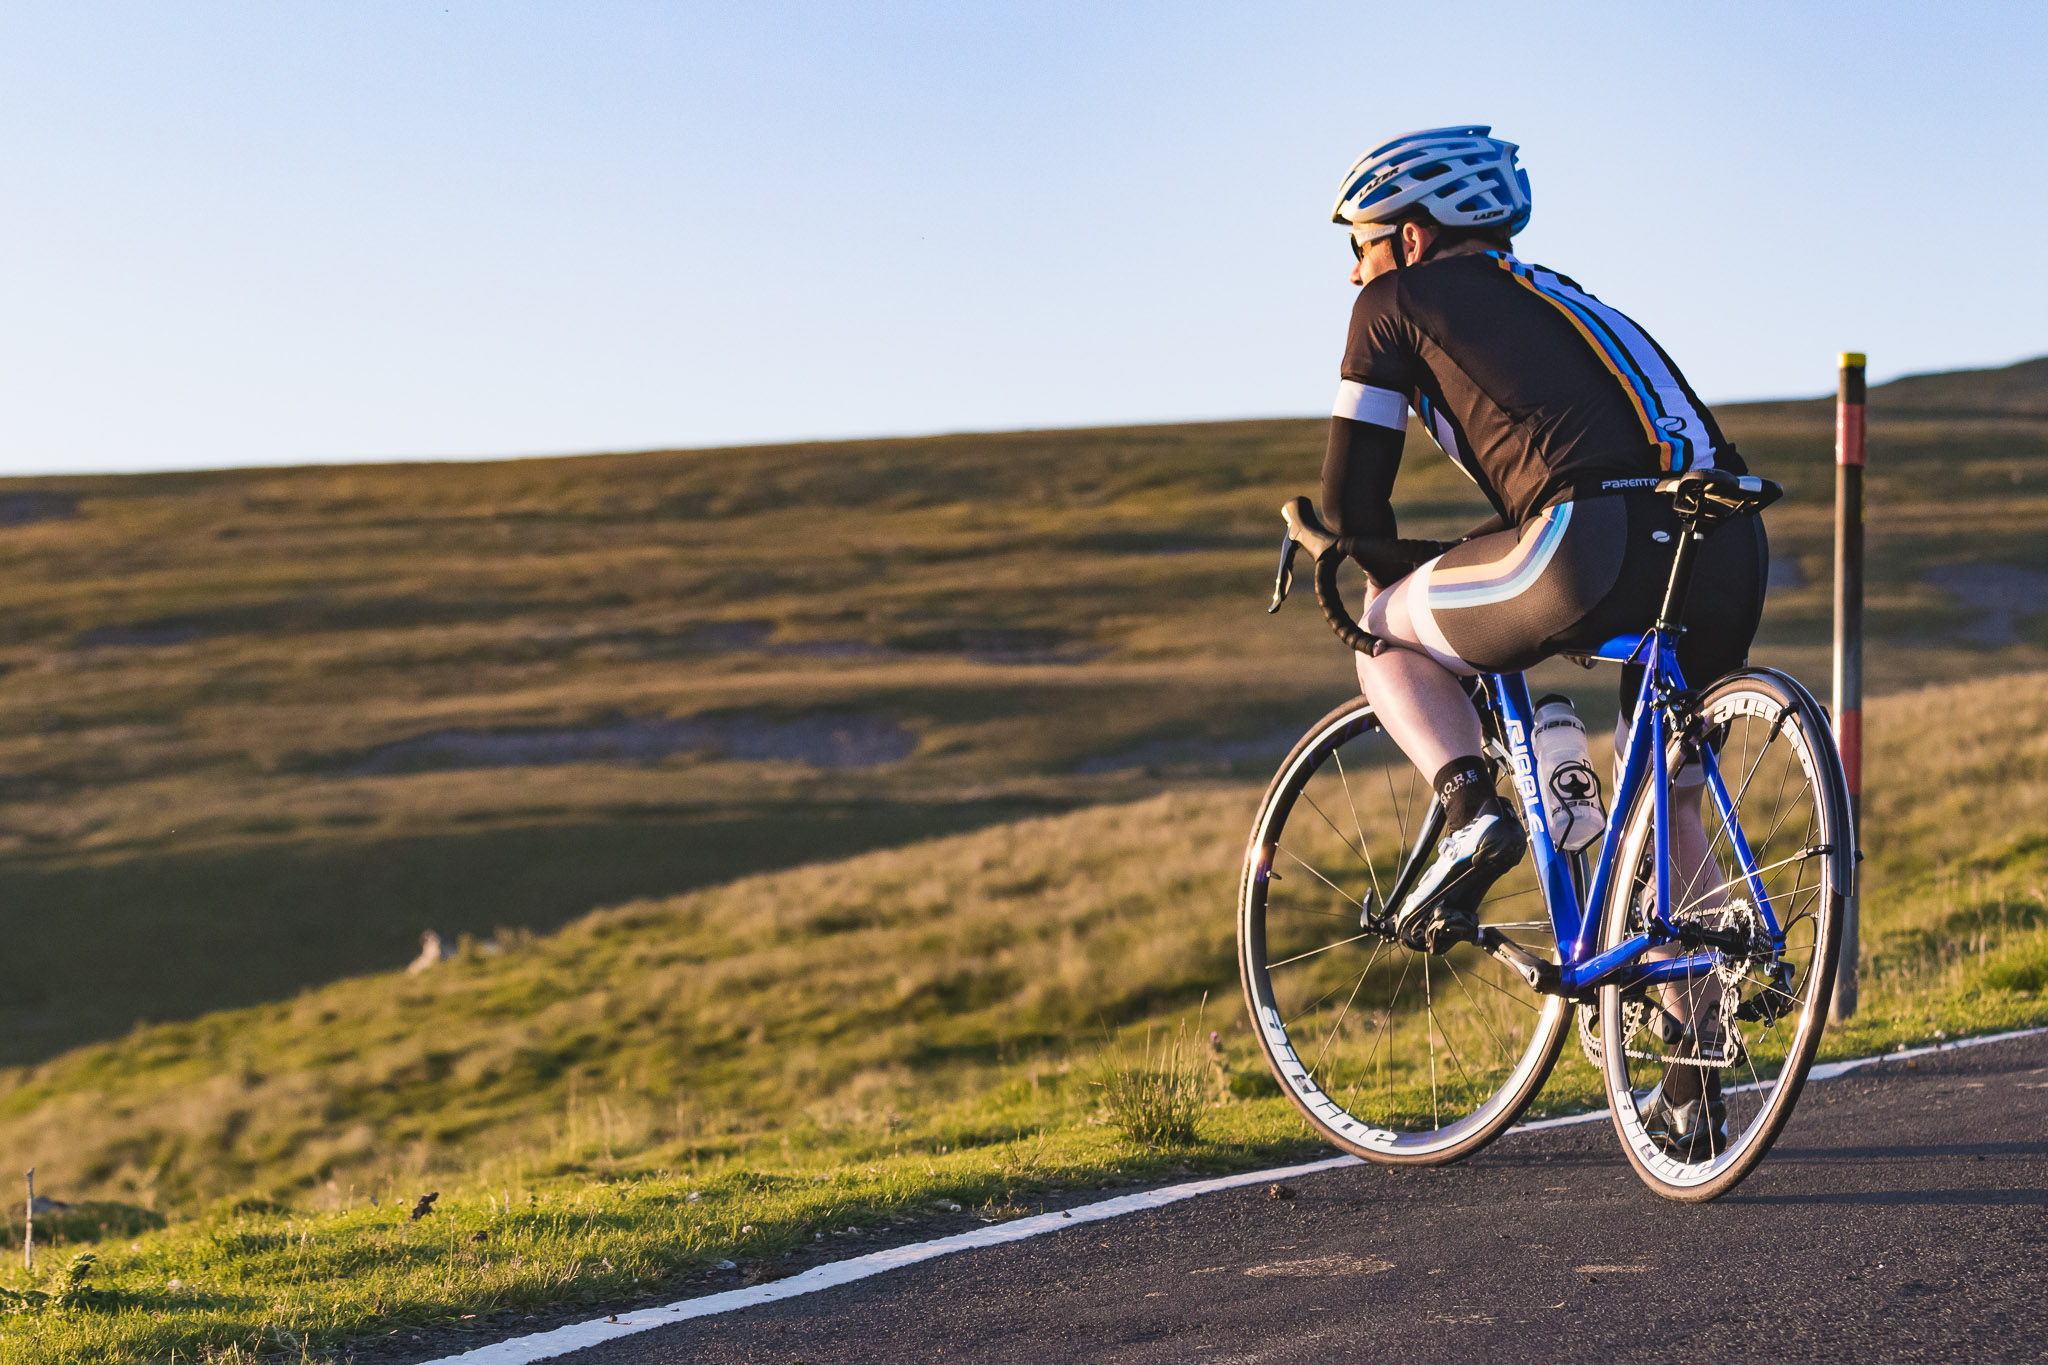
Why use clipless pedals? There are two primary reasons. The first is that it’s very comfortable. Anyone whose tried to ride a road bike hard using flat pedals will know that your feet tend to slip around, meaning you have to reposition them every now and then.

If your feet are attached to the pedals, they stay put. This also helps with handling, descending and all sort of other tasks on a bike where it’s easier to not have to think about keeping your feet on the pedals.

Secondly, clipless pedals help with pedalling efficiency. Not simply because you’ll automatically eek out more power when you use clipless pedals, although they’ll definitely help, but have you ever tried pedalling at 100 rpm in flats?

It’s not easy. If you’re a fan of a high cadence (and it’s recommended that you maintain a cadence of 80-100rpm on the bike), clipless pedals are a vital part of achieving that goal without wasting extra energy (both physical and mental) trying to keep your feet in contact with the pedal for the whole revolution.

But all that aside, using clipless pedals for the first time can be a daunting experience. In this guide, we’ll look to make the transition easier by running through cleat setup, what you need to do before you head out on the road, and, of course, what clipping in actually involves.

If you’re yet to get yourself a set of clipless pedals, then take a look  at our pedals buyer’s guide.

Cleat setup

There are plenty of different pedals on the market but the good news for beginners is that no matter which you choose, they all have essentially the same action when it comes to clipping in and out.

While the subtleties may be different, for almost all road clipless pedals you place the cleat on the pedal with your foot and press down to engage, and rotate the foot away from the bike to release.

You need to make sure that your specific cleat and pedal match up. These Shimano cleats will work with, you guessed it, Shimano pedals

Where the differences in the pedal will manifest themselves is in the cleats. Shimano and LOOK cleats are rather similar, with Shimano’s offerings being slightly bigger than their French counterparts due to the fact that the platform of the pedal itself is larger.

Meanwhile, Time cleats look like a sort of rounded off isosceles triangle or, if you prefer, a rectangle that comes to a point. But Speedplay wins the prize for having cleats that look nothing like the rest. Because of the ‘lollipop’ shape of the pedals, the cleat is rectangle with a circle cut out of it for the pedal body and axle.

The other thing to know about cleats is ‘float’. Float is how much the cleat can move around in the pedal and different cleats will offer different levels of movement. Shimano and LOOK both offer three different versions of their cleats with three different levels of float. Both companies colour code their cleats, making it easy to determine which is which.

Speedplay’s cleats have adjustable float, so you can have 0-15 degrees of movement or anything in between. You simply adjust the two small screws – that you can see on the right of the cleat pictured here – to alter the amount of float in each direction

Time have simplified the process by offering only one cleat that comes with 2.5mm lateral float, and five degrees of angular float in either direction.

As ever, Speedplay have the most adjustable system. Their cleats allow up to 15 degrees of float, but are adjustable so you can dial in exactly how much you’re comfortable with, or even start low and increase over time. It’s a smart system and makes it easy to let yourself in slowly to the idea of floating cleats.

Cleat setup is a personal thing that you’ll likely need to play around with a little before you find what works best for you.

The best place to start is to fix the cleat under the ball of the foot and align so that your foot sits straight on the pedal. This gives you a starting point from which you can make adjustments relative to any discomfort or strain you feel when riding.

One thing to keep in mind is that it’s entirely possible you might end up needing different cleat angles on both feet. If you really want to make sure your cleat position is dialled in, then get a bike fit.

Quality bike fitters will be able to analyse your pedal stroke and determine exactly where is best for you to have your cleats positioned.

Don’t be afraid to practice clipping in and out of pedals while leaning up against a wall

Before you get out riding

Before you think about heading out onto the road with your new clipless pedals, start by propping yourself up next to a wall and practicing clipping in and out. It might feel silly, and you might look a little funny, but the clipping and unclipping action is something you need to feel totally comfortable with before you start riding.

The other thing that this is useful for is making sure that your release tension on the pedals is appropriate. Some cheaper pedals don’t let you adjust release tension, but for ones that do you need to make sure you can get your foot out quickly and easily. High tension might be great for sprinting, but it can (quite literally, if you’re unfortunate and topple over), be a right pain if you need to make a quick emergency stop.

Eventually, both will become second nature and won’t need any conscious thought to perform but don’t worry if, in the mean time, you end up toppling over – we’ve all done it.

Clipping in

For the purposes of this guide, we’ll be focusing on Shimano pedals, although everything is pretty much applicable to LOOK and Time pedals, too. Speedplay’s system works a little differently in that the pedal is double-sided and the engagement mechanism is in the cleat, but the rough principle is the same.

Shimano and LOOK tend to be the most popular types of pedals with new riders, mostly because both manufacturers have lots of different pedals, including some very cheap ones, and most bike shoes come with three bolt holes on the bottom, designed to work with Shimano, LOOK or Time cleats.

Shimano pedals are designed to hang down in the same orientation no matter where the crank arm is in its revolution. This is handy because it makes clipping in far easier as it means the section of the pedal where you first engage the cleat will be pointing upwards at all times when you’re unclipped.

You’re aiming to get the point of the cleat sitting in the U-shaped space at the top of the pedal in the picture below. It’s important to make sure that the front of cleat is seated properly before you press down, otherwise your foot can slide off the pedal and cause you to slip.

You’re aiming to get the point of the cleat sitting in the U-shaped space at the top of the pedal in the picture

To start, move your foot towards the pedal, and aim the front of the cleat at the top of the pedal while nudging the front of the pedal around with the toe of your shoe.

To start, move your foot towards the pedal, and aim the front of the cleat at the top of the pedal

Here, the front of the cleat is in place which means when I shift my weight to complete the clipping in motion, the cleat won’t slip causing me to lose balance and possibly fall off.

Here, the front of the cleat is in place which means when I shift my weight to complete the clipping in motion, the cleat won’t slip

When the front of the cleat is in, press weight down through the centre of the shoe until you hear a click, which will be the cleat engaging fully with the pedal.

When the front of the cleat is in, press weight down through the centre of the shoe until you hear a click, which will be the cleat engaging fully with the pedal. People often describe this motion as pushing the heel down, but I think that’s a little misleading as it’s really a lot more like simply shifting a bit of weight onto that side.

People often describe this motion as pushing the heel down, but I think that’s a little misleading as it’s really a lot more like simply shifting a bit of weight onto that side. Check out the video above to see how it’s done.

Shimano pedals are designed to hang down in the same orientation no matter where the crank arm is in its revolution.

Over time you’ll work out what foot you like to click in first, but in terms of getting the other foot in while you’re moving I personally find it best to make sure the pedal you’re trying to clip into is at the top of the pedal stroke.

That way you can position your foot correctly and use the motion of pushing down through the pedal stroke to engage the cleat.

If you want to unclip, twist the ankle of the chosen foot out away from the bike. A loud clicking sound will let you know that your foot is out correctly, and you’ll also likely feel the unclipping motion through the sole of the shoe.

Over time, clipping in and out will become second nature

Make sure your foot is out completely before you try to put your foot down, otherwise you’ll just overbalance and fall.

Again, you’ll soon figure out what foot you like to disengage and place on the ground when coming to a stop, whether it’s at a junction, set of traffic lights, or the cafe.

This all probably sounds quite intimidating (and believe me it’s far more difficult to articulate than it is to do), so check out the video, practice for yourself, and you’ll soon be out on the road.

Share

Newsletter Terms & Conditions

Please enter your email so we can keep you updated with news, features and the latest offers. If you are not interested you can unsubscribe at any time. We will never sell your data and you'll only get messages from us and our partners whose products and services we think you'll enjoy.

Read our full Privacy Policy as well as Terms & Conditions.

production