Step one
-
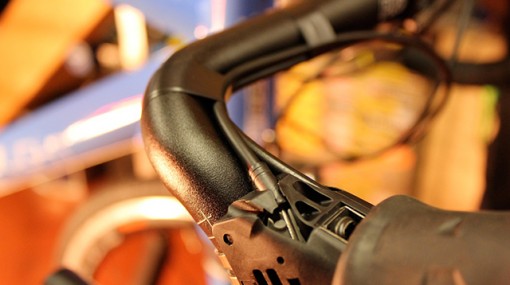
Ensure the cables are correctly seated within their STI lever housing
-
There are many ways to begin the taping procedure. Some prefer to insert a short length of tape into the bar end
-

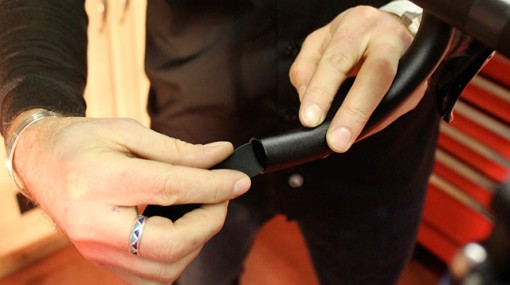
'Cheater strips' are applied to cover the clamp of an STI lever
-
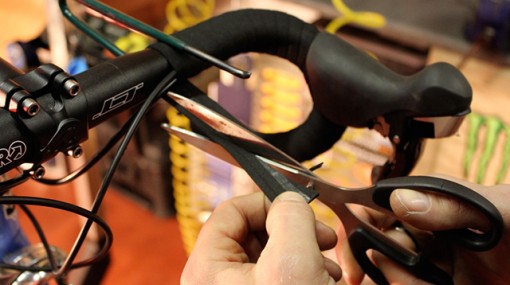
Cutting a taper at the end of the handlebar tape will make it easier to conceal beneath the electrical tape applied to retain tension
-
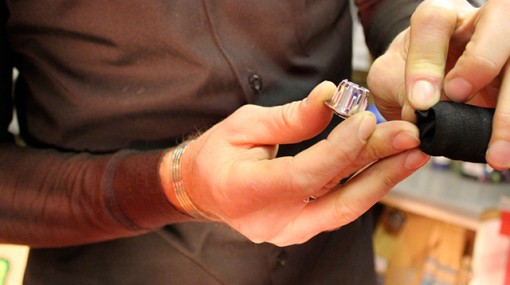
Some bar end plugs are embossed with a logo. Make sure it's the right way up!