Tubeless tyres have been little short of revolutionary in the world of mountain bikes, and their popularity with road cyclists is increasing.
A half-way house between tubular tyres, or ‘tubs’, and traditional ‘clincher’ tyres used with inner tubes, the tubeless tyre is mounted to a compatible rim and filled with sealant.
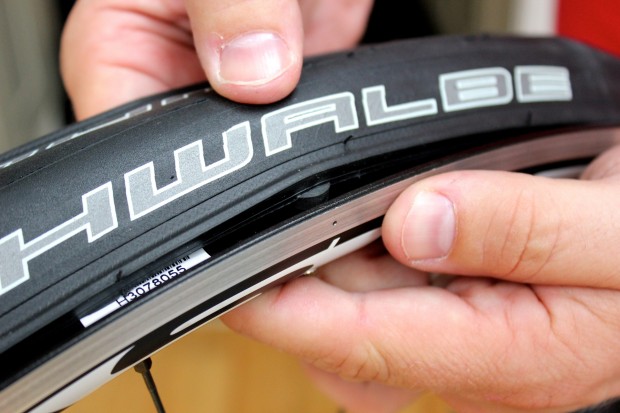
We seized the opportunity to unite the pair of Schwalbe Ultremo ZX tubeless tyres arrived at RCUK Towers with the Easton EA90 RT aluminium rims supplied with the recently-tested BMC Granfondo GF01.
We’ll report the performance of the new rubber, and its effect on the BMC Granfondo, in a separate article. You can read our first look here. In this article, we’ll examine the process of fitting tubeless tyres to a compatible rim.
Step one – remove the existing tyre
A tyre lever can be used to remove a traditional clincher tyre from a tubeless compatible rim, but don’t use one to fit the tubeless tyre, or you could damage the bead, which is critical to forming an effective seal in the absence of an inner tube.
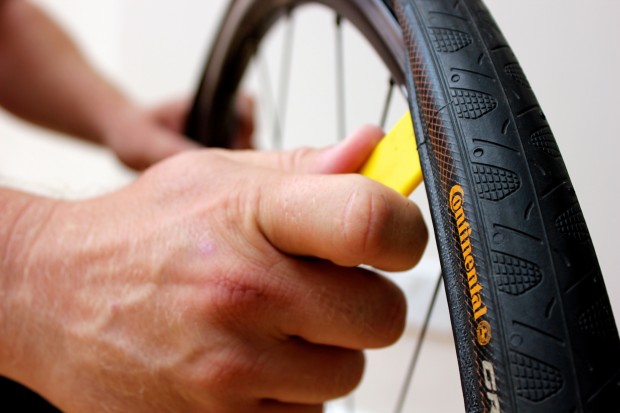
What makes a rim tubeless compatible? Look closely, and you’ll see a bead hook. The bead on a tubeless tyre acts as the seal, holding in air and the fluid that rushes to fill any breach in the tread or sidewall.
Step two – fit the valve
Tubeless tyres are supplied with a valve designed specifically for the application. It is secured with a rubber bung on the inside of the rim and allows air into the void between rim and tyre. Tightening the valve ring will help to ensure an air-tight seal.
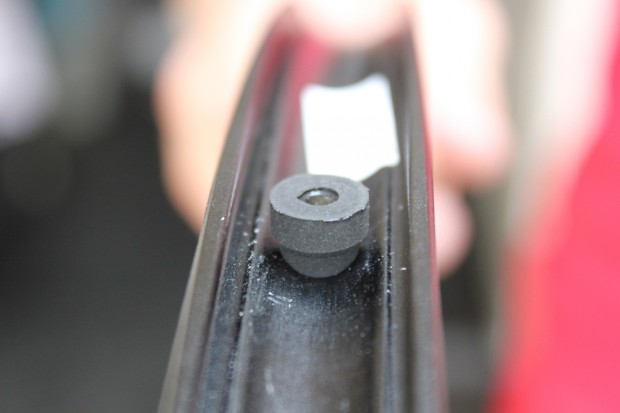
Note that the spoke bed on a tubeless compatible rim is not drilled in the manner of a conventional clincher wheel. This ensures it is sealed against the loss of air or fluid.
Step three – fit the new tyre
Partially fit the new tyre by pulling one side over the sidewall of the rim. As previously mentioned, do not use a tyre lever to do so. Damage to the bead will prevent the tyre from maintaining an effective seal.
Step four – add sealant
With the tyre partially fitted, it’s time to add sealant, which typically is supplied with the tyres.
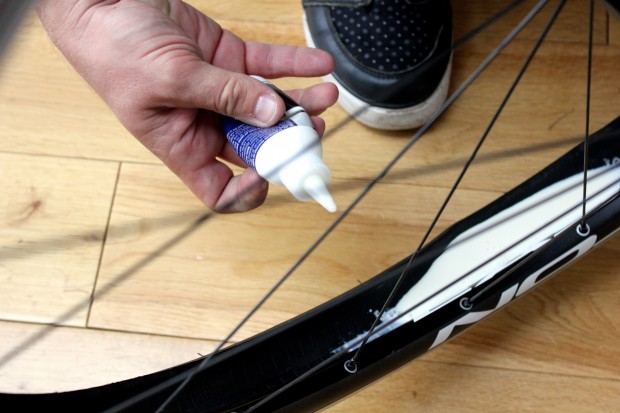
We used 40ml of Stan’s No Tubes sealant for each of our Ultremo ZX tubeless tyres. Deposit the contents of the sealant tube inside the tyre at the section closest to the ground.
Step five – complete tyre fitting and inflate
Complete the fitting of the tyre by pulling the opposing sidewall over the rim. To avoid damaging the tyre bead, do not use a tyre lever to complete this process. Schwalbe supply a bead lubricant to aid the process, but we didn’t find it necessary to fit the tyre.
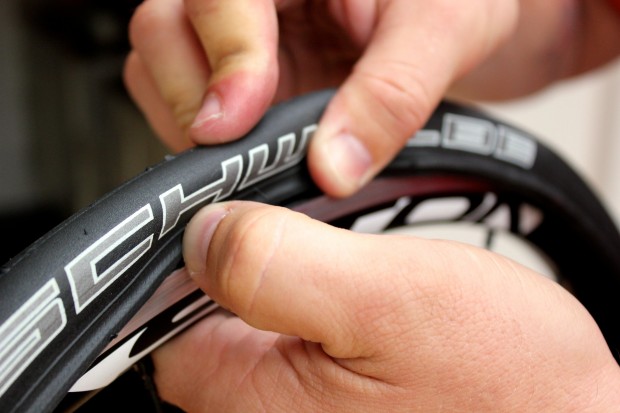
Check the bead is correctly seated and inflate the tyre. Each manufacturer will have a recommended pressure. Schwalbe claim a range of between 70psi and 120psi for the Ultremo ZX tubeless. Once inflated, check again that the bead is seated correctly, and spin the wheel to ensure the sealant is distributed evenly.

