Inspecting and replacing a chain
-
Learning to fix your own bike can save you the expense - both cost and time - of turning to a pro mechanic
-
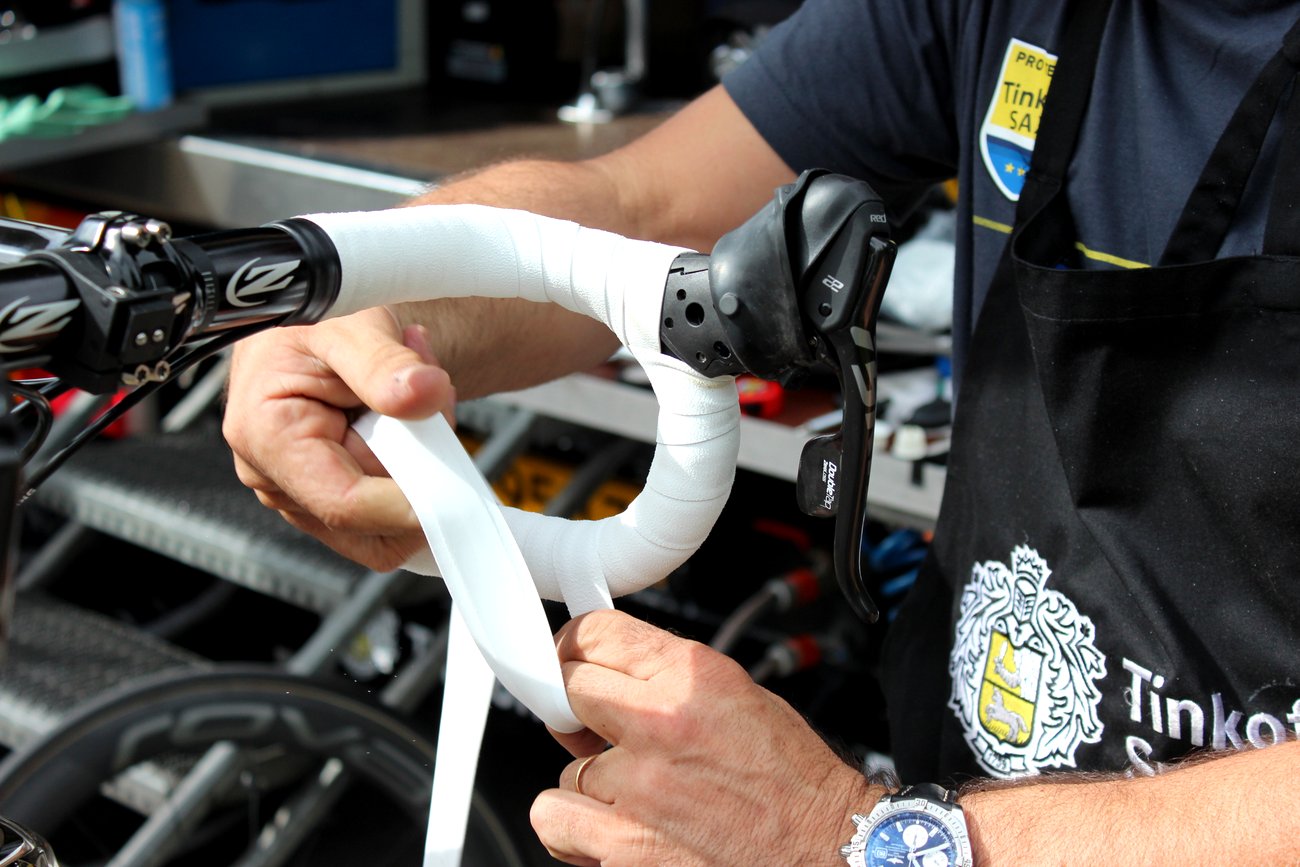
Fresh handlebar tape can do wonders when it comes to refreshing your ride
-
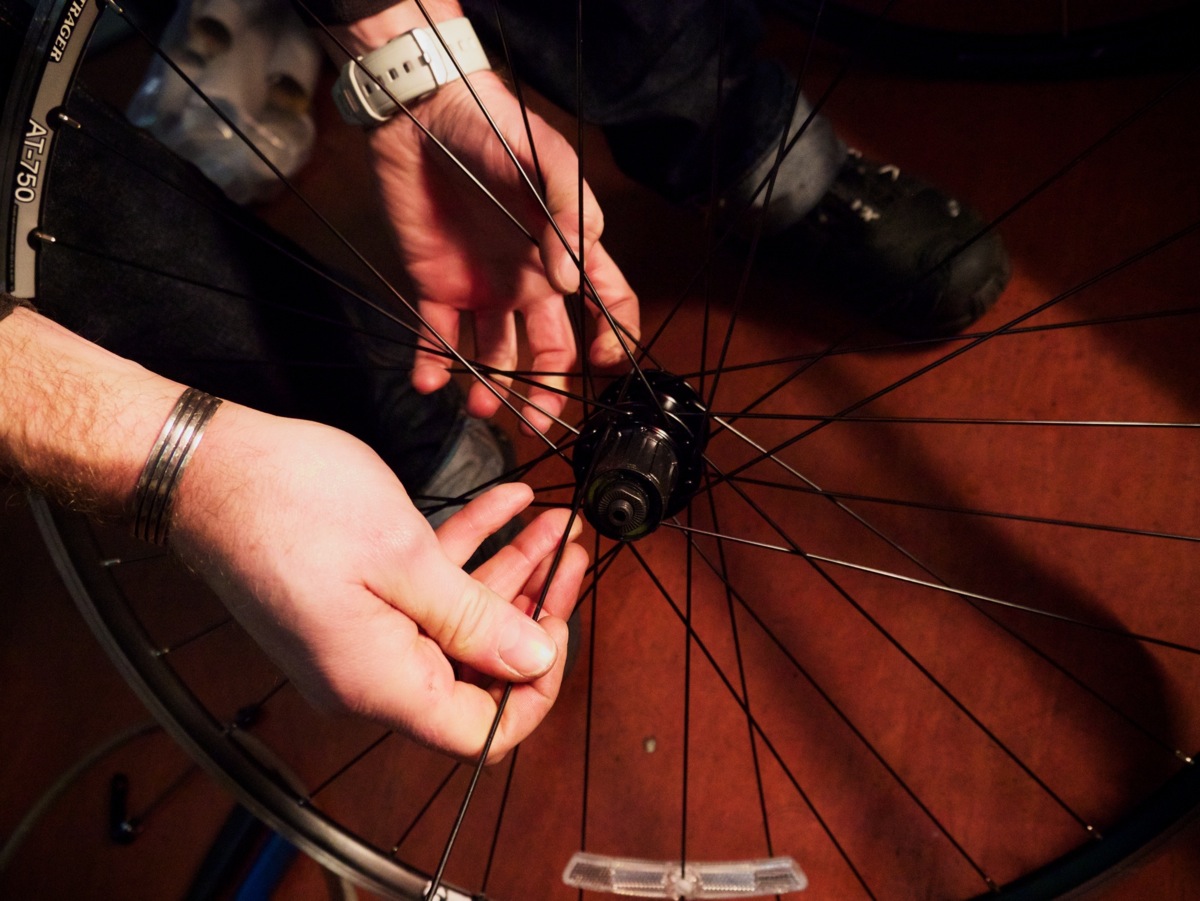
A broken spoke is relatively to fix with the right tools
-
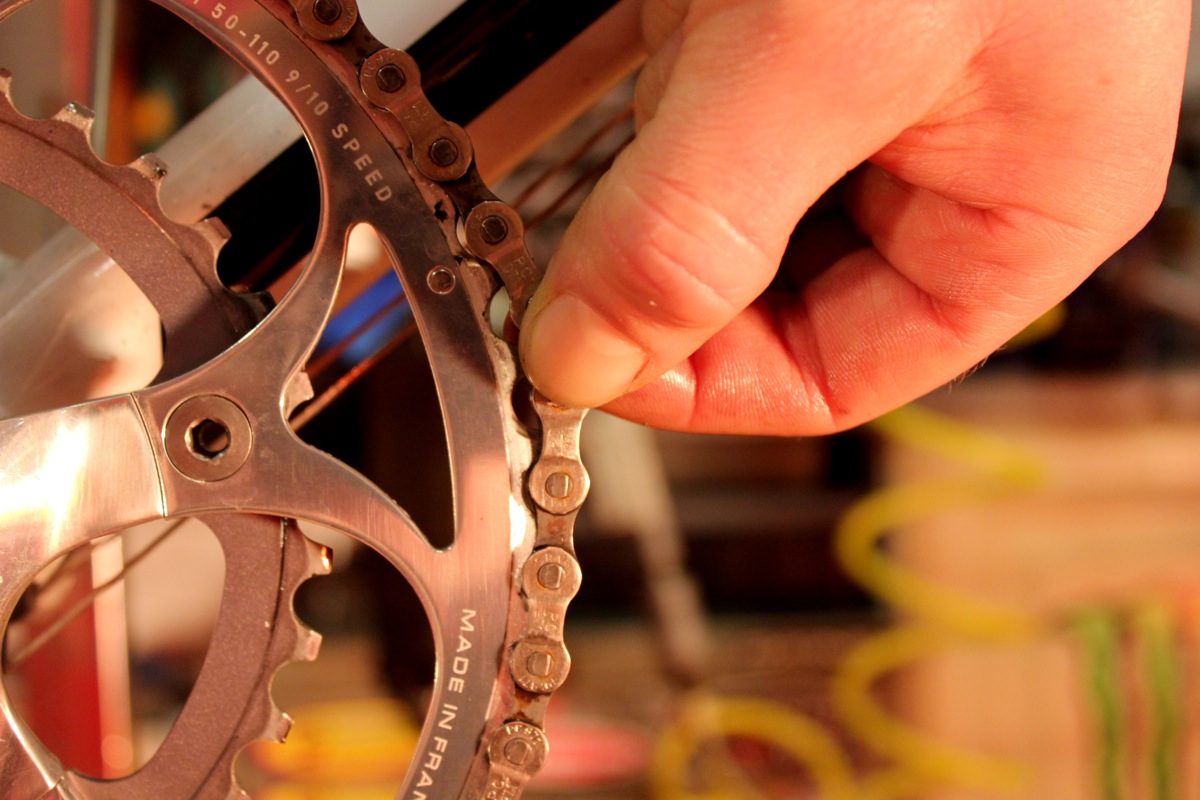
Chain wear can be checked manually by examining how many links can be lifted from the chainwheel
-
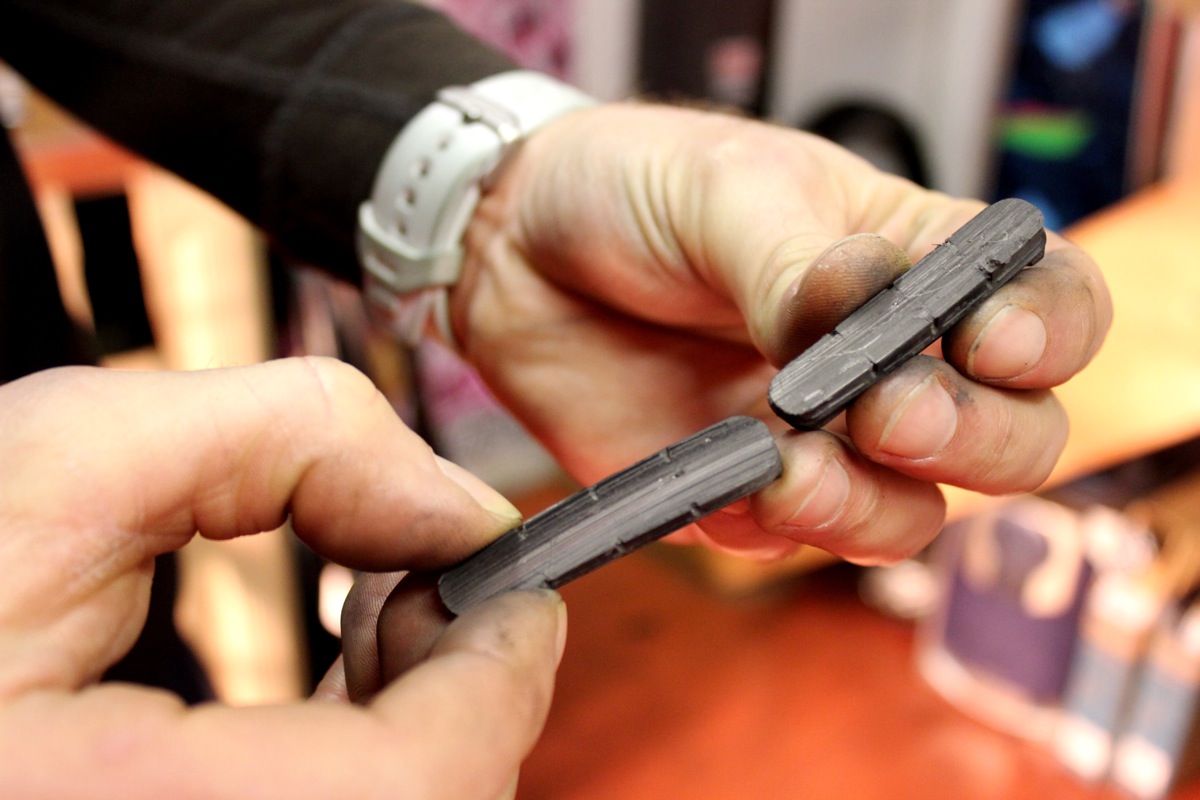
Brake pads will naturally wear over time, and it is essential to check them regularly
-
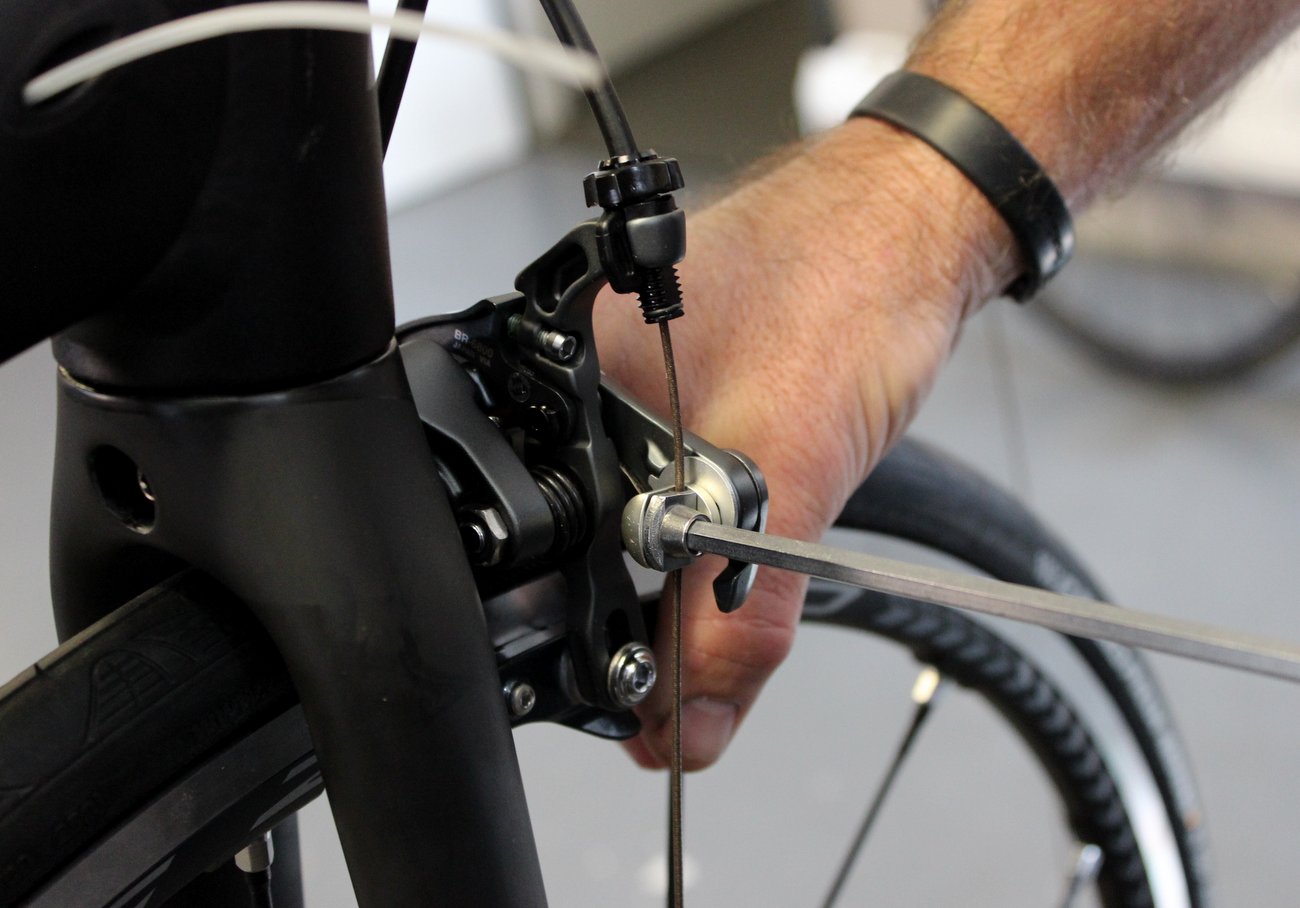
Prevention is better than cure when it comes to replacing a brake cable
-
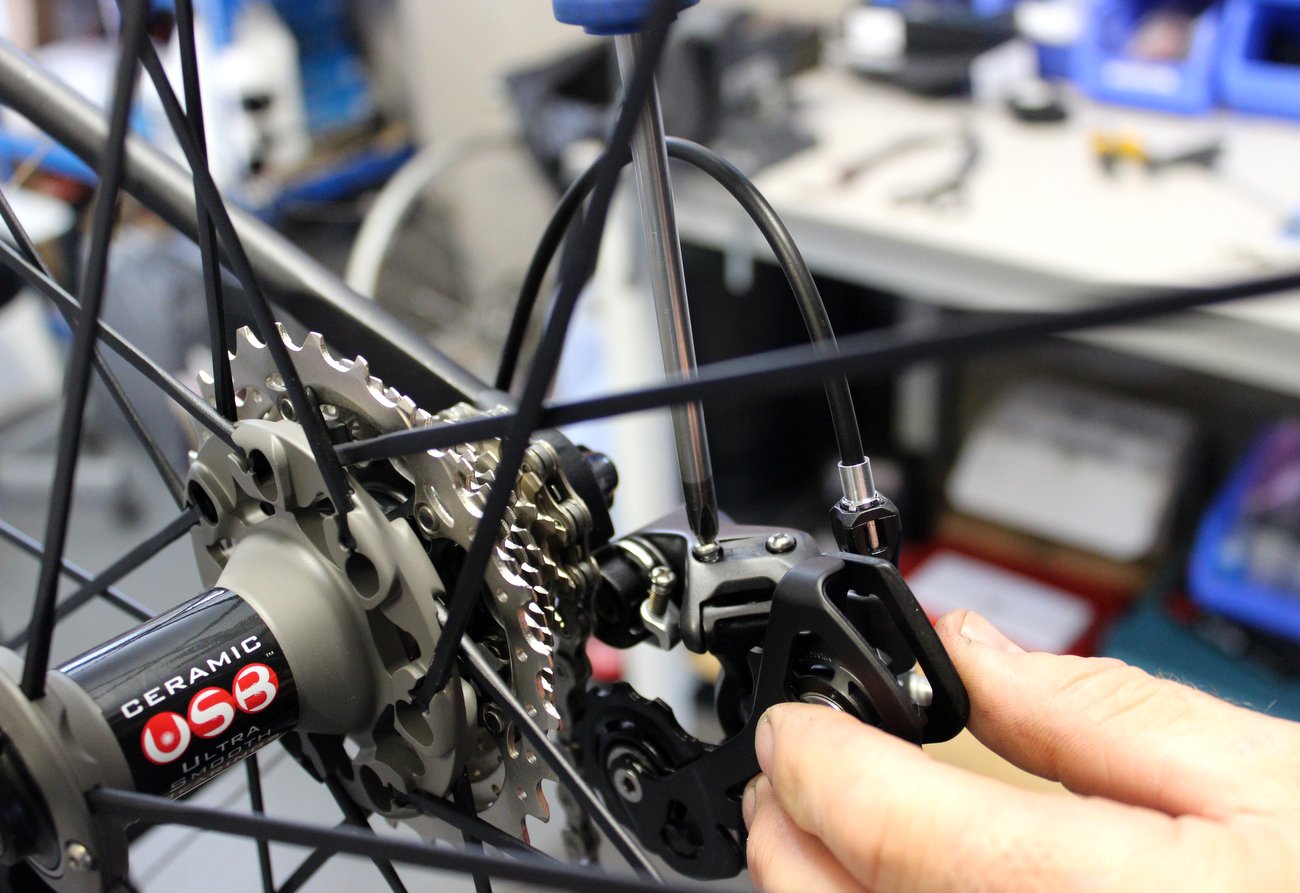
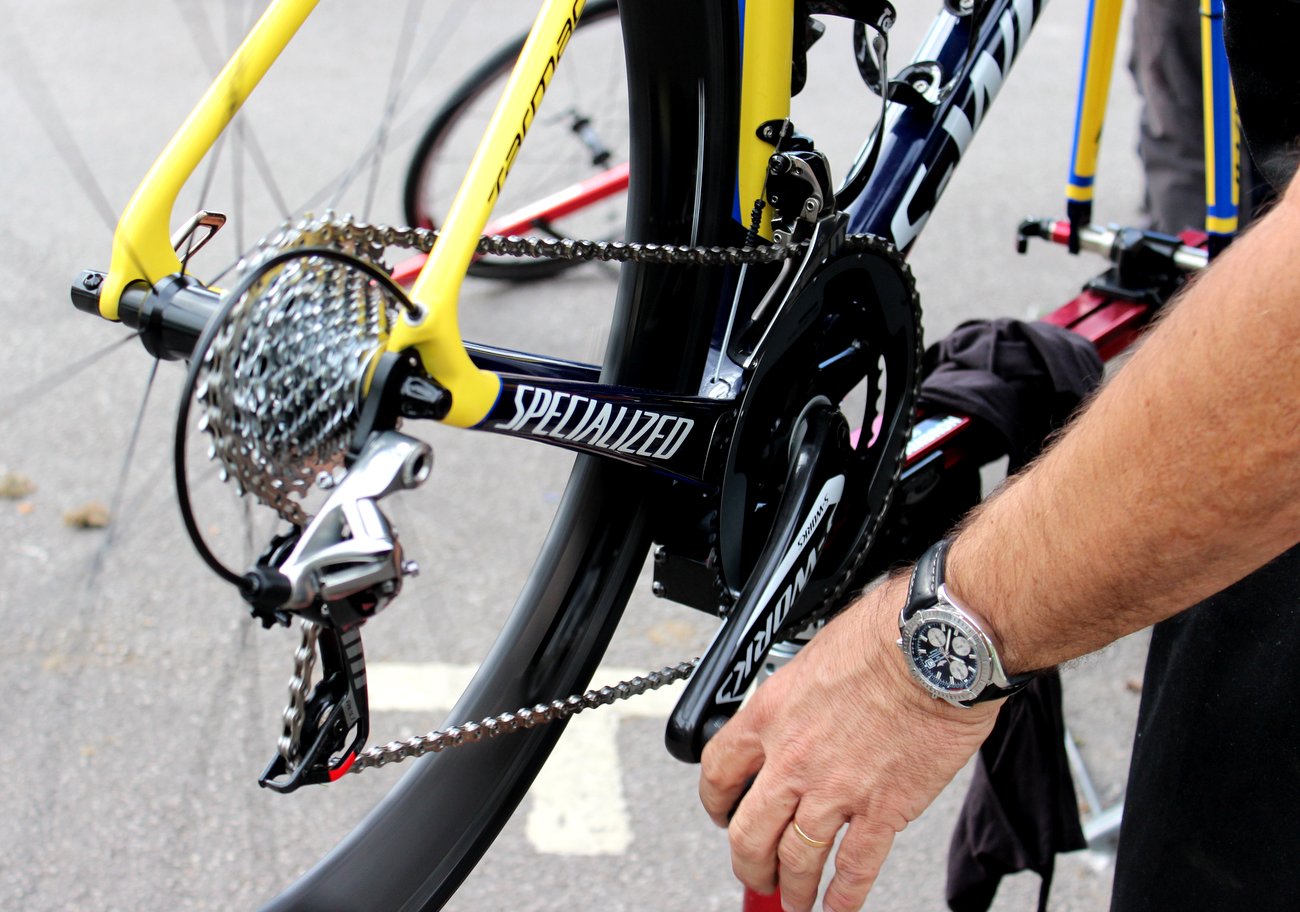
Ensuring that your derailleurs are properly adjusted will help to keep your shifting smooth
Inspecting and replacing a chain
At the centre of your bike’s mechanical heart, the chain faces the most stress due to riding of all the components.
It is essential, therefore, to regularly inspect, clean and – where necessary – replace your chain.
So what exactly are you looking for when you inspect a chain, and how should you do so? The most accurate way is with a chain checker tool, available from many brands, but you can also save the expense by checking manually. Lift the chain from a section of the chainring, and examine how many teeth it exposes – three or four suggests excessive wear. Alternatively, remove the chain completely – shift it to the inner chainring and the smaller sprocket first to make life easier – and see how much flex it offers by trying to unite the two ends with the chain laying on the floor in the same orientation that it would sit on the bike. The closer you get it to being a complete full circle (the more side deflection that’s possible) the more worn it is.
The idiosyncrasies of each brand – SRAM, Shimano and Campagnolo – means replacing each chain can require a different technique.
For the most part, chains are interchangeable between brands, but never speeds – ten-speed is ten-speed.
Check out our guide to replacing each brand’s chain here or watch Ride’s Jon Hayes replace the chain on a ten-speed Shimano drivetrain in this video.
Share