Share

Maintenance

What’s that creak? How to identify and fix annoying creaks coming from your bike

We narrow down some key areas to pay attention to if your bike is suffering from persistent and annoying creaks

Let’s paint a picture: you’re out on a ride, wind rushing through your helmet, quiet rural roads all round, with nothing to disturb the peace. You’ve just got the gentle whir of a perfectly-running chain against the cassette and the hum of tyres on tarmac as your soundtrack. Everything is blissful.

Then, out of the blue, you hear a rattle. Or was it a creak? Or squeak? It comes and goes, interrupting your blissful scene. It becomes more regular, louder, more violent, yet you look down and can’t for the life of you work out where it’s coming from. Suddenly you can’t focus on the ride, but only on your bike and the noise.

Sound familiar? We’ve all been there. To help you diagnose and potentially fix any problems, we’ve compiled a list of some of the most common creaks and sounds likely to come from your bike, with the help of a couple of expert mechanics. While a confident home mechanic will be able to solve many problems themselves, if you’re not sure then take your bike into your local shop for a pro to take a look.
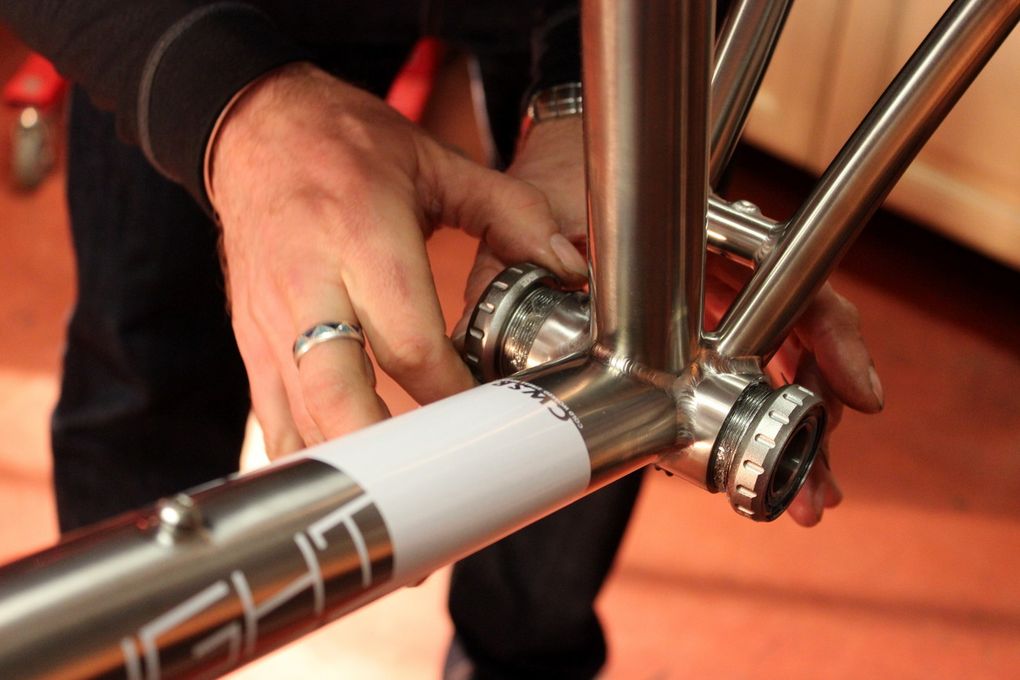
If your’re hearing unwanted creaks on the bike then it’s time to take a closer look

Headset

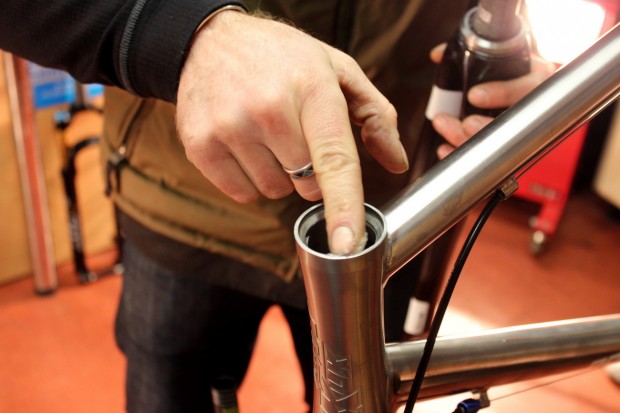
If you think you’re experiencing a creak from the headset, the cause could actually be coming from any number of the bearings, caps and bolts which tie the whole area together, including the stem and handlebar (see below for more on those bits). That means checking the whole area bit-by-bit to ensure you find the route cause.

As Alec Griffiths, an experienced bike mechanic from local bike shop Cadence Cycles in Bath, explains, the chances are that the sealed cartridge bearings normally found in the headset setup, which allow the handlebar to turn freely, are still in good condition.

Servicing your headset may eliminate noise while also ensuring smoother steering

“That’s nearly always the case, but like a lot of creaks it’s the dirt that can work its way in with splashback from the road which usually affects the bottom part of the headset. Loosen it off, and get a rag in there to clean it out and that should solve your problem,” he says.

“It’s always worth checking you’ve tightened everything back together properly again, too – so hold the front wheel between your legs and try to turn the bars. It’s easy to rush this – I’ve even done it myself on my own bike and found the front wheel is moving slightly independently of the bars. Not ideal!”

Stem

Likewise, the stem could be the cause of a creak in the cockpit area. In a normal setup, there are four bolts that hold the stem faceplate in place, and two more bolts at the back of the stem to clamp it onto the fork steerer.

“If any of those bolts, which thread through the holes, are dry then that can cause a clicking, especially under greater load. It’s good practice to grease any threaded interface on a bike, because then it protects the threads, keeps out water and dirt, and also means the reading you get from your torque wrench – if you have one – is as true as possible,” says Griffiths.

“Bear in mind, too, that if you have a carbon setup, you should be using a carbon paste instead of any old grease – and a telltale sign that you need to clean and re-grease everything is if you get a watery discharge of any kind, just from where fluid has gotten in and sat there. Use the correct grease, or nothing at all.”

Use a torque key to make sure all the key bolts on your bike are tight

Handlebar and shifters

While it’s rare to find problems with the actual bar itself – unless you’ve had a crash which has physically damaged it – it’s always recommended that you use a light application of assembly grease at the contact point between it and the stem to reduce the chance of issues here.

Where problems can arise is in the brake lever area, especially on newer hydraulic levers for disc brakes.

“Because there’s no spring holding out the lever in the same way as a mechanical lever, the hydraulic lever can just sit and rattle around slightly,” says Griffiths. As a result, it’s worth making sure any hydraulic setups are regularly checked and fine-tuned if necessary, he adds.

Cables

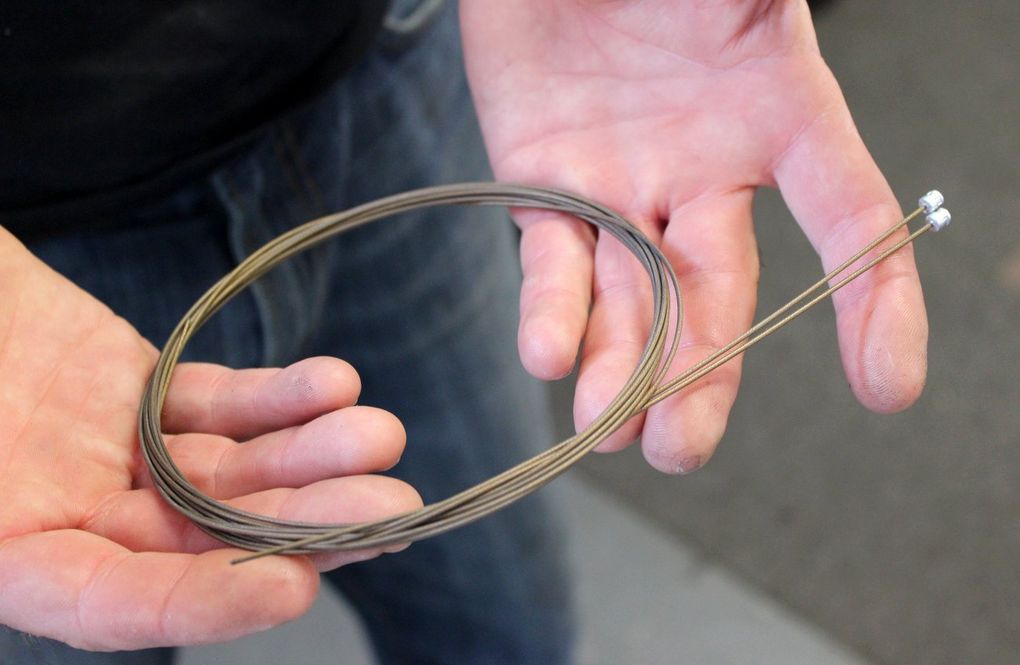
Brake and gear cables are subject to plenty of wear and tear – and particularly the former if they’ve been used in anger and stretched over a period of time. In fact, cables sat unused for a month of so can also experience stretch and wear, simply from exposure and from being sat idle.

George Gori, mechanic for London-based Sigma Sport, recommends changing out the cables every six months to ensure cable stretch doesn’t begin to impede the effectiveness of the brakes, and the slickness of your shifting. Even if you have internal cable routing, this doesn’t guarantee protection from the elements.

Your gear and brake cables are subject to plenty of wear and tear, so should be replaced regularly

“Internally routed cables can drag in water and dirt through the application and reapplication of the brake lever. As a result, they can get grippy and sluggish, not giving the feel of a shop-new bike. It’s wise to apply grease to the clean interface points, giving a hydrophobic seal between the cable and the elements.”

Griffiths adds: “The plastic lining inside can also become worn, so when you turn the bars you get a creaking or grinding sound. For a quick fix you can just spray some lube in there, but that’ll only really work for one ride or so, so the real fix is to change them out completely.”

Bottom bracket

A creaking bottom bracket is one of the most common complaints heard by shop mechanics from customers who bring their machine in for a service, but the noises you hear emanating from the bike can be misleading, according to Griffiths.

“The human ear has difficulty discerning the height of sound,” he says. “It evolved to adapt to a more horizontal perspective, so get someone to stand alongside you to identify a creak before jumping to conclusions. I think it’s only around 20-30 per cent of the time that the bottom bracket is the cause.”

Gori expands: “When diagnosing a creak, echo can also be an issue, because new carbon frames can resonate. That means a noise you can hear in one area can actually be originating somewhere else.

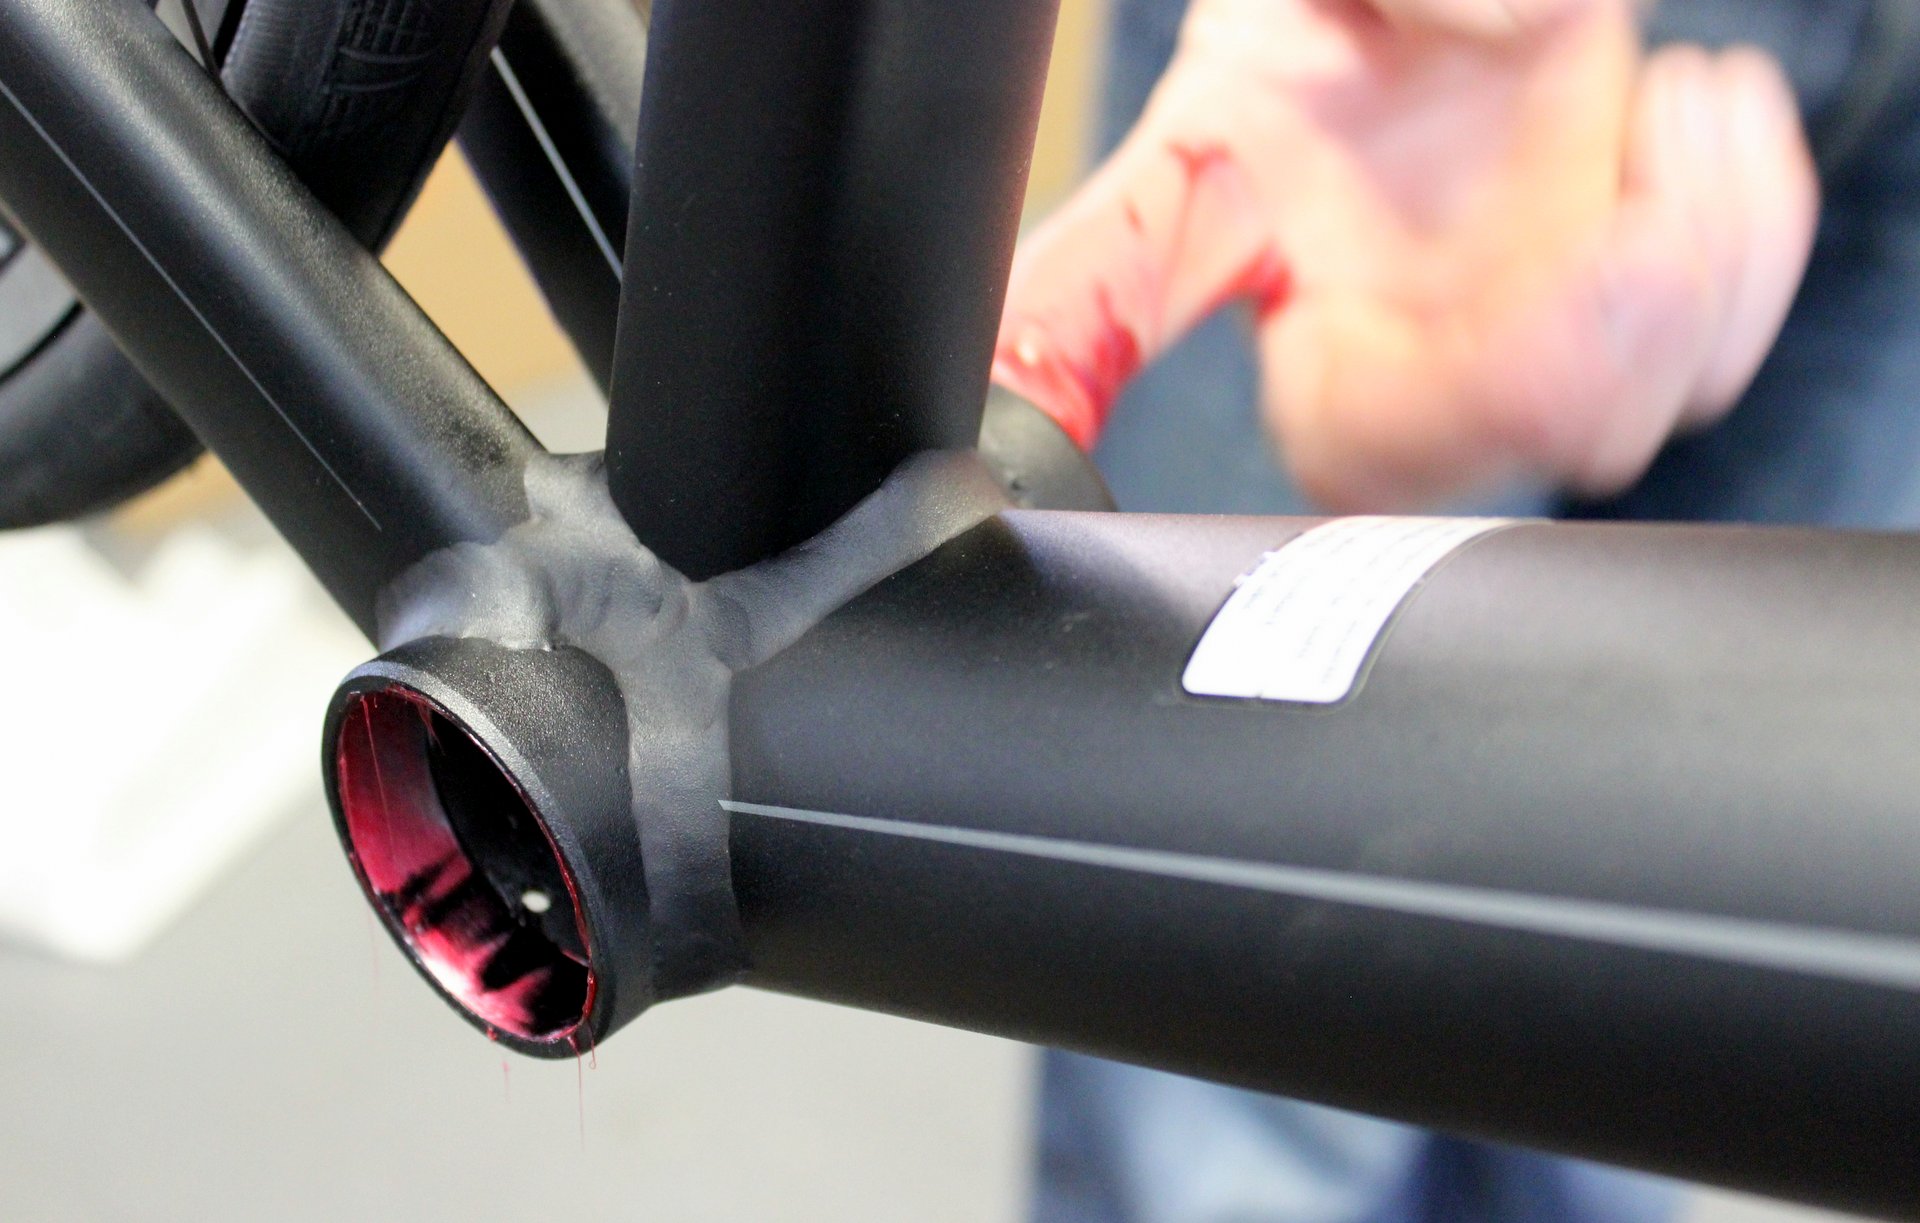
“If it is the bottom bracket, however, an oversized BB30 setup can cause a lot of noise, as one example. Often it’s on the dry days the creak will start to happen. As the crank arms are rotating, the bottom bracket will make a dry creaky noise, and is usually caused by axle oscillation around dry bearings, where the grease inside has been washed out of the many contact points,” he says.

It’s easy to assume the bottom bracket is a source of noise, but that’s not often the case

Griffiths adds: “There’s so much movement and so many contact points in a bottom bracket, that the more complicated the setup, the more likely it is to creak.”

If you’re confident the bottom bracket is the culprit, how can you set about silencing the creak?

“To fix it yourself, take the crank off, ensuring the bearings are smooth,” says Gori. “Then, grease the axle and major surfaces, putting it all back together and torqueing it up according to manufacturer standards.

“Also, check to see if you have a 24mm-30mm converter. Many bottom brackets do, and these can also dry out and click. Again, make sure they’re clean and greased, too.”

Seatpost

The seatpost is a particularly common area for creaks to emerge –-simply because of the force that goes through this area when a rider is seated in the saddle. However, it’s often confused with the bottom bracket as the area which is actually causing the creaking noise.

“The assumption is usually that the bottom bracket is the source, but that’s not always true,” says Gori. “If you want to try to narrow down if it’s the seatpost or saddle rails, try coasting along with your feet unclipped, and dangling to the sides. This puts force through the saddle and seatpost joints, without stressing the bottom bracket. If you can still hear a click, you can focus your efforts higher up the bike.”

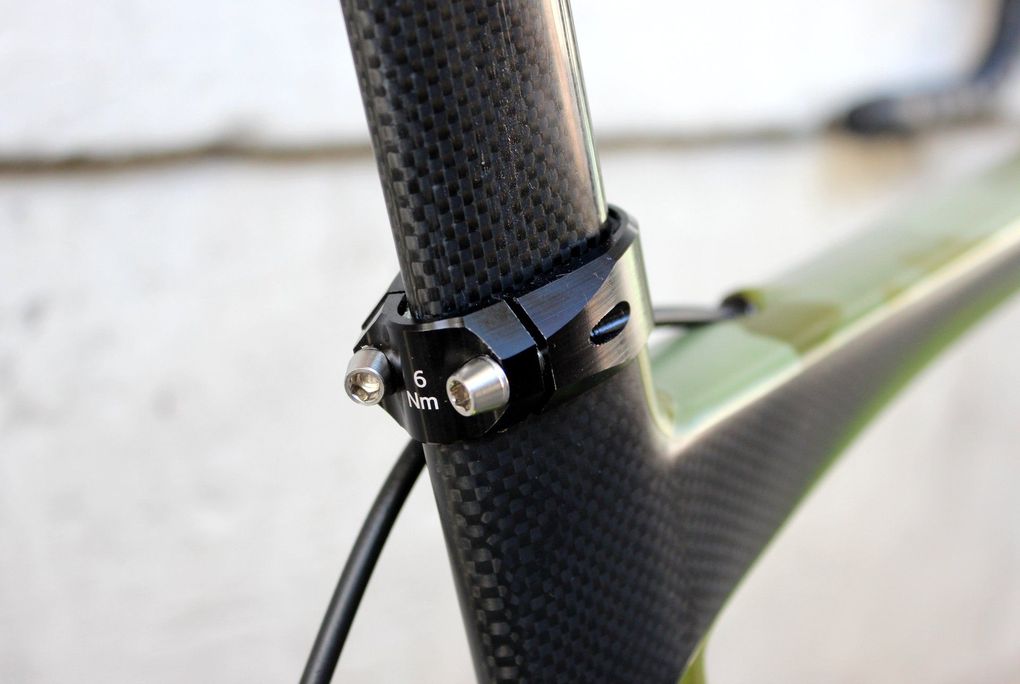
A clean interface is key to a silent seatpost, claims Griffiths. “Pop it out, clean it, and get inside and wipe it out as much as you can,” he says. “I always get a cloth wrapped around a screwdriver to get in there as far as I can.”

Keeping bolts and contact points clean will help any unwanted noises developing

Interestingly, it can also be the frame design which can lead to creaks emerging from the seatpost area.

“With a seattube which tapers away into a flared bottom bracket area, the actual length of seatpost gripped by the tube can be less, increasing the chances of a creak,” adds Griffiths.

“Additionally, carbon seatposts can swell slightly too, so it’s worth bearing that in mind that while this can get it stuck, it can also cause a creak as well. Also, make sure you don’t over-tighten the clamp – you can usually tell if this has happened because the resulting split tends to follow the line of the split in the frame. And, of course, there’s the usual caking of mud and water which can cause a creak, too.”


Saddle

The saddle is equally like to cause a creak, particularly where the saddle rails clamp into the seatpost brackets. Making sure these are cleaned and greased – especially during the winter season – will allay most creaking and prolong the life of your potentially expensive saddle of choice. Also, bear in mind the materials; remember, carbon paste if you have carbon rails.

Additionally, unless you’re riding with mudguards, the saddle clamp itself is right in the path of splashback from the rear wheel, and with that, water and dirt often covers this area, inevitably working its way in and causing a problem.

“Another area worth checking out is in the saddle itself, where the rails meet the saddle body,” advises Griffiths. “These can get dry, so every now and then spray a lube into these joints to lubricate them, and loosen any dirt which might have worked its way in there.”

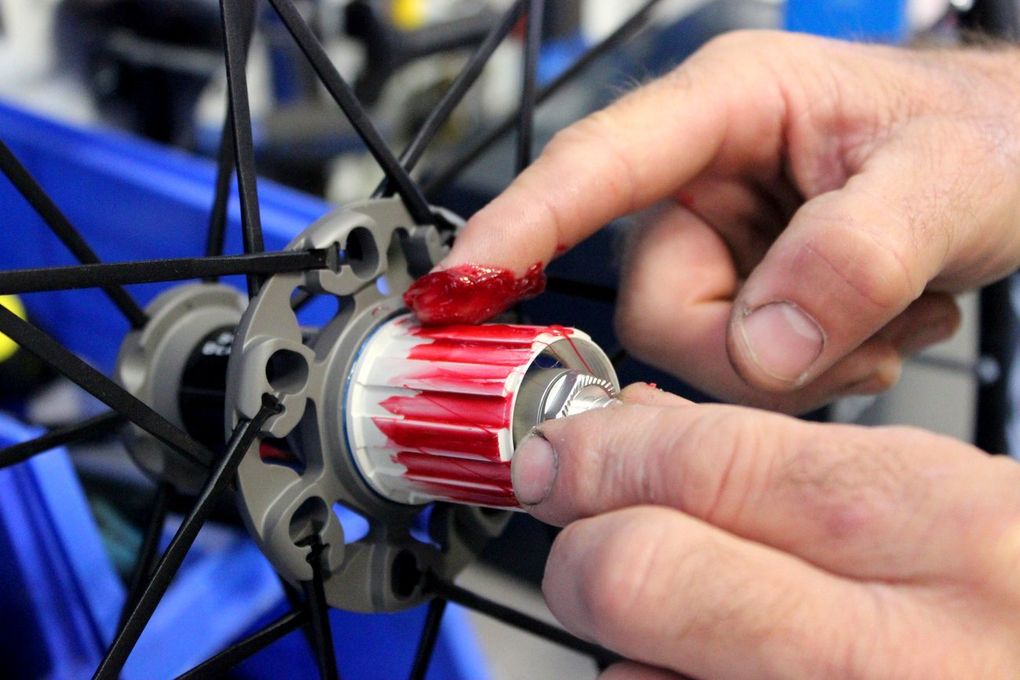
Applying a little grease to the freehub splines will help the cassette to run quietly

Wheels

More often than not, creaks from wheelsets emanate from the skewers, which thread through the wheel and fasten it to the dropouts in the fork and stays.

“It can simply be a case of not having done them up properly – it’s important that they’re tight,” says Gori. “In this area, you can have aluminium, carbon and steel touching each other, so it’s worth making sure they’re greased and clean, especially when the weather is adverse.”

Griffiths adds: “It can also be the spoke heads in the wheel, which will give a more rattly sound. This can happen if they work loose or become dry. Again, ensuring the nipples are tight and the wheel is true is good practice, and lubricating the spoke heads, too. Also pay attention to see if the crossed spokes of the rear wheel are rubbing against one another.”

Finally, it’s also worth taking off the cassette and applying a little grease to the freehub splines – this will make fitting easier and quiet operation more likely.

Drivetrain

The cassette itself, of course, forms a vital part of the drivetrain, and it’s worth checking any wear on the interface between the cassette and the splines, says Griffiths. You should also make sure the lockring is correctly tightened with a torque wrench.

“The cassette can end up moving on the splines, causing creaking, and the tolerances are very small,” he says. “Also, if you have an older SRAM setup, it could be that the bolts in the cassette have come loose.”

The chainset is also fastened together with a series of bolts, which can work their way loose and be a source of creaking – cleaning the bolts and applying grease to them before refastening with a torque wrench should help solve problems here.

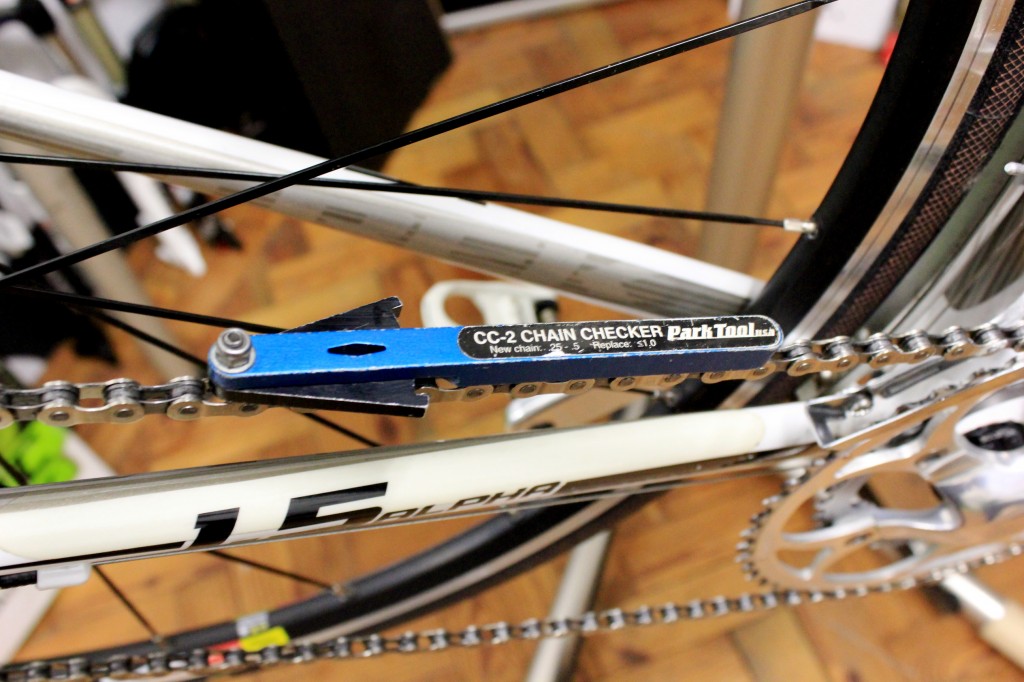
Use a chain checker to, erm, check whether your chain needs to be replaced

Also, Gori points out how vital it is to make sure the chain is kept clean and replaced when required to keep noise down as you pedal.

“The bottom line is, the cleaner you keep any part of your bike, the longer it’ll last,” he says. “And, with the chain, if you replace it once every six months or so, depending on your mileage and the wear of the chain, you’ll help to prolong the life of the chainset and cassette; two far more expensive parts to replace.”

Pedals

Finally, pedals are another potential source of creaking – either from the pedal body, axle and bearings, or cleat.

“If your cleats can move around in the pedals housing, that can be a potential indicator of wear in the outer cage (pedal body),” says Griffiths. “The springs inside the pedal can also become dry – keep these cleaned and lubricated.

“The bearings can also age after a long period of time,” he adds. “It’s worth removing the pedals and checking for grinding and play.”

Pedals and cleats are also a common source of unwanted noise

The cleat/pedal interface can also be a source of noise – again, if that’s the case, you should apply some grease to the cleat bolt threads. Greasing the contact points between the pedal and cleat, and changing your cleats when worn to remove any potential unwanted rocking due to wear, can also help eliminate noise. You could also be the culprit if your shoe is rubbing on the crank arm.

Finally, one more snippet of advice from Griffiths for SRAM users.

“If you’re running a SRAM groupset, some require the use of washers between the pedal and crank arm. If you don’t use those, you can find a creak can emerge. In my experience, this isn’t well-marked, so make sure you don’t lose these if they’re supplied.”

Newsletter Terms & Conditions

Please enter your email so we can keep you updated with news, features and the latest offers. If you are not interested you can unsubscribe at any time. We will never sell your data and you'll only get messages from us and our partners whose products and services we think you'll enjoy.

Read our full Privacy Policy as well as Terms & Conditions.

production