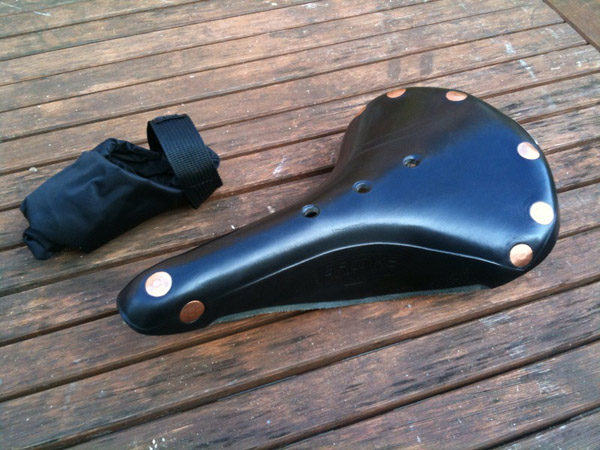
 Winter wheel build? Does that mean we’re building a pair of wheels specifically for winter or we’re going to be building a pair over the course of it?
A bit of both, as it happens. If recent forecasts of a long, hard and very cold winter are to believed, we road cyclists are going to need something to do to while away the time – and one can only ride the turbo trainer for so long.
So, we are going to build some wheels. The first pair will be suited to winter riding and will, with luck, be built well before its onset. The others will doubtless get built during the depths, but as the process is the same they probably won’t get featured unless there is some specific feature worth mentioning.
Oh, and this is not going to be a tutorial; there are plenty of books available that go through the process in great detail, perhaps the best being The Art of Wheelbuilding by Gerd Schraner with Roger Musson’s The Professional Guide to Wheelbuilding also worth buying and somewhat less expensive.
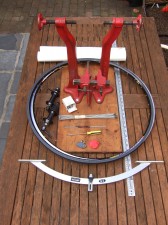
 So, where to start? With everything you need to build? The bare minimum, of course, would be rim, spokes, nipples, hub and spoke key; that’s how I built my first in my ‘teens, although putting it in the cycle fork for truing might count as using a jig of sorts. And, indeed, a jig is very useful to the point of being obligatory. A fork or the rear stays will do at a pinch.
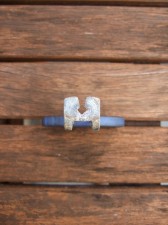
The better sort of spoke key is the sort that grips the nipple – assuming we are building with conventional materials – on all four sides. The good old Spokey does this, as does the Tacx design, the latter being possibly better thanks to the greater depth of its slot. A tight fit on the nipple is crucial to prevent rounding off, so don’t use the wrong size or a key that is worn.
Even before the spoke key gets used, you’ll be wanting a nipple driver to , er, drive the nipples onto the spokes. It is simply a flat-blade screw driver with a prong on the centre line, which fits inside the nipple thread. As the nipple screws on to the spoke, the end of the spoke moves along the thread and pushes the prong outwards, eventually pushing it clear of the nipple.
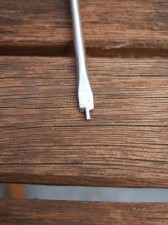 Angled faces on the flats of the driver allow it to “cam out” of the nipple slot just before this happens, preventing further turning and ensuring that all the nipples sit at the same point on the spoke thread prior to the next stage. If you don’t have one you can get the same effect by advancing each nipple so that the end of the flatted part is level with the end of the thread.
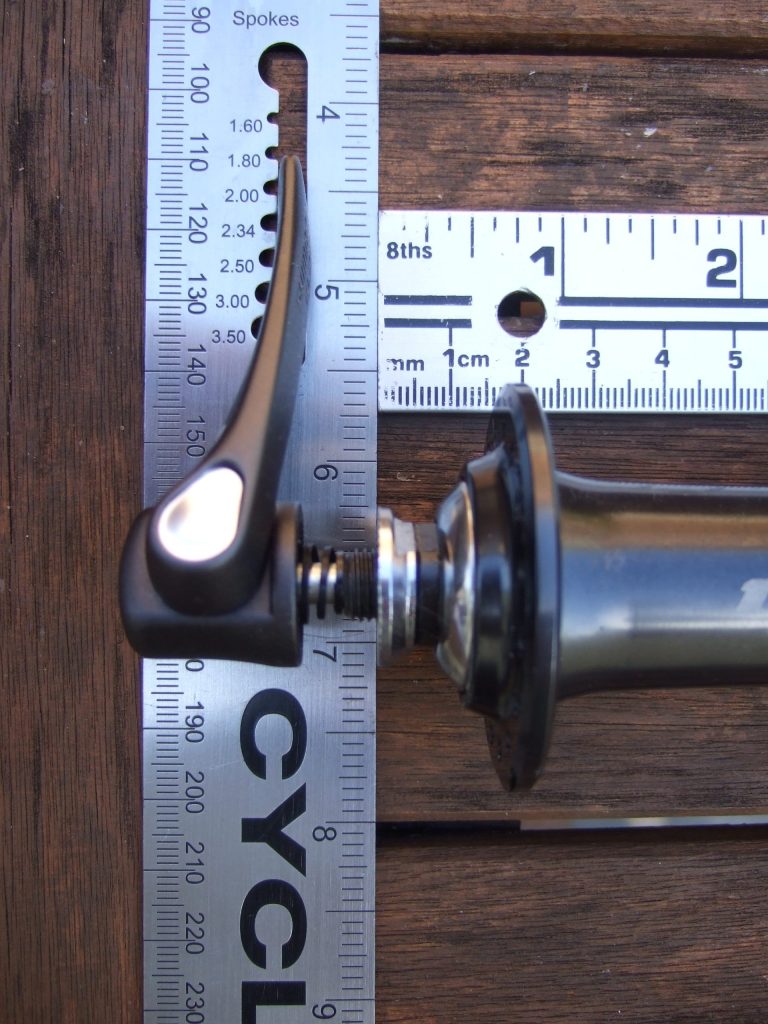
From time to time during the build it is adviseable to check that the rim is centred between the hub locknuts, which is where the dishing tool comes in.
And how do you know what length spokes to use? That’s where the ruler, spoke gauges and sizing chart come in. We’ll go through the measuring process in part two.