Correct cleat position is crucial in minimising stress on the knee and maximising power output. Finding the correct position for the cleat on the sole of a cycling shoe should form a vital part of any bike fit and my cleat setup was optimized when I was fitted by Trek last year.
Cleat position is measured in millimetres and so, if you want to change shoes, re-positioning your cleat on your new shoe requires accuracy if you want to achieve the same level of comfort and performance. Let’s go one step further and say you want to change both your shoes and your chosen pedal system, like I did to test Lake’s CX236 shoes and Time’s i-Clic pedals. Here’s a rough guide to how I achieved the same cleat position as my previous Shimano-cleats-on-Shimano-shoes setup.
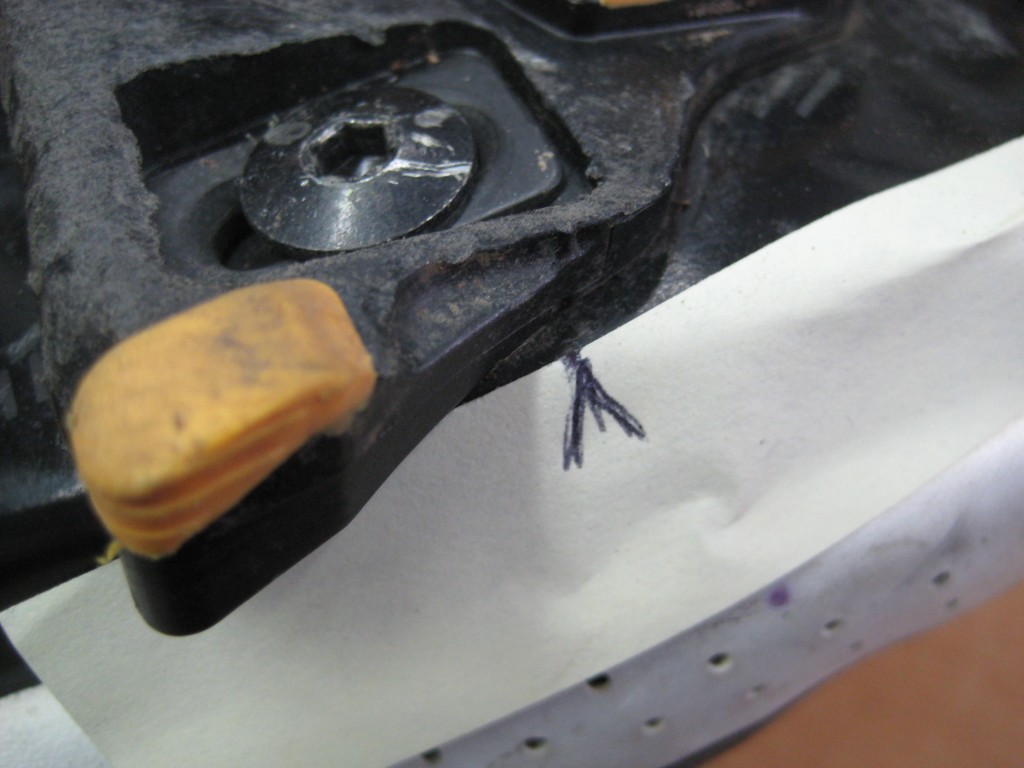
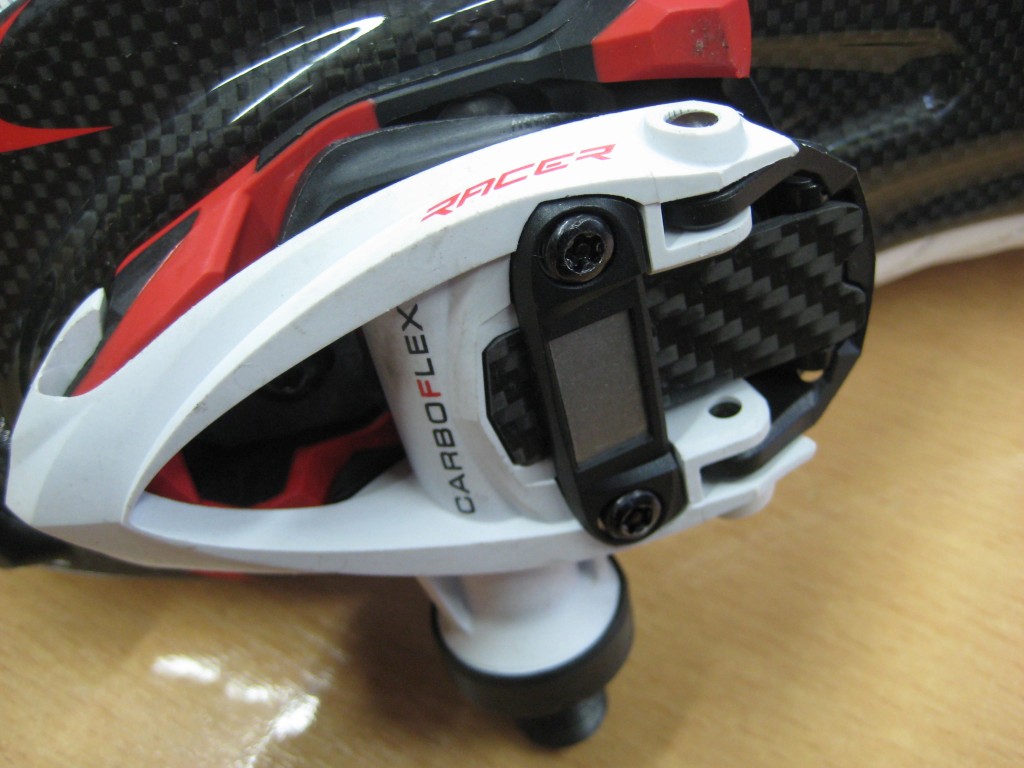
Most cleats will have a mark indicating the cleat position over the effective centre of the pedal axle – use this as your guide. Attach something adhesive to both sides of one of your shoes, alongside the cleat – you can cut a post-it note in half and attach the sticky side to the shoe – and draw a line to represent the position of the cleat marking. You can also use the same process to measure the angle of the cleat. If using Shimano cleats like the picture above, attach the post-it note so it runs from the top of the cleat to the top-right corner and mark the angle of the cleat.
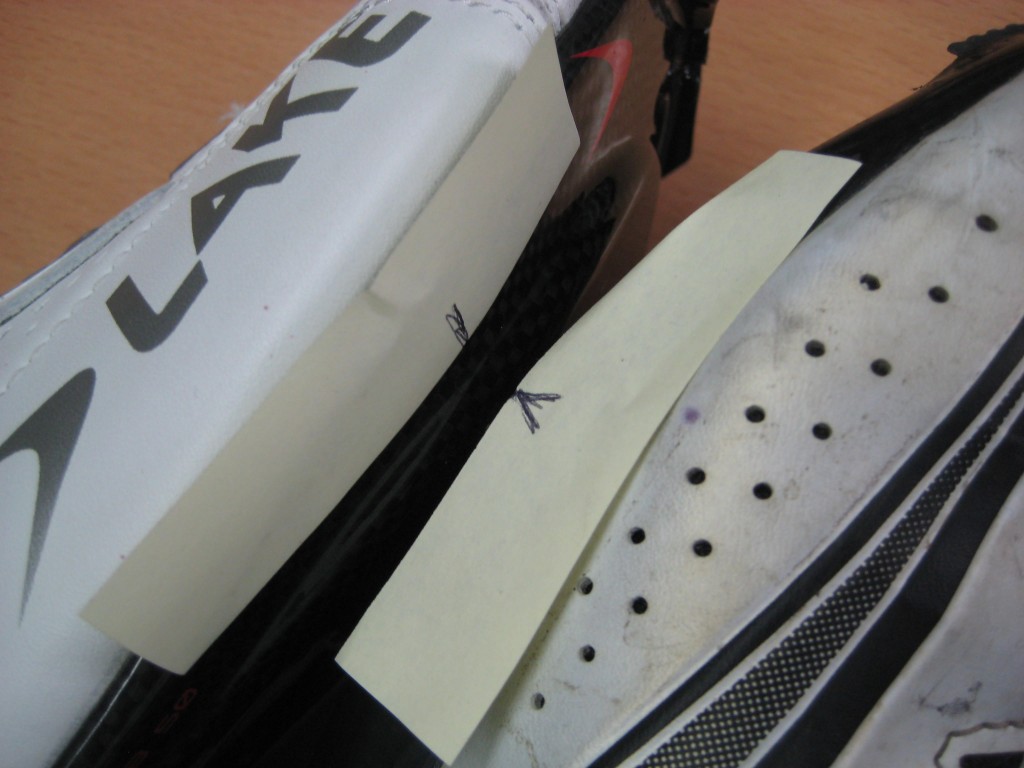
It’s time to remove the cleat – but first make sure your tape or post-it notes are securely stuck to the shoe, otherwise you’ll lose your reference points. Now, use the same process as above to attach post-it notes to both sides of one of your new shoes and, with the shoes heel-to-heel, mark the centre of cleat position.
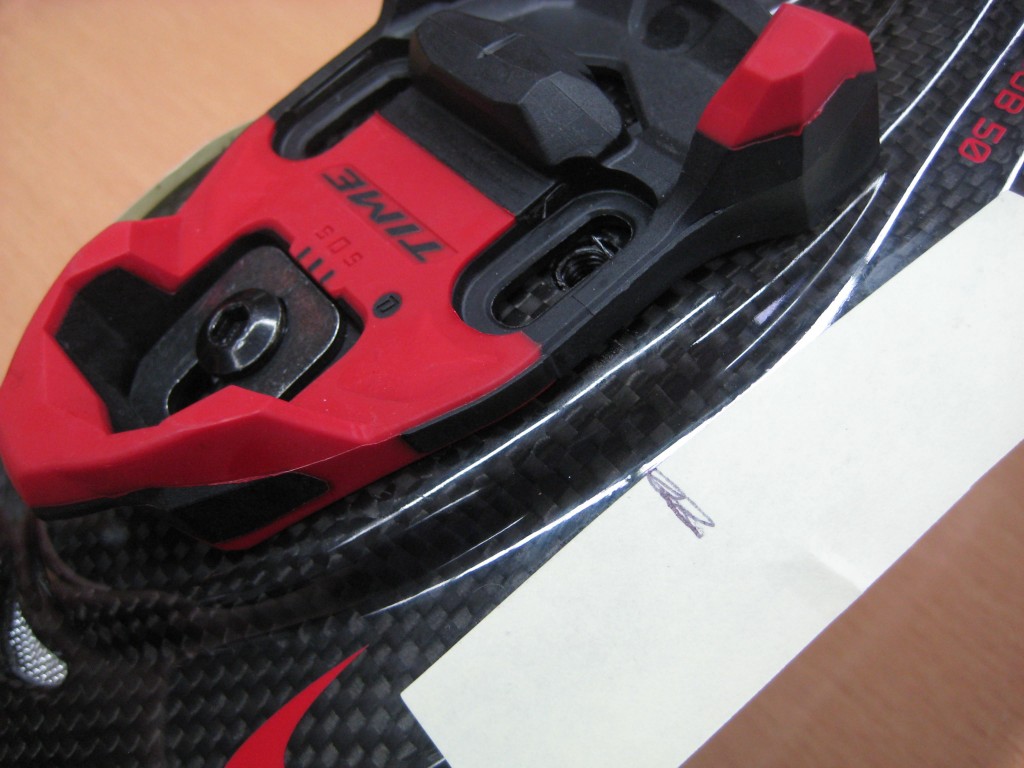
Using the marked post-it notes, you can now attach a cleat to one of your new cycling shoes. Carefully align the centre of cleat indicator with the mark on the post-it note and screw the cleat to the shoes. Make sure the centre of cleat indicator is aligned with your post-it note marks on both sides of the shoe to ensure the cleat is straight.
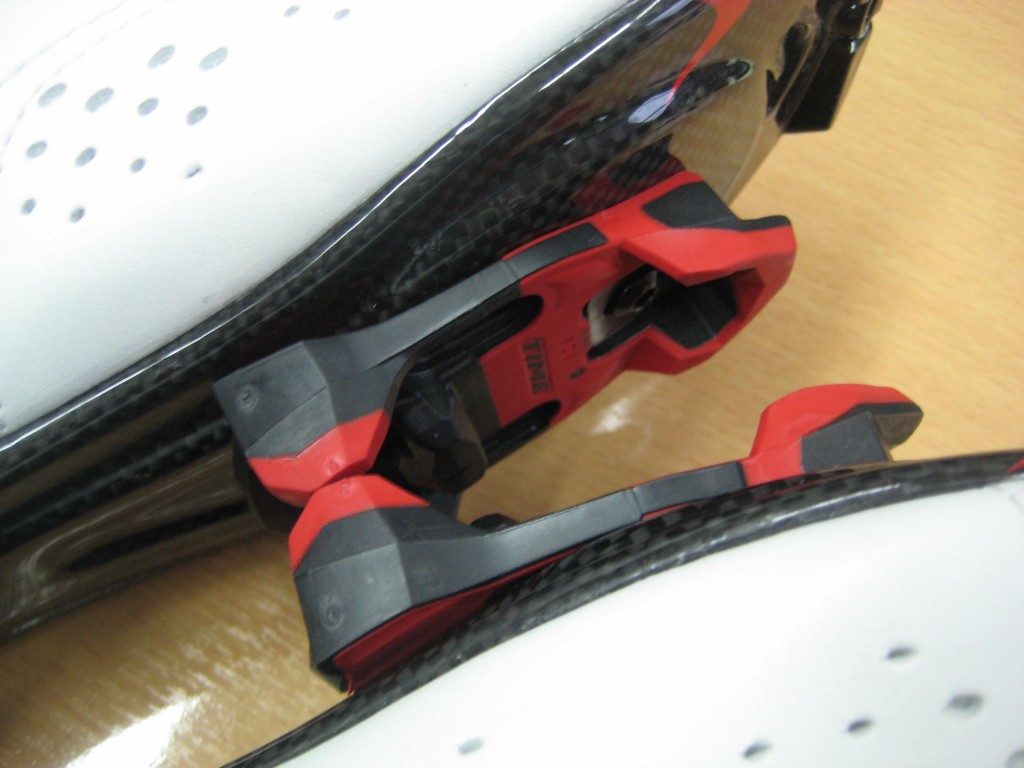
With one shoe done, replicating the position on the second shoe is a case of loosely attaching the cleat and, making sure the heels of the two shoes are together, lining the cleats up before securely screwing the second cleat to the shoe.
Ready to ride… You may still need to fine tune one or both as you do so, but they will be close to where you want them when you start.