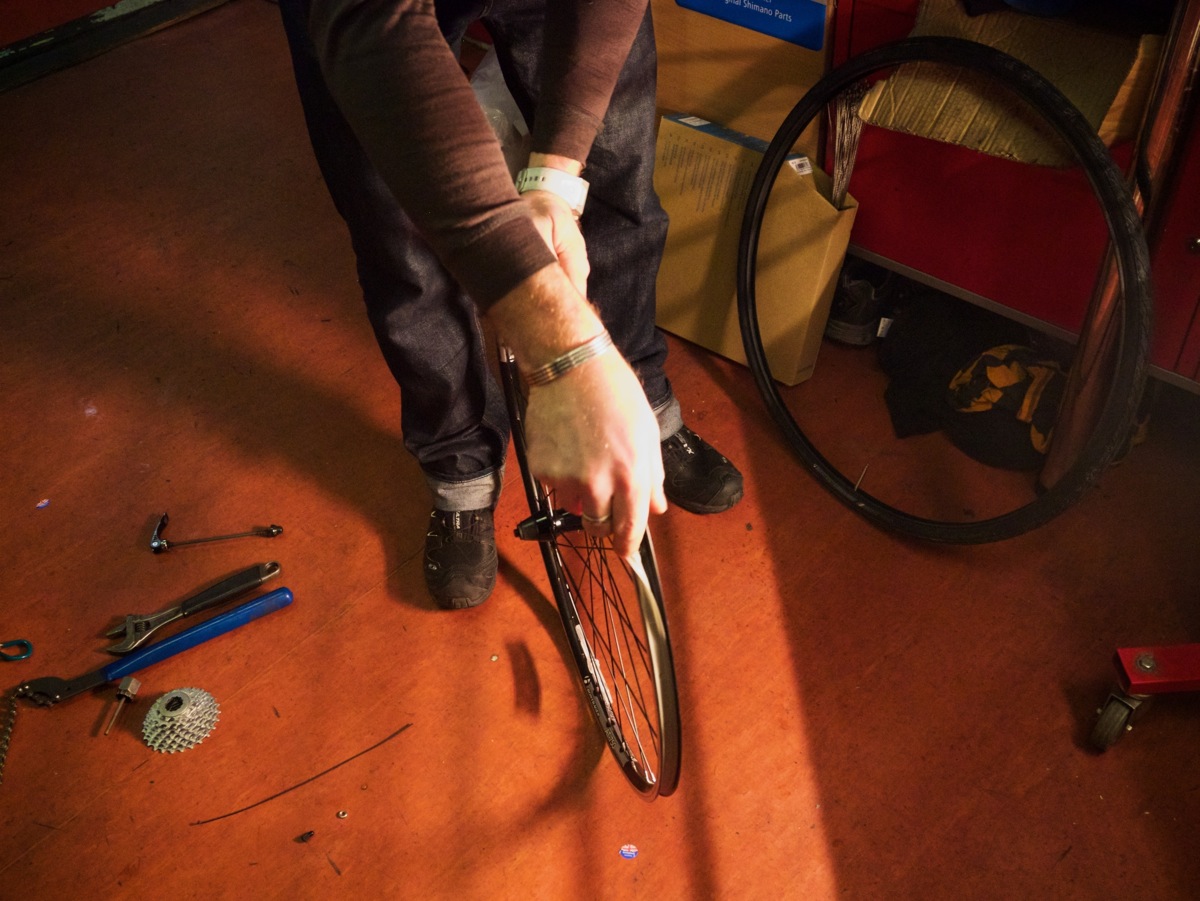
1. Remove the cassette, broken spoke and tyre
-
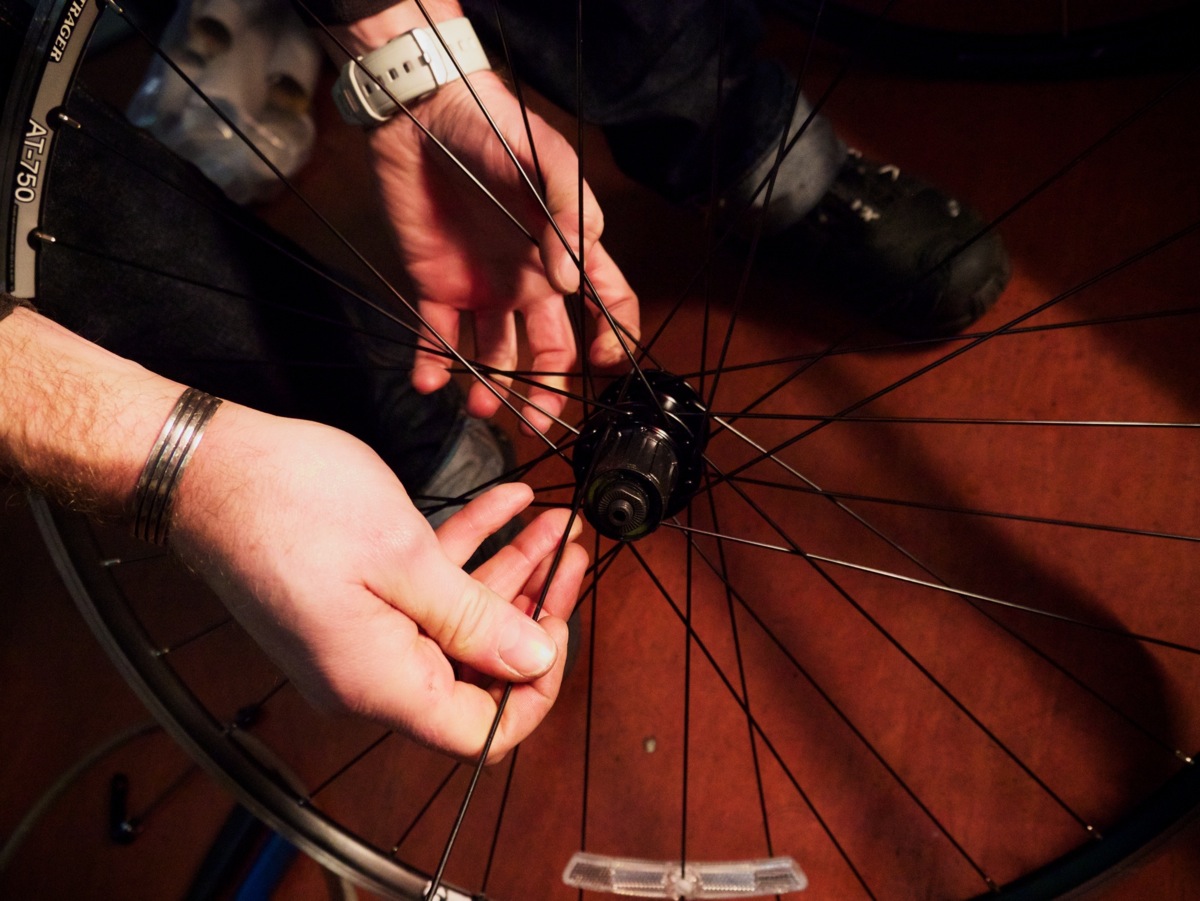
A broken spoke is relatively to fix with the right tools
-
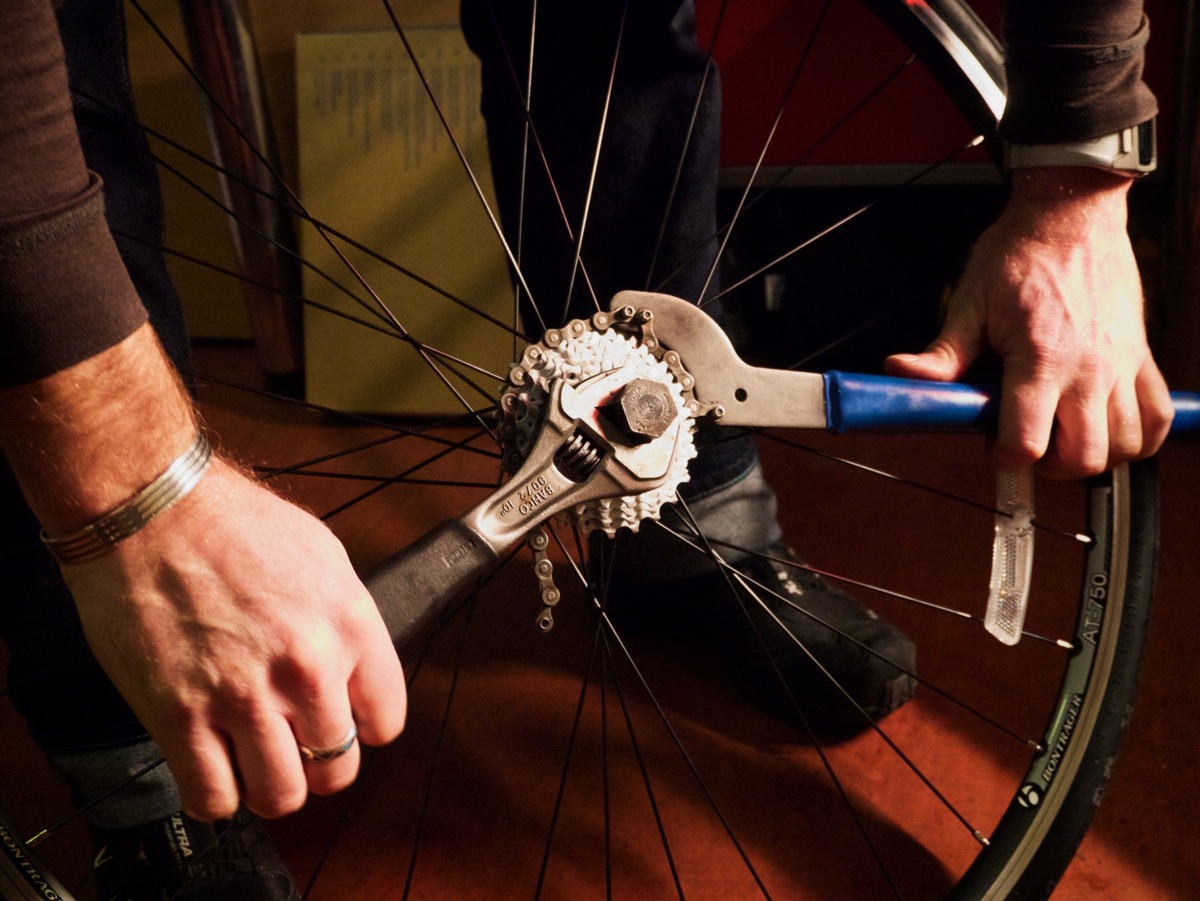
A chainwhip holds the cassette in place while the wrench and cassette tool is applied to remove the lockring
-
Remove the rim tape to gain access to the spoke nipples
-
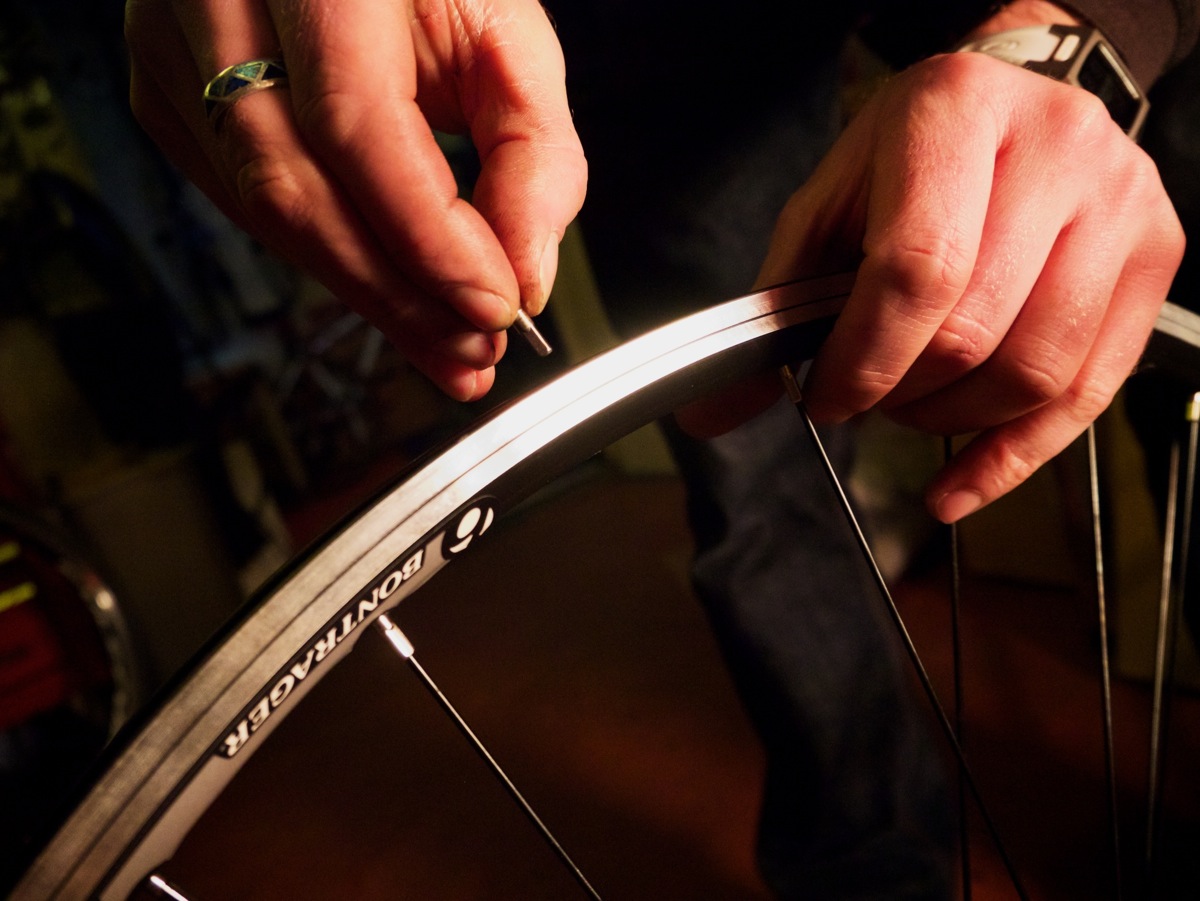
Be extremely careful when placing the nipple in the rim
-

Use a spoke key to bring the replacement spoke up to tension
-
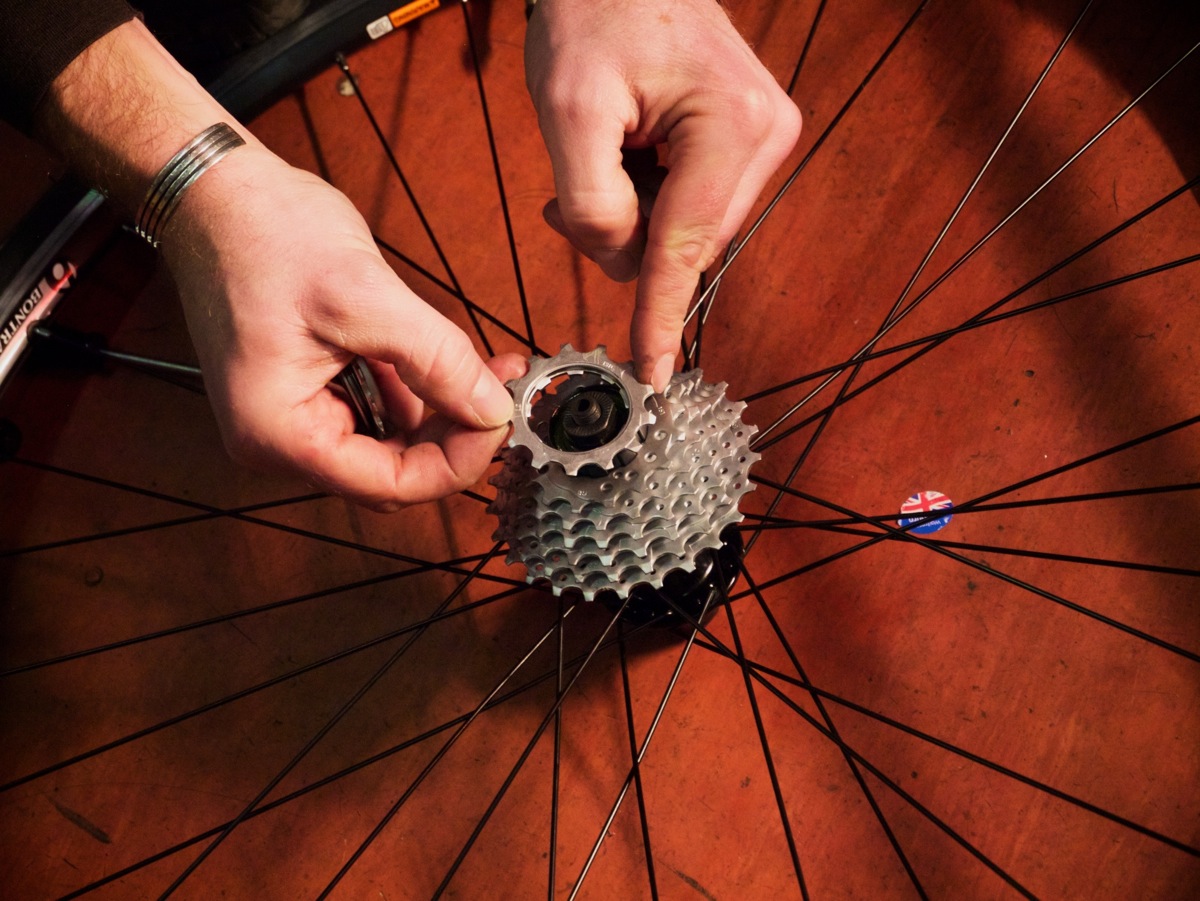
Ensure the spacers are replaced correctly before tightening the lock ring
-
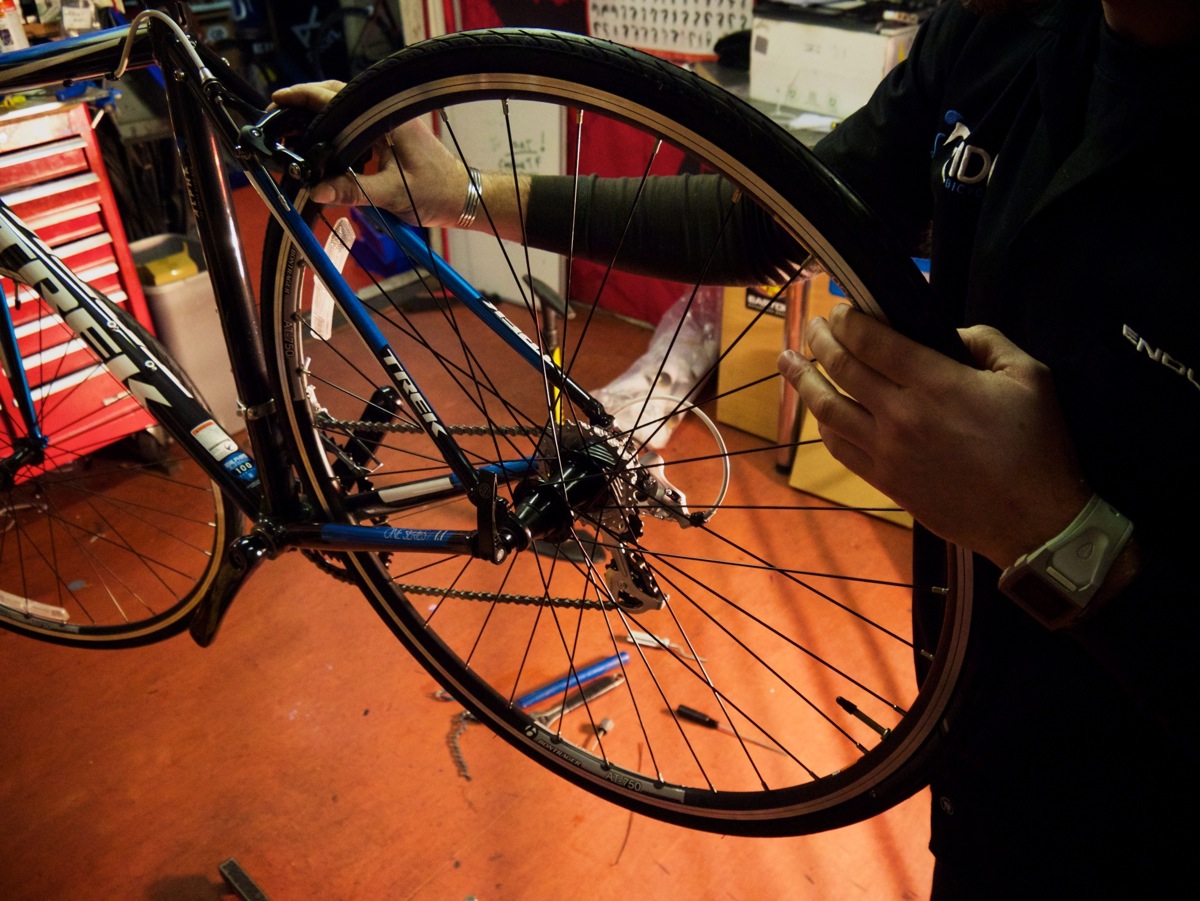
Check the function of the brake and the gears when replacing a trued wheel