Bikes get dirty all year round, but at this time of year they can end up absolutely covered in muck after even the shortest of rides. Leaving said muck in place is one way of dealing with it, and not necessarily a bad one. After all, it is only likely to scuff the bike’s finish if rubbed against it, moving parts such as the chain just wear out a little more quickly and – well, the bike’s only going to get filthy again the next time you ride it, so why not?
There is, on the other hand, such a thing as pride of ownership and, as everyone knows, the bike goes faster when it is clean. So, if you prefer to start a ride – or at least some of them – on a clean machine, here’s a quick and very effective way to get it looking good:
 |
 |
The saddle pack is best cleaned by leaving it to dry and then brushing off grit with a stiff bristled paint brush, which will get into even the smallest crevice. A damp sponge can then be used for a perfect finish.
 Might as well ride ‘cross |
 Equipped for the job |
Life is made a lot easier if you have a Loby’s Foot-style stand and one of those chain captors that keeps the chain taut when the wheel is removed. Do this and fit the bike in the stand and it is ready to wash.
You’ll need various utensils and cleaning agents; I find two car sponges, one soapy, one to rinse with clean water, a long-bristle wide paintbrush and a bottle brush enough to do the job along with car shampoo, a bio-degradeable degreaser and a surfactant. This is probably not really needed if you have the other two, but something like Muc-Off is good at shifting brake grime and helps disperse the degreaser.
 Don’t use too much degreaser |
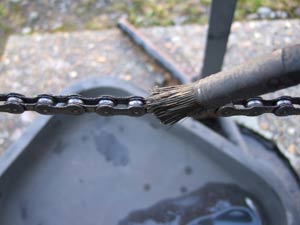 Apply with a brush |
Two buckets full of hot water should be sufficient. The first is used to apply the car shampoo, the second to rinse the bike clean. Ignore the third in the picture… Before sloshing soapy water everywhere, however, it is a good idea to degrease the chain by working the degreaser in with a stiff brush. Go round a couple of times, loosening grit and oil from every surface with the brush and don’t forget the chainrings and cassette.
 A better use for a bottle brush |
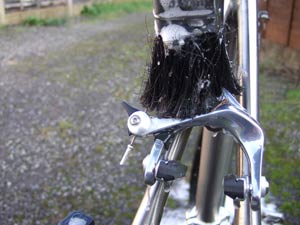 Long paint brush is your friend |
Next, spray the surfactant over the chain, cassette, brake calipers and fork blades where brake gunge has stained the surface. Now’s the time to get busy with that soapy sponge. Get into the habit of washing parts of the bike in a regular order and you’ll be less likely to miss a bit; there is little more annoying than finding a dirty patch inside a chainstay when you’ve finished.
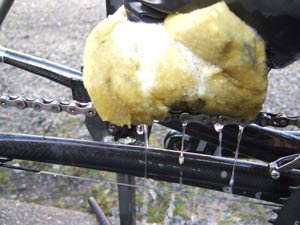 Rinsing the chain |
 Clean water comes last |
Use the bottle brush and paint brush to penetrate the crevices of smaller components. Drop the front wheel out to access the insides of the fork blades and crown. Don’t forget the spokes and the bits of the rims between them. Ensure you finish up at the transmission in order to avoid smudging other parts of the cycle.
By now, the degreaser will have dissolved any oil or grease in the chain. While turning the pedal, hold the water-filled sponge over it and squeeze the water out to flush the chain clean.
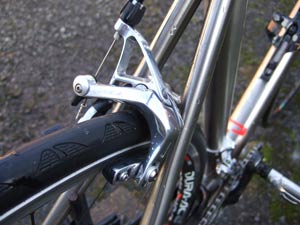 SRAM RED cleans up well |
 Is it going to rain tomorrow? |
Now use the clean water and second sponge to rinse away soap and any remaining loosened grit and grime. The gentle flow of water is enough to get flush away dirt without threatening bearing seals. Step back and take a good look at the cycle to make sure you haven’t missed a bit, then use the last of the ‘clean’ water to finish rinsing the chain.
Allow the bike to dry, lube the chain and you’re ready to get it dirty all over again….

