Share

Technique

Beginner’s guide: how to set your saddle height on a road bike

British Cycling head physio Phil Burt talks through how to get your bike position right

Changing your saddle height is one of the simplest adjustments you can make to your bike, but one which arguably brings the most benefits.

Finding your optimal saddle height can boost your pedalling efficiency (Burt calls it the ‘Holy Grail for power’), enhance the comfort of your ride and, most importantly, help to avoid long-term injuries.
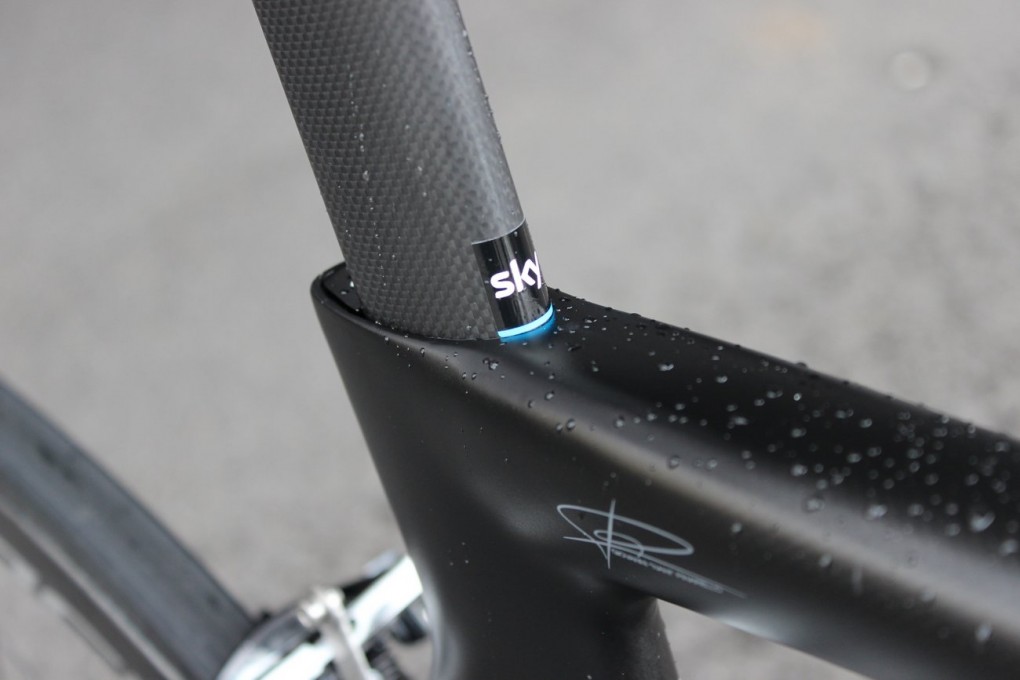
Getting your saddle height right will improve your comfort and efficiency on the bike. Phil Burt has worked as a consultant for Team Sky, helping to fit the team to their Pinarello Dogma F8 – Geraint Thomas’ saddle height is marked above

It’s important, therefore, to find your optimal position, and there are a number of methods to do so, with a host of factors affecting your saddle height – typically measured as the distance from the bottom bracket to the top of the saddle – including saddle setback, cleat position and crank length.

Phil Burt is a man who knows a thing or two about bike fit, as head physio at British Cycling and a consultant to Team Sky. Burt has also published a book on the subject, and we’ve already brought you his top fit tips and the common symptoms of a bad bike fit and how to correct them. This time round, we caught up with Burt to find out how to set your saddle height.

Burt says that finding the correct saddle height is the ideal starting point for any bike fit, given a lot of other changes to position are done to correct a less-than-optimal saddle height. The trick, he says, is striking the balance between comfort and power.

Top product picks this month: Kryptonite bike locks | Bike cleaning gear | New-season cycling glasses

Heel-to-pedal

The most common way new cyclists find their saddle height is the heel-to pedal method, and while this doesn’t take into account all of the elements that can affect saddle height, it will get you in the ball park, Burt says.

The heel-to-pedal method involves sitting on the bike, be it on the turbo trainer, holding on to a chair or table, or just leaning against a wall.

Place your heel on the pedal and pedal backwards to reach the six o’clock position. Your knee should be completely straight.

If your knee is still bent you need to increase the height, adjusting in small increments each time, and if your heel loses contact with the pedal then you need to lower the saddle.

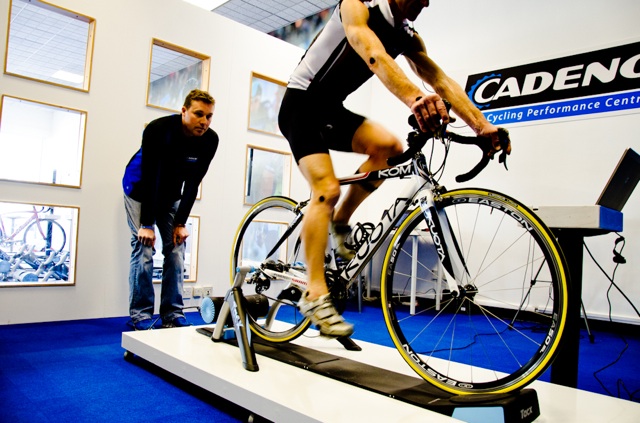
While a professional bike fit may help you find your optimal position, there are also a number of DIY methods to set saddle height

However, while the heel-to-pedal method will get you close to finding the correct saddle height, Burt calls it a ‘static’ method which doesn’t take into account factors like cleat position and pedaling style.

Instead, he advises using a number of methods to find your ideal saddle height. “The more [methods] you use, the more accurate it will get,” he says. “With just one you are shooting into the dark a little bit.”

LeMond method

“Many ‘magic bullet’ formulae exist,” Burt says, “but the one most people know is the LeMond method, popularised by Greg LeMond and his coach in the early 1980s.”

The LeMond method involves using a flat object (such as a metre ruler or spirit level) and placing it between your legs while applying a little pressure to the groin, in a similar fashion to a saddle.

Make sure you have your shoes off and measure from the crotch to the floor, and this will give you your ‘inseam’ measurement. You may need someone to do this for you, or you can otherwise mark a wall with the height of the spirit or metre ruler and measure to the floor.

The “LeMond method” is one of the most popular ‘magic bullet’ formulas for setting your saddle height

Multiply that figure by 0.883 and that, according to the LeMond method, will produce your saddle height (again, from the centre of the bottom bracket to the top of the saddle), though Burt says it’s a figure which doesn’t take into account a number of other factors, such as riders with longer legs than torsos, or poor flexibility.

A variation of this method is the 109 per cent formula, which uses the same inseam measurement but multiplies it by 109 per cent, and taking that figure to set the saddle height, but measuring from the top of the saddle to the pedal spindle when the crank arm is in the six o’clock position.

Burt says that the drawback of formulae such as the LeMond and 109 per cent methods is that they don’t take into account the nuances of the individual. Instead, he says ‘dynamic’ methods of establishing saddle height, such as recording the angle of a rider’s knee and ankle while pedaling during a Retul bike fit, will produce a more accurate figure, and cites this as one of the main benefits of a professional fit.

Saddle fore/aft

As we’ve already covered, there are also a number of other factors, besides the measurement from the bottom bracket to the top of the saddle, which can impact on finding your perfect position.

Pedaling style can make a difference to saddle height. A rider who has a toe-down style can reach a longer saddle height, without altering their knee angle, than a rider who pedals heels down.

Saddle fore/aft (where your saddle sits on the rails) is another important consideration when adjusting your saddle, and should be considered once you’ve established your saddle height. Burt says it has a significant bearing on your pedalling efficiency and comfort.

Where your saddle sits on the rails also has a significant bearing on pedalling efficiency and comfort

The ideal position is to have your knee directly above the pedal spindle (known as the Knee Over Pedal Spindle, or KOPS, rule) when the crank arm is in the three o’clock position.

Typically you can measure this by dropping a plumb line from the bottom of the knee, and then adjusting the saddle until the line cuts through the pedal spindle, but Burt instead recommends using a metre ruler as the plumb line can move. Place the metre ruler in front of the knee cap and make sure it’s just in front of the pedal spindle.

“If your saddle is too far forward and puts your knee in front of the pedals then that can be problematic,” Burt warns, “and it can be the route of some people’s knee issues or pain.”

Crank length

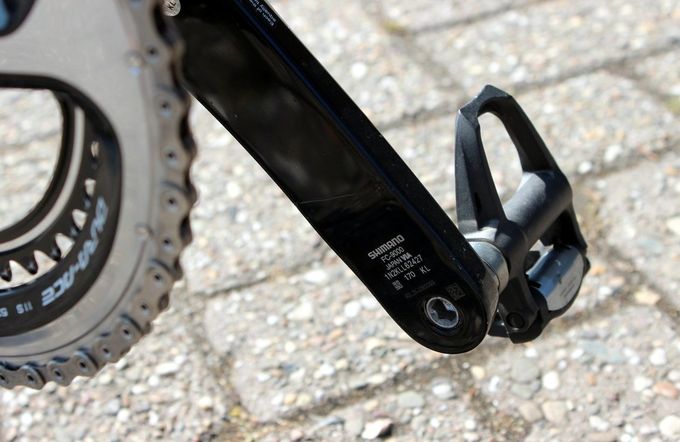
Another factor to consider when setting saddle height is crank length. “Crank length is another issue to contend with,” Burt explains. “You see people with a low saddle height using a [relatively long] 175mm crank – that’s a big circle to be turning.

“It’s a really commonly held myth that a longer crank makes for more efficient pedaling. My colleague Paul Barratt has proven in his work that changing crank length doesn’t effect power output – not in the ranges we select crank lengths at.

Crank arm length can also affect saddle height

“That’s important because it opens up the opportunity for people to change their crank length without worrying about output. You would have to go from a 220mm crank down to 110mm before it starts to make an impact [on power]. It effectively only changes your gearing.”

Therefore, Burt says crank length can be used as a parameter to affect other factors of a bike fit (for example, using a short crank length can open up the hip). He also advises that your crank length should reflect your saddle height, while you should also take into account crank length when switching bikes and setting saddle height (for example, if one bike has 172.5mm cranks and the other has 175mm cranks).

“Most people with a low saddle height, on a small bike, will usually need to use a short crank length, but often they aren’t because bikes are sold with whatever crank they come with and people just don’t change.”

Finally, in terms of equipment, one other thing to consider is the stack height of your shoe, cleat and pedal. Again, this may change as you switch equipment, particularly if you change which pedal system you use.

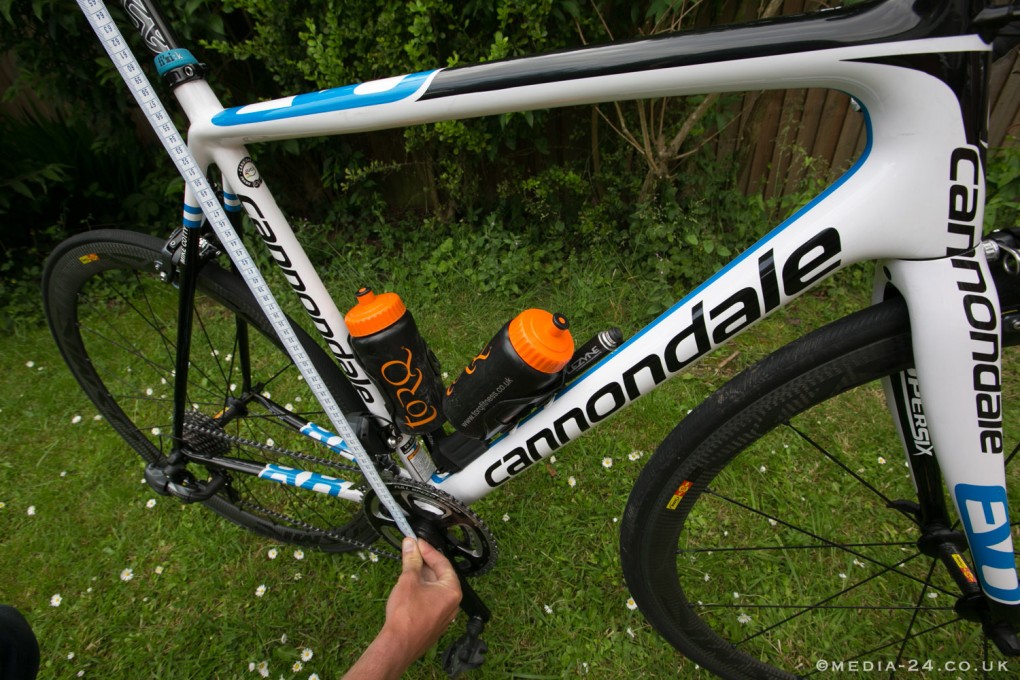
An incorrectly fitted bike can cause injury and impact on your performance (Pic: Media24)

Conclusion

In short, saddle height is a major factor in pedaling efficiency and comfort (and injury avoidance) on the bike and there are a number of ways to set it.

A dynamic bike fit, such as the Retul system favoured by British Cycling, where Burt works, will produce a more accurate figure for saddle height but you can get close with DIY methods if you wish to save the expense.

The static method – placing your heel on the pedal and ensuring your knee is straight when the crank is in the six o’clock position – and LeMond formula (inseam x 0.883) will give you a ballpark, though neither will take into all the individual factors which can effect saddle height, and you should fine-tune your own position based on your experience on the bike. Burt recommends combining a number of methods to find the optimal position, while also considering crank length and saddle fore/aft.

It is not all about just the height of the saddle either – crank length is important and should reflect your saddle height, while saddle fore/aft will also affect your pedalling efficiency.

We’d recommend making any adjustments to your position gradually, rather than ringing wholesale changes. This will enable you to fine-tune your position and isolate what impact any change has on your comfort and efficiency.

Share

Newsletter Terms & Conditions

Please enter your email so we can keep you updated with news, features and the latest offers. If you are not interested you can unsubscribe at any time. We will never sell your data and you'll only get messages from us and our partners whose products and services we think you'll enjoy.

Read our full Privacy Policy as well as Terms & Conditions.

production